Learn How to Tie Dye a Tote Bag | Complete DIY Guide & Tips
This post contains affiliate links. As an Amazon Associate, we earn from qualifying purchases.
To tie dye a tote bag, you need three things matched: a natural-fiber bag (cotton, hemp, rayon), a fiber-reactive dye with a high-pH activator like soda ash, and a full 24-hour set time. Skipping the pre-wash ruins dye adhesion on coated canvas, and rinsing before 6 hours bleeds up to 30 percent of your color intensity.
That 30 percent color loss is the difference between a vibrant weekend project and a faded bag you stop carrying after two washes. The timeline isn’t a suggestion; it’s the chemical window for the dye molecules to form a covalent bond with the cellulose fibers.
What follows is the full breakdown: why your bag’s material decides the dye type before you even open a bottle, the one pre-wash step that kills the whole project if skipped, and the post-rinse fix for a stiff, crunchy bag that feels like cardboard.
Key Takeaways
- Pre-wash your bag with detergent, no fabric softener, to strip any waterproof coating or factory starch, a coated canvas tote repels dye into a splotchy mess you’ll have to throw out.
- Use fiber-reactive dye (like Procion MX) with a soda-ash solution for natural fibers; for polyester blends, you must switch to a disperse dye like Rit DyeMore and near-boiling water.
- Let the dyed bag sit, wrapped in plastic, for a full 24 hours, rinsing at the common 6-hour mark can cost you 30% of the color intensity.
- If your bag is stiff after washing, you have residual soda ash; run it through another wash cycle with a cup of white vinegar to neutralize the alkali.
- Dye both sides of the fabric and push dye into deep folds; flipping the bundle is non-negotiable for even saturation on a thick tote.
Gather Your Gear and Prep the Bag
You don’t need specialty tools. You need the right ones for your bag’s fabric. Getting this wrong means the dye either won’t stick or will wash out in three cycles.
Start with the bag itself. A natural fiber like cotton, hemp, or rayon is your only real choice for vibrant, lasting color. The fiber’s cellulose structure bonds chemically with fiber-reactive dyes. A canvas tote bag is the default pick for most crafters because it’s cheap, absorbent, and holds shape. If you’re starting from scratch, learning to make a canvas tote guarantees the right material.
Common mistake: Assuming any light-colored tote will work. A poly-cotton blend or a canvas bag with a waterproof coating will give you a faded, splotchy result. The dye beads up on the surface and never penetrates.
Synthetic blends require a completely different process. For a bag that’s part polyester, you must use a disperse dye like Rit DyeMore. It needs water heated to near-boiling to work, and the colors will always be less vibrant than on natural fibers. It’s a trade-off: durability of the fabric versus intensity of the dye.
Your dye choice locks in your next steps. For natural fibers, a fiber-reactive dye like Procion MX is the professional standard. It’s a powder you mix yourself. For beginners, a kit like the Tulip One-Step Tie-Dye is easier, the soda-ash activator is already in the bottle. Just add water.
The rest of your gear is straightforward: – Rubber bands or cotton twine for binding – Disposable gloves (nitrile, not latex, the dye stains latex) – A plastic table cover or large trash bags – Plastic wrap or grocery bags for wrapping – A measuring cup and a bucket for the soda-ash bath (if using separate dye powder) – A dedicated plastic spoon for mixing
Now, the non-negotiable first step: pre-wash the bag. Run it through the machine with detergent, on a warm cycle. Do not use fabric softener. This removes any factory-applied sizing, starch, or waterproof coating. That coating is the enemy.
There’s a documented case where someone skipped the pre-wash on a heavy-duty canvas tote. The dye repelled off the waterproof coating in uneven patches. The result was so splotchy the bag was unusable. They threw it out. Twenty minutes of washing would have saved the project.
The Dyeing Process: Binding, Mixing, Applying
This is where most guides start. You’re past that. Your bag is pre-washed and slightly damp (the wet method) or completely dry. The damp method gives softer, more blended colors. The dry method gives sharper, more defined lines.
Lay your protected surface flat. Have your binding materials and dye bottles ready.
Choosing and Tying Your Pattern
The pattern is determined by how you fold and bind the fabric. The three most reliable patterns for a tote bag are the spiral, the accordion fold for stripes, and the scrunch (or crumple) for a random, stone-washed look.
For a spiral: 1. Pinch the center of the laid-flat bag. 2. Twist the bag around that center point until the entire bag is a flat spiral. 3. Secure with 3-4 rubber bands spaced like pie slices.
For stripes: 1. Fold the bag in an accordion pattern, back and forth, from the bottom hem to the top. 2. Bind the folded bundle at regular intervals with rubber bands or twine. The tighter the bind, the more white space you’ll have.
Where this goes sideways: Not dyeing both sides of the fabric. A tote bag is thick. If you only apply dye to the top surface, the middle layers stay white. You get a faded, incomplete look.
The fix is simple but easy to forget. After applying dye to one side, flip the entire bound bundle over. Apply dye again, aiming for the gaps you missed the first time. Push the nozzle into the deep folds. Massage the dye through the fabric layers with your gloved hands. Saturation is a physical act, not just a surface coating.
Mixing and Applying the Dye
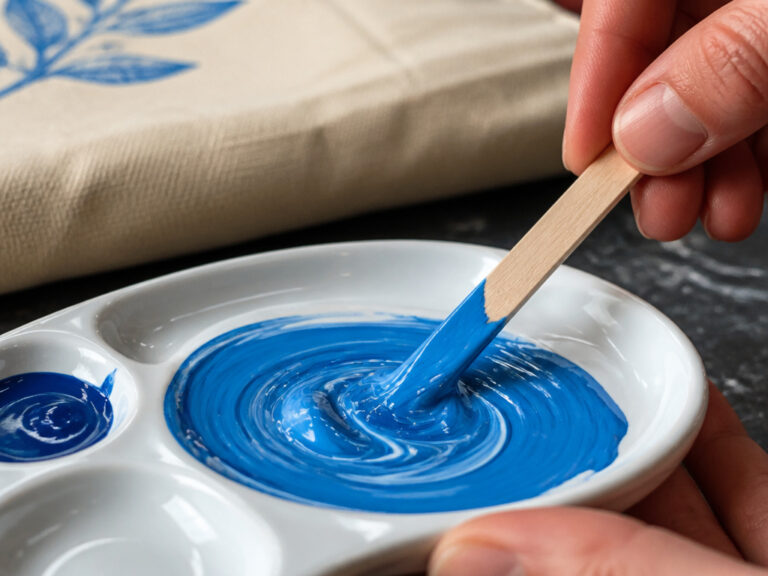
If you’re using a kit like Tulip One-Step, follow the bottle instructions: add room-temperature water, shake until the powder dissolves. The mixed dye has a shelf life of about 72 hours. Mix only what you’ll use in one session.
If you’re using professional fiber-reactive dye powder, you must pre-soak your bound bag in a soda-ash solution. This creates the high-pH environment (around 10.5 to 11) the dye needs to bond.
| Solution Component | Ratio & Purpose | Skip It And You Get… |
|---|---|---|
| Soda Ash (Sodium Carbonate) | 1 cup per gallon of warm water. Raises pH to activate dye. | Dye washes out. Faded colors after first rinse. |
| Pre-soak Time | 10-15 minutes for bag to fully saturate. | Uneven dye penetration, especially in thick folds. |
| Dye Application | Apply to damp (not dripping) fabric after soak. | Dye runs and bleeds, muddying your pattern. |
Apply your colors. Work from lightest to darkest to avoid contaminating your lighter dye bottles. Squeeze dye onto each section defined by the rubber bands. Don’t be stingy. The fabric should look saturated, not just spotted.
Once the bag is fully dyed, wrap it immediately in plastic wrap or slide it into a plastic grocery bag. This keeps the dye moist and reacting. The waiting period starts now.
The Waiting Game: Why 24 Hours Beats 6
You’ll see advice everywhere saying 6-8 hours is enough. It’s technically enough for the dye to set, but it’s not enough for the dye to set fully.
The chemical reaction between fiber-reactive dye and cellulose is time-sensitive. At the 6-hour mark, a large portion of the dye molecules are still only physically trapped in the fabric, not chemically bonded. Rinsing now flushes them out.
A specific source notes that rinsing after only 6 hours can result in a 30% loss of color intensity. That’s the difference between a bold, statement piece and a pastel version of what you intended.
The ideal set time is 24 hours at room temperature. Let the wrapped bundle sit somewhere warm (but not in direct sun, which can degrade the dye). A full day ensures the covalent bonds form completely. Your patience here is the single biggest factor in colorfastness.
Rinsing, Washing, and the Stiff-Bag Fix

After 24 hours, the fun part: revealing your pattern. Do this step carefully, wearing your gloves, the dye will still stain skin.
- Unwrap the plastic and gently snip off the rubber bands or untie the twine.
- Rinse the bag under cold running water in a utility sink or tub. Start gentle, gradually increasing water pressure as the loose dye flows out. Rinse until the water runs mostly clear. This can take 5-10 minutes.
- Now, wash the bag. Use your washing machine on the largest load setting with cold water and a small amount of mild detergent. This removes the last of the unfixed dye and the soda ash.
This first wash is also where a common problem appears: the stiff bag.
Why Your Bag Goes Crunchy (And How to Fix It)
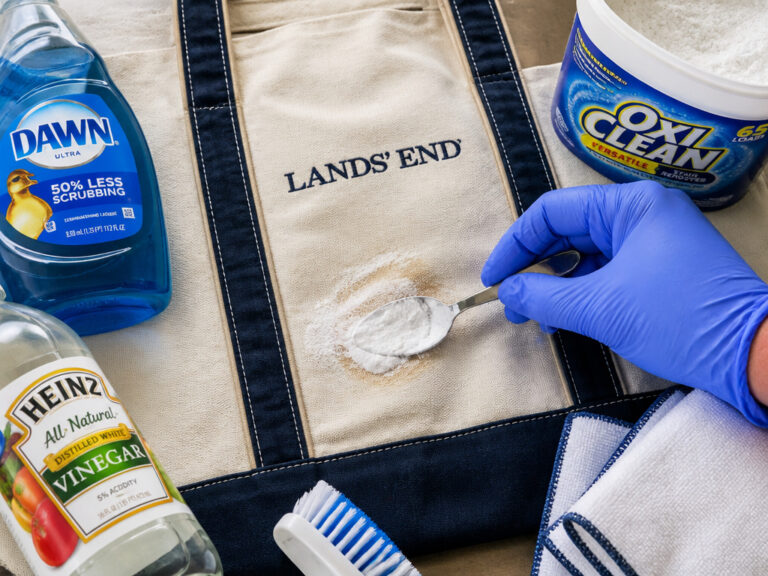
If your tote bag feels stiff, rough, or like cardboard after washing, you have residual soda ash crystallized in the fibers. The high-pH alkali didn’t fully rinse out.
The cause is usually insufficient rinsing or using too concentrated a soda-ash solution. The fix is straightforward and uses a common household item.
The part nobody mentions: A stiff bag means leftover alkali. Run it through another wash cycle with a cup of white vinegar. The acetic acid neutralizes the soda ash. The bag comes out soft.
Here is the diagnostic and fix table:
| Symptom | Likely Cause | Fix & Timeline |
|---|---|---|
| Bag is stiff, crunchy after washing | Residual soda ash in fibers. | Rewash with 1 cup white vinegar (no detergent). Immediate softness. |
| Colors look faded, dull after first wash | Rinsed too early (before 6 hours). | Too late to fix. Dye is gone. Re-dye if fabric isn’t too stained. |
| White, undyed spots in deep folds | Didn’t dye both sides or push dye into folds. | Pattern flaw. Can’t fix post-rinse. |
| Dye bleeds onto other laundry in later washes | Inadequate initial rinsing/washing. | Wash bag separately for first 3-5 cycles. |
After the vinegar wash if needed, dry your bag according to the fabric’s care instructions. Most cotton totes can be tumble-dried on low or air-dried. Air-drying is gentler on the colors initially.
Tie Dyeing Different Materials

The process above is for the ideal candidate: 100% natural fibers. But what if your bag isn’t pure cotton?
| Bag Material | Dye Type Required | Key Difference in Process | Expected Outcome |
|---|---|---|---|
| 100% Cotton, Hemp, Rayon | Fiber-reactive (Procion MX, Tulip One-Step) | Standard process with soda ash. | Vibrant, wash-fast colors. |
| Polyester-Cotton Blend (e.g., 50/50) | Disperse Dye (Rit DyeMore) | Requires water at 140-160°F (near-boiling). Stovetop dyeing often needed. | Muted, less vibrant colors. Better color on polyester than cotton. |
| 100% Polyester or Acrylic | Disperse Dye (Rit DyeMore) | Same as above. Must maintain high temperature. | Subtle tints. Not recommended for bold projects. |
| Silk or Wool | Acid Dye or Fiber-reactive | Different acid (vinegar/citric) activator. Specialized process. | Very vibrant, but delicate fabric handling. |
For a polyester blend, the entire game changes. The Rit DyeMore process is more involved, requiring you to maintain a hot dye bath on the stovetop. The results are fundamentally less bright because disperse dyes sit on the fiber rather than bonding with it. If you’re choosing a bag specifically to dye, stick with natural fibers. Understanding the best tote bag fabric for dyeing will steer you toward cotton or hemp.
Frequently Asked Questions
Can I tie dye a bag that’s not white?
You can, but you’re mixing colors. Dyeing a light blue bag with red dye might give you a purple hue. Dyeing a black bag is pointless, the dark base will overpower most dyes. For predictable results, start with white or natural cream.
How do I make my colors brighter?
Two levers: fabric and setting time. Use 100% natural fibers. Let the dye set for the full 24 hours. Pre-soaking in the correct soda-ash solution (1 cup per gallon) is also critical for maximum brightness.
Why did my dye turn brown?
Overmixing colors. If you apply blue, yellow, and red dye right next to each other and they bleed together, they will create muddy browns in the overlap zones. Apply colors with space between them, and be careful not to oversaturate so much that rivers of dye run across the fabric.
How do I care for my tie-dyed tote long-term?
Wash it inside out in cold water for the first few cycles to minimize fading from abrasion. Use a mild detergent. Avoid chlorine bleach, which will strip the color. For general maintenance, our guide on how to wash a canvas tote covers the specifics. You can also seal acrylic paint on top of dye if you add painted designs later.
Can I use acrylic paint instead of dye?
You can, but it’s a different project entirely. Acrylic paint sits on top of the fabric, creating a stiffer, painted surface that can crack. Dye colors the fabric itself, leaving it soft. If you want to paint a tote bag, you’ll need fabric medium mixed with the paint and a sealing step.
Before You Go
Tie-dyeing a tote bag isn’t about random splashes of color. It’s a controlled chemical reaction on fabric. The three things that matter are the bag’s material, the dye’s chemistry, and the clock.
Start with a pre-washed, natural fiber bag. Match it with a fiber-reactive dye and a proper soda-ash activator. Apply dye thoroughly to both sides of your bound pattern. Then walk away for a full day. When you rinse, be patient until the water runs clear. If the bag dries stiff, a vinegar wash fixes it.
The result is a custom piece that lasts. The difference between a good result and a great one is often just one detail: flipping the bag to dye the other side, or waiting 18 extra hours. Now you know which details to watch.