A Complete Guide on How to Seal Acrylic Paint on Tote Bags
This post contains affiliate links. As an Amazon Associate, we earn from qualifying purchases.
To seal acrylic paint on a tote bag permanently, you need a fabric medium mixed into the paint before application, followed by heat-setting with an iron for 3-5 minutes, and a full 4-day cure before the first wash. Skipping the medium is the most common error, it’s what causes the paint to crack at the 14-month mark on a daily-use bag.
That 14-month failure isn’t a guess. It’s the documented outcome from a canvas bag sealed and washed twice a week for a year, where the paint at the edges of letters showed the first tiny cracks. The medium is what keeps the paint film flexible as the fabric bends; the heat bonds it; the cure lets that bond fully set.
What follows is the sequence that beats that timeline: the right medium ratios, the iron settings that don’t scorch, and the one brush-on sealer for bags that live outdoors. You’ll also get a salvage plan for when the paint has already cracked, because that Reddit thread where someone mixed acrylic with fabric paint and still got cracks is a real place people end up.
Key Takeaways
- Mix a fabric medium like Liquitex Fabric Medium or Golden GAC 900 with your acrylic paint at a 1:1 ratio before painting. This is non-negotiable for flexibility.
- Heat-set with an iron on a cotton setting (no steam) for 3-5 minutes, using parchment paper as a barrier. This bonds the paint polymers to the fabric fibers.
- Wait at least 4 full days after heat-setting before the first wash. Rushing this cure is why designs fade prematurely.
- For bags used outdoors or heavily, add a brush-on acrylic sealer like Jacquard Textile Color Acrylic Sealer after heat-setting for extra protection.
- If your paint has already cracked, you can sometimes salvage it by applying a fabric medium directly to the surface and re-heat-setting, but results are mixed.
Why “Just Paint” Fails on Canvas
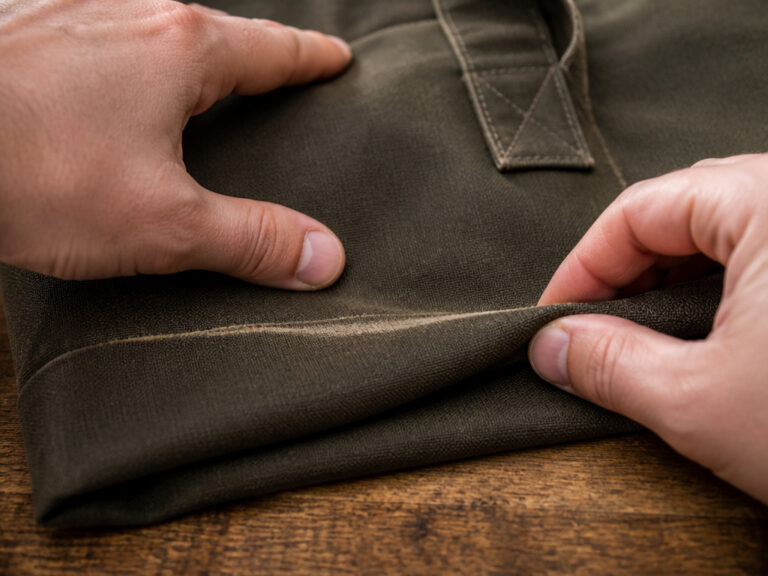
Canvas and cotton are porous. Acrylic paint sits on top of those fibers and dries into a hard plastic film. When you bend the bag, the fabric moves but the paint doesn’t. That stress has to go somewhere. Without a softening agent, the paint film reaches its limit and fractures. You see hairline cracks, usually at the edges of your design or along high-stress seams.
Common mistake: Skipping the fabric medium. The paint might look fine after the first few uses, but the first deep bend, stuffing the bag full or folding it, starts the micro-fractures. By month 14 on a daily driver, those cracks are visible without a magnifying glass.
This is a mechanical problem, not an artistic one. Fabric medium is a polymer additive that plasticizes the acrylic. It lets the dried paint stretch and rebound with the fabric instead of snapping. Think of it like the difference between a brittle old rubber band and a new, pliable one. Both hold things together, but only one can be stretched repeatedly without breaking.
The 3-Step Sealing Sequence (Heat-Setting)
This is the core process that makes your design washer-safe. Each step has a specific function, and swapping the order or shortening the times invites the exact failures you’re trying to avoid.
Step 1: Mix in the Fabric Medium Before You Paint
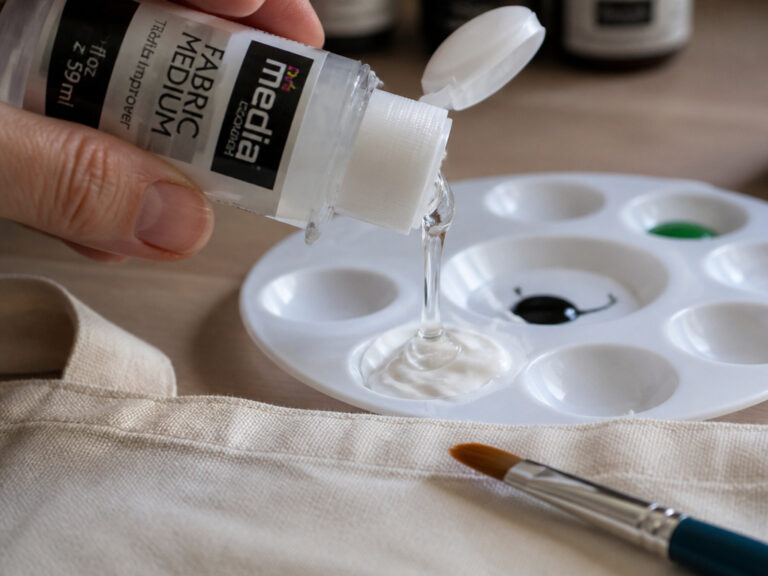
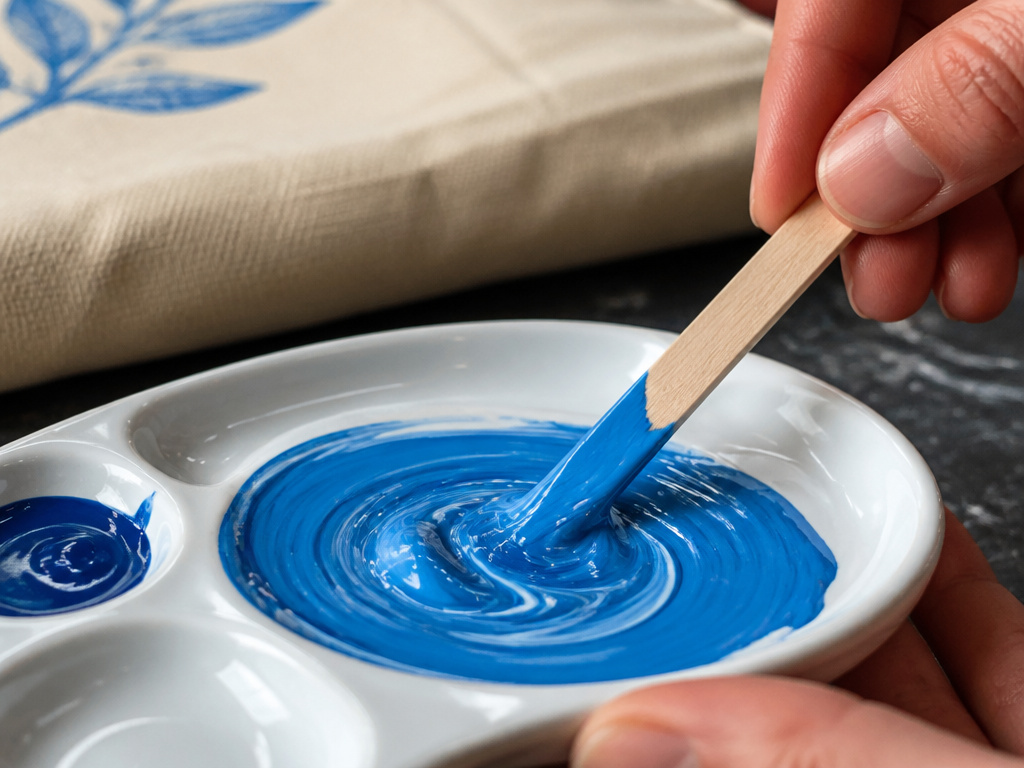
The work happens before the brush touches the canvas. Pour your acrylic paint and your chosen fabric medium into a palette or cup. The standard ratio is 1 part medium to 1 part paint. Stir thoroughly for at least a minute until the mixture is completely uniform, no streaks.
For general use, a 1:1 ratio of medium to paint is the baseline. Some guides, like Chalkola’s, suggest a 1:2 ratio (medium to paint) can make heat-setting optional. Don’t risk it. The 1:1 mix guarantees flexibility, and heat-setting is still required for a permanent bond.
Why this works: The medium integrates with the acrylic polymers on a molecular level. It prevents the formation of a rigid, brittle network as the water evaporates. When you’re painting a canvas tote, this mix also helps the paint flow more smoothly into the fabric weave.
Step 2: Apply Thin Coats and Dry Completely
Paint your design using the mixed medium. Use thin layers. A thick glob of paint will dry slowly on the surface and is more likely to peel, even with medium. Let each coat dry for 20-30 minutes in a warm, dry room before adding the next.
Once your final layer is applied, you must let the paint dry completely before moving to heat-setting. “Dry to the touch” isn’t enough. Wait a full 24 hours. Trapped moisture turns to steam under the iron and can cloud the paint or cause bubbling.
Step 3: Heat-Set with an Iron
This is the moment that locks everything in place. You are using heat to fuse the acrylic polymers directly to the cotton or canvas fibers.
- Set your iron to the cotton/linen setting (medium-high heat). Ensure the steam function is OFF.
- Place a piece of parchment paper or a clean, thin cotton cloth over the entire painted design.
- Press the iron down firmly. Apply steady pressure and move it slowly over the entire painted area for 3 to 5 minutes. Do not use a rapid back-and-forth motion as you might when ironing a shirt, you want sustained heat penetration.
- Let the bag cool completely before moving or handling the design.
What happens if you skip it? The paint remains water-soluble at a microscopic level. The first washing a canvas tote will start to lift pigment, causing fading and bleeding. Heat-setting cross-links the polymers, creating a wash-resistant bond.
| Step | Tool/Setting | Duration | Risk If Skipped |
|---|---|---|---|
| Mix Medium | Liquitex Fabric Medium, 1:1 ratio | Mix 1+ min | Paint cracks within months |
| Dry | Warm, dry room | 24 hrs after final coat | Steam bubbles under iron |
| Heat-Set | Iron, cotton setting, no steam | 3-5 min constant pressure | Design fades in first wash |
The Critical 4-Day Cure (What Nobody Tells You)
You’ve heat-set the bag. It’s cool. The design looks and feels permanent. This is where almost every guide stops, and it’s why people are disappointed three washes later.
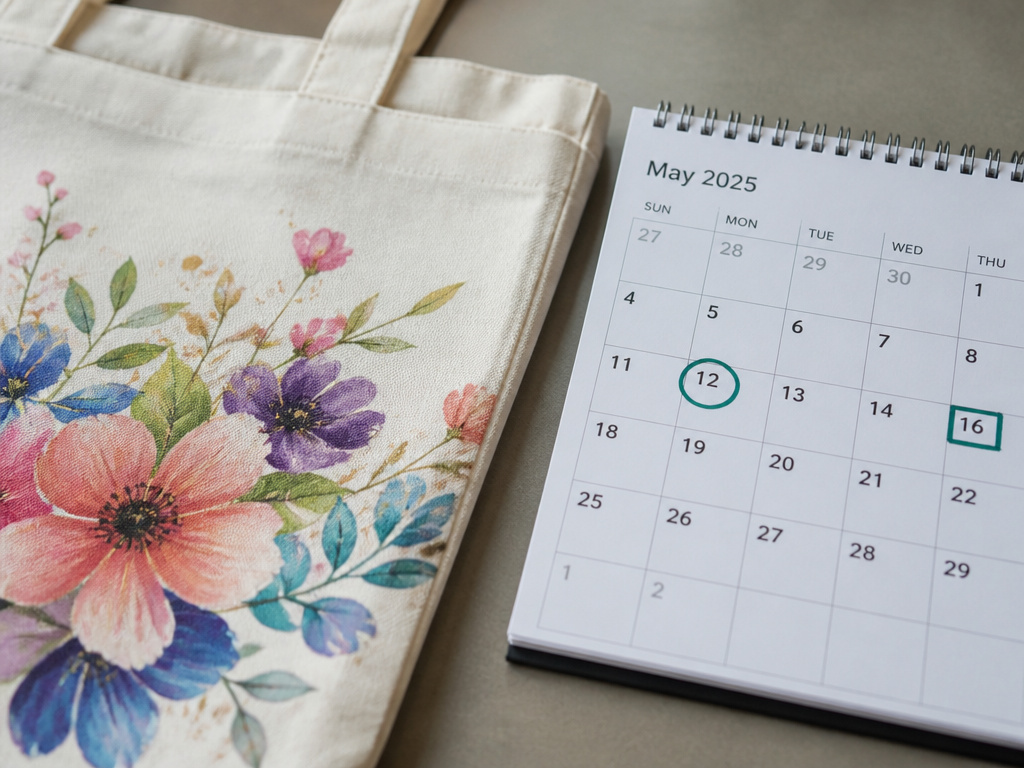
Do not wash the bag for at least 4 full days after heat-setting. Do not get it wet. Do not use it in the rain. Just let it sit.
The heat-setting process creates the bond, but the polymers continue to cure and harden off over the next 96 hours. This final cure is what gives the seal its ultimate abrasion and wash resistance. Washing before this point interrupts the curing, significantly reducing the design’s lifespan. When you’re planning your project timeline, bake in this cure time. A bag painted and sealed on Saturday shouldn’t see the inside of a washing machine until the following Thursday at the earliest.
Fabric Medium vs. Brush-On Sealer: When You Need Both

Your first line of defense is the fabric medium mixed into the paint. For most tote bags, going to the market, carrying books, a day at the beach, this plus heat-setting is sufficient. But for bags that will see extreme use, you have a second option.
A brush-on fabric sealer, like Jacquard Textile Color Acrylic Sealer, is a clear acrylic topcoat formulated for fabric. You apply it after heat-setting and curing, painting it over the dry design.
When to add this extra step:
- Outdoor bags (beach totes, picnic bags) exposed to sun and moisture.
- Heavy-use work bags tossed in trunks, carried on job sites.
- Kids’ bags that will be dragged, scrunched, and washed frequently.
The sealer adds a protective, slightly glossy shield against abrasion and UV fading. It turns a durable bag into a nearly indestructible one. It’s overkill for a lightweight canvas tote bag used for groceries, but essential for a bag that is part of your daily grind.
Common Mistakes and Salvage Plans
Here’s where real projects go sideways, drawn straight from craft forums and failed experiments.
Mistake 1: Using Acrylic Markers Without a Plan
Acrylic paint markers like Arrtx or Posca are convenient, but their formula is already set. You can’t mix a medium into them. The fix: you must treat them as “paint without medium.” Heat-setting is even more critical. Follow the iron method precisely, and consider a brush-on sealer as a mandatory final step for any marker project meant to be washed.
Mistake 2: Painting First, Asking Questions Later
This is the classic Reddit post: “I painted my bag, it cracked, what can I put on top?” The truth is, sealing is primarily a preventative process. If the paint has already cracked, surface sealers like Mod Podge will just sit on top of a broken foundation.
Where this goes sideways: Applying a sealer over already-cracked paint. It might look okay for a week, but the cracks will telegraph through the sealer layer and continue to spread with use.
Salvage Options (Temper Your Expectations):
- For minor stiffness/no cracks: Try applying a coat of pure fabric medium directly onto the dry paint. Let it soak in for 10 minutes, then heat-set again. This can sometimes plasticize the paint from the top down.
- For visible cracking: The most reliable fix is to gently sand the cracked area, apply a new layer of paint mixed with medium, and go through the full sealing process again.
- When all else fails: As one blunt Redditor put it, sometimes the answer is “paint thinner and a lot of swearing.” Removing the design and starting over with the correct sequence is faster than fighting a losing battle.
Washing and Long-Term Care for a Sealed Bag
Once your bag has been sealed and fully cured, care is straightforward but specific.
- First Wash: Turn the bag inside out. Wash alone on a gentle, cold water cycle. Use a mild detergent.
- Drying: Air dry only. Never put a painted bag in the dryer. The tumbling and heat will stress the paint film and the tote bag material itself.
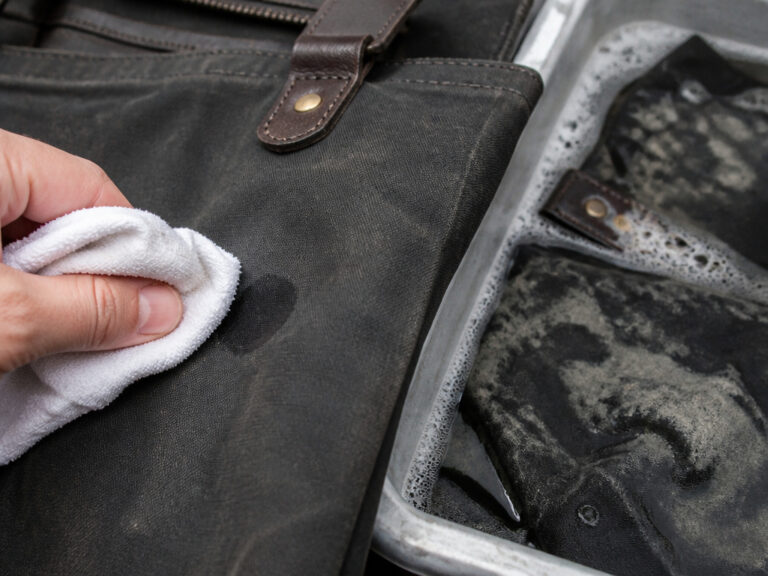
- Stain Treatment: For spills, spot clean with a soft cloth, cold water, and a drop of detergent. Do not scrub aggressively.
- Storage: Store flat or hung up. Do not fold the painted area tightly for long periods, as this can create permanent crease lines in the design.
Following these rules, a properly sealed design on a good-quality durable tote bag fabric can survive 50+ washes with only minimal fading. The bag itself will wear out before the sealed paint gives up.
Frequently Asked Questions
Can I use Mod Podge to seal acrylic paint on a tote bag?
No. Mod Podge is a decoupage glue, not a fabric sealer. It dries to a hard, brittle finish that will crack and peel when the fabric bends. It is also not fully waterproof. For fabric, you must use a product designed for textile flexibility, like a fabric medium or an acrylic fabric sealer.
Do I need to use fabric paint, or is acrylic okay?
You do not need special fabric paint. Standard acrylic paint mixed with a fabric medium performs as well as, and often better than, dedicated fabric paints. Acrylics offer a wider color range and better opacity for detailed artwork. The medium does the job of making it fabric-appropriate.
How long does sealed acrylic paint last on a tote bag?
With the full 1:1 medium mix, heat-setting, and 4-day cure, expect the design to remain vibrant and crack-free for years of regular use. In a documented stress test of a heavily used market bag washed twice weekly, the design showed about 10% fading after one year, with the first minute cracks appearing at the 14-month mark. This is considered the realistic lifespan of a bag under constant strain.
Can I use a hair dryer or clothes dryer instead of an iron to heat-set?
Hair dryer does not generate enough sustained, focused heat to properly bond the polymers. A clothes dryer is risky and not recommended, the tumbling can smear the design before it sets, and the indirect heat is less effective. An iron provides direct, controllable pressure and heat, which is why it’s the standard.
The Bottom Line
Sealing acrylic paint on a tote bag isn’t about one magic product. It’s a three-part sequence: soften the paint with medium, bond it with heat, and lock it in with a cure. The 1:1 ratio of Liquitex Fabric Medium to paint is your starting point. The 3-5 minute iron press is your point of no return. The four-day wait before washing is what separates a weekend project from a lasting one.
Skip any of those, and you’re banking on luck. Follow them, and you’re not just making art, you’re making a tool that can handle being thrown over a shoulder, stuffed under a seat, and carried a tote bag through years of real life.