The Right Way to Paint a Canvas Tote Bag: A 7-Step Process
This post contains affiliate links. As an Amazon Associate, we earn from qualifying purchases.
To paint a canvas tote bag, you need fabric-specific paint, a prepped surface, and a heat-setting step. Use fabric paint like Jacquard Neopaque or mix acrylic paint with a textile medium. Pre-wash the bag, insert cardboard to prevent bleed-through, apply paint in thin layers, and iron the design with a pressing cloth to make it permanent and washable.
Most people ruin a painted tote by treating it like a piece of paper. They slap on thick acrylic straight from the tube, skip the iron, and wonder why the design cracks and peels after one trip through the wash. The fabric moves, stretches, and gets wet, your paint has to survive that.
This guide walks through the seven non-negotiable steps, from picking the right paint to the ironing trick that locks it in. We’ll cover the tools that actually work, the common failures you can avoid, and how to get a result that looks pro, not preschool.
Key Takeaways
- Fabric paint or bust. Standard acrylic paint cracks and flakes unless you mix it 1:1 with a textile medium like Golden GAC 900. Dedicated fabric paint (Jacquard, Tulip) is foolproof.
- Thin layers win. One thick coat feels faster but dries stiff and cracks at the first fold. Two or three thin layers stay flexible and look more even.
- Heat-setting is not optional. Air-drying is just the first phase. Ironing the design with a pressing cloth on the cotton setting for 3-5 minutes chemically bonds the paint to the fibers. Skip it, and your design washes out.
- Pre-wash the bag. New canvas has a starch coating called sizing that repels paint. A quick wash without fabric softener removes it so the paint can grip.
- Cardboard is your best friend. Sliding a rigid piece inside the bag before you paint stops bleed-through and gives you a firm, stable surface to work on.
The Paint That Actually Sticks (And What to Trash)
Head to any craft aisle and you’ll see a wall of options: acrylic, fabric, oil, watercolor. For a tote bag you plan to actually use, the choice narrows fast. Standard artist’s acrylic is the most common mistake. Straight from the tube, it forms a plastic film on top of the fabric. When the canvas bends, that film doesn’t, it cracks. I learned this the hard way on a batch of ten market bags for a local fundraiser. After two weeks of use, every single one had a spiderweb of cracks through the logo. They looked terrible.
Dedicated fabric paint is formulated with flexible binders. Brands like Jacquard Neopaque or Tulip Soft have a softer handfeel and survive the stretch and crumple of daily use. They’re also pre-mixed and ready to go.
If you already have a shelf full of acrylics, you can salvage them. The fix is a textile medium. Mix your acrylic paint 1:1 with a medium like Golden GAC 900 or Liquitex Fabric Medium. This modifies the acrylic’s chemistry, letting it fuse with the fabric fibers instead of sitting on top. It’s a cheaper path if you’re doing large, multi-color projects.
Common mistake: Using watercolor or gouache on a tote bag, these are water-soluble and will bleed and fade the first time the bag gets damp, even from humidity. They’re for paper, not for a bag that will carry groceries in the rain.
| Paint Type | Best For | Risk If Skipped |
|---|---|---|
| Fabric Paint (Jacquard/Tulip) | Beginners, washable projects | None — it’s formulated for the job. |
| Acrylic + Textile Medium | Using existing paint stash | Paint cracks and flakes within 10-15 uses if not mixed properly. |
| Spray Paint for Fabric | Large, solid backgrounds | Requires masking, overspray stains, and still needs heat-setting. |
| Oil Paint | Display pieces only | Never fully cures on fabric, remains tacky and stains other items. |
TL;DR: Buy Jacquard Neopaque fabric paint for guaranteed results. If using acrylics, mix 1:1 with Golden GAC 900 textile medium. Never use watercolor.
The 4 Tools That Replace a $200 Workshop
You don’t need a studio. The right four tools fit on a kitchen table and cost less than a fancy dinner. The first is the bag itself. Look for 100% cotton canvas with a tight weave. A loose, slubby weave lets paint sink in and bleed, blurring your lines. The bag should be plain and light-colored, white, natural, or light grey.
Brushes are next. You need three basic shapes:
– A 1-inch flat brush for filling large areas and backgrounds.
– A medium round brush (size 6 or 8) for general painting and shapes.
– A small detail round or liner brush (size 0 or 1) for outlines and fine work.
Stiffer synthetic bristles work better than soft watercolor brushes. They push the paint into the fabric weave instead of skimming over the top.
The third tool is a rigid insert. A piece of corrugated cardboard cut to fit inside the bag is perfect. It prevents paint from seeping through to the back layer and provides a firm surface. Foam board or a plastic cutting board also works.
Finally, you need a heat source. A standard household iron and a pressing cloth (a thin cotton dish towel or parchment paper) are mandatory for the final step. The iron’s dry heat, applied correctly, is what makes the paint permanent.
The 7-Step Canvas Tote Painting Process
This sequence matters. Jump ahead, and you’ll create problems that are hard to fix later. I’ve timed this for a weekend project: prep on Saturday afternoon, paint Saturday evening, cure and heat-set on Sunday.
Step 1: Pre-Wash and Iron the Bag
New canvas feels stiff because it’s treated with sizing, a starch that makes it look crisp on the shelf. That sizing repels paint. Throw the bag in the washing machine on a cold, gentle cycle with a small amount of mild detergent. Do not use fabric softener. Tumble dry low or air dry. Once dry, iron it on the highest cotton setting. You want it bone-dry and smooth. Any wrinkles become permanent shadows under your paint.
Step 2: Insert Cardboard and Plan Your Design
Cut a piece of cardboard slightly smaller than the bag’s main panel and slide it inside. This is your work surface. Now, plan your design. Simple, bold shapes work best for a first attempt. Think block letters, geometric patterns, or a single large motif.
Lightly sketch your design with a water-soluble pencil or tailor’s chalk. These lines will disappear under the paint or wash out later. Never use a standard graphite pencil heavily, the graphite can mix with light paint and create a muddy grey tint.
Step 3: Mix Your Paint
If you’re using fabric paint, shake the bottle well. If you’re mixing acrylic with textile medium, use a palette or a disposable plate. The 1:1 ratio is critical. Stir for a full minute until the mixture is completely uniform. A half-mixed batch is why one part of your design washes out and another stays.
Step 4: Apply the First Thin Layer
Load your brush, then wipe off the excess on the palette rim. You want the brush damp with paint, not dripping. Apply the paint using steady, even strokes. Don’t scrub back and forth. Let the paint flow onto the fabric. You will see the canvas weave through the first layer. That’s correct.
Common mistake: Trying to get full, opaque coverage in one coat, this deposits too much paint, which pools in the weave, dries slowly, and cracks as it cures. It also increases bleed-under if you’re using stencils.
Step 5: Dry, Then Apply Second Layer
Walk away. Let the first layer dry completely to the touch, about 20-30 minutes in a warm room. A fan can help. Then apply a second thin layer in the same manner. This layer should achieve full, solid coverage. For very light colors on dark fabric, a third layer might be needed. Always dry between layers.
Step 6: Cure and Heat-Set
After the final paint layer is dry to the touch, the real waiting begins. Let the bag sit for at least 24 hours in a warm, dry spot. This allows the paint to cure through its entire thickness.
Then, heat-set. Place your pressing cloth over the design. Set your iron to the cotton setting (no steam). Press the iron down and move it in small circles for 3-5 minutes, covering the entire painted area. The heat changes the paint’s chemistry, bonding it to the fabric. Let the bag cool completely.
Step 7: The First Wash (And Long-Term Care)
Wait another 72 hours after heat-setting before the bag’s first wash. This final cure ensures maximum adhesion. Always hand wash in cold water with a mild detergent like Woolite. Gently swish, don’t scrub. Air dry. Do not put it in the dryer or use bleach.
Why Does My Paint Feel Stiff or Crack?
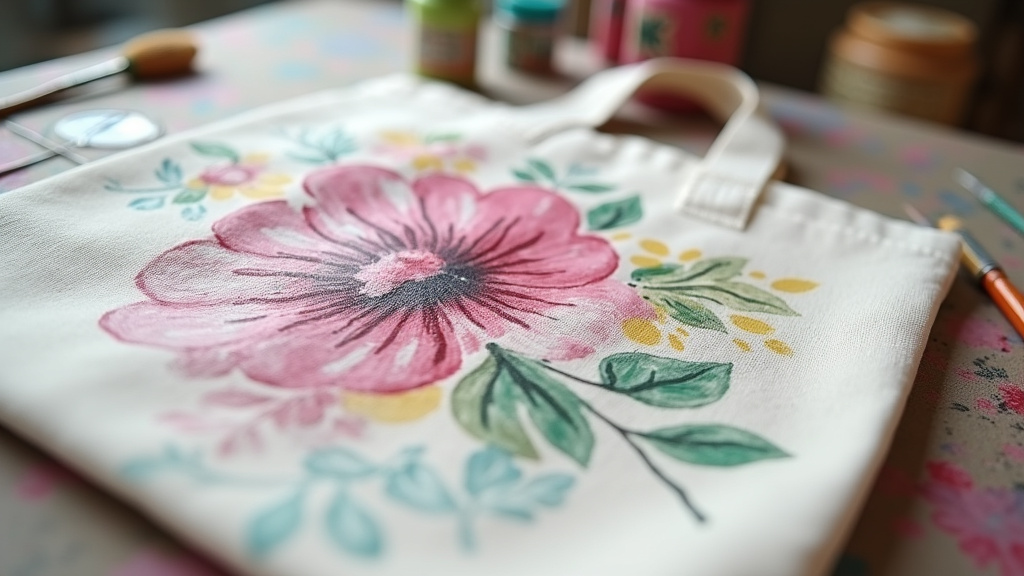
Even if you follow the steps, sometimes the result isn’t perfect. Here’s how to diagnose the usual suspects.
Problem: The painted area is stiff as a board.
Cause: Too much paint. Each layer was too thick, or you didn’t let layers dry fully before adding the next. The paint sits on the surface like a plastic sheet.
Fix: Next time, use thinner layers. For this bag, repeated gentle washing will soften it slightly over time, but the stiffness is mostly permanent.
Problem: Fine cracks appear after the first use.
Cause: You used straight acrylic paint without textile medium, or you skipped heat-setting. The paint film cannot flex with the fabric.
Fix: If you haven’t heat-set yet, do it now, it might stabilize minor cracking. For severe cracks, the design is compromised. Consider painting over it with the correct fabric paint mixture.
Problem: The colors look dull or washed out.
Cause: You over-worked the paint while it was wet, or you painted on damp fabric. This pushes the pigment down into the weave instead of letting it sit on the surface.
Fix: Ensure the bag is completely dry before painting. Apply paint with confident strokes and leave it alone.
Common mistake: Washing the bag in warm or hot water, this can re-activate some paints and cause fading or bleeding. Cold water only, every time.
Beyond Basics: When You’re Ready to Level Up
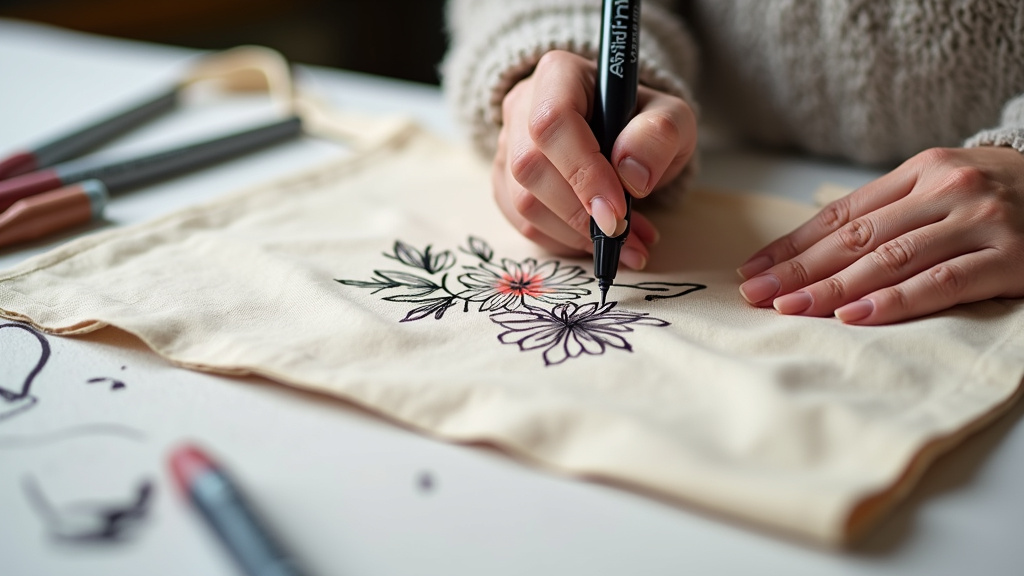
Once you’ve mastered a solid single-color design, a world of techniques opens up. These require more planning but yield professional results.
Fabric Markers & Pens: Brands like Arteza Fabric Markers are excellent for intricate line work, lettering, and details. They flow like ink but are permanent once heat-set. Use them over dry painted areas for outlines.
Screen Printing: You can create a simple screen with embroidery hoop and sheer curtain fabric. It’s the best method for making multiple identical bags quickly. The upfront work is higher, but the per-bag time plummets.
Resist Techniques: Use a washable resist medium or even school glue to draw lines. Paint over it, let everything dry, then wash the bag. The resist washes away, leaving the fabric color as your line. Great for batik-style effects.
Adding Texture: Mix fabric paint with a textile medium and a filler like sand or sawdust for a raised, tactile design. Or use sponges, bubble wrap, or lace as stamps.
These methods still follow the core rules: thin layers, full drying, and heat-setting. They just change how the paint gets onto the bag. Understanding the basic museum backpack policies for caring for delicate items is similar, the goal is preservation through correct handling, whether it’s art on canvas or artifacts in a case.
Frequently Asked Questions
Can I use puffy paint or glitter paint on a tote bag?
Yes, but with caveats. Puffy paint and most glitter paints are also fabric paints, so they adhere well. However, their raised, textured surfaces are more prone to catching and snagging. They’re best for accent details, not large areas. Heat-set them according to their specific bottle instructions, as some require a lower iron temperature.
How long will a painted tote bag last?
properly painted and heat-set design on a quality cotton canvas bag can last for years of regular use. The fabric will wear out before the paint fails. Fading from sun exposure is the primary long-term enemy, not washing. Using lightfast paints (like Jacquard) minimizes this.
Can I paint both sides of the tote bag?
Absolutely. Simply complete one side following the full process, paint, 24-hour cure, heat-set. Then flip the bag and repeat the process on the other side. Use a fresh cardboard insert for the second side to protect the already-painted first side.
What if I make a mistake while the paint is wet?
Act fast. Use a damp paper towel or cotton swab to gently blot and lift the wet paint. You may need to rinse the area lightly and let it dry completely before repainting. If the paint has dried, your only option is to paint over it with a background color or incorporate the mistake into the design.
Is it safe to iron over painted areas?
Yes, that’s the whole point of heat-setting. The critical element is the pressing cloth. You must place a thin cotton cloth or parchment paper between the iron and the paint. Direct iron contact can scorch the paint, creating a shiny, melted spot. The cloth diffuses the heat.
The Bottom Line
Painting a canvas tote bag isn’t art class. It’s materials science for your grocery run. The difference between a bag that lasts a season and one that lasts for years comes down to three things: using paint meant for fabric, applying it thinly, and locking it in with an iron. Skip any of those, and the project disappoints.
Start with a simple design and a bottle of Jacquard fabric paint. Get the feel of thin layers and the rhythm of drying times. That first bag you make will hold up. It’s a satisfying, useful skill. And once you know the rules, you can break them on purpose with advanced techniques, not by accident.