How to Sew a Tote Bag for Beginners: A No-Fluff Guide
This post contains affiliate links. As an Amazon Associate, we earn from qualifying purchases.
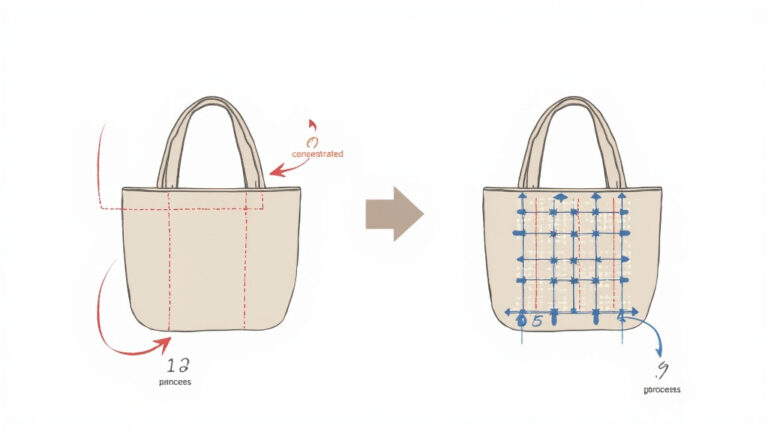
To sew a tote bag for beginners, you need three things: a simple pattern (two rectangles and two straps), a sewing machine set to a straight stitch, and a medium-weight woven fabric like cotton canvas. The process involves cutting, sewing side/bottom seams, boxing the corners for depth, and finishing the top edge. Expect your first bag to take about 90 minutes from cut to finish.
Most tutorials skip the timeline. They say it’s a “quick project” but don’t mention the hour you’ll spend wrestling with your iron, re-threading the bobbin, and figuring out which side of the fabric is actually the “right side”. That’s the part that frustrates new sewists into quitting. This guide includes those realities.
We’ll walk through the exact tools, a foolproof fabric choice, and a seven-step sequence that builds a durable bag. You’ll also learn the one mistake that turns a square tote into a twisted mess (it happens at step five, and I’ve done it three times).
Key Takeaways
- Use a medium-weight cotton canvas or duck cloth for your first bag. Light quilting cotton is too floppy, and heavy denim will jam a beginner’s machine.
- Set your seam allowance to 1/2 inch and stick to it. Inconsistent seams are the number one cause of wobbly, misshapen bags.
- Box the corners to create a flat bottom. Skipping this leaves you with a pillowcase shape that can’t hold anything upright.
- Finish every raw edge with a zigzag stitch or pinking shears. Unfinished edges fray in the wash and weaken the bag after a few uses.
- Your first bag is a learning prototype, not a masterpiece. Use cheap fabric, make the mistakes, and then make a second one with your good material.
The Toolkit You Actually Need (Not the Fancy Stuff)
Forget the elaborate sewing room setups. You need four core tools to start. A basic mechanical sewing machine like the Singer Heavy Duty 4423 is perfect. Its straight stitch is dead simple, and the motor won’t bog down on two layers of canvas. You’ll also need sharp fabric scissors dedicated only to fabric, using them on paper blunts the blades instantly. A cheap iron and ironing board are non-negotiable. Pressing seams is what separates a homemade look from a store-bought one. Finally, keep a seam ripper handy. You will use it.
The Singer Heavy Duty 4423 sewing machine uses a Class 15 bobbin and a standard domestic needle system. Its built-in needle threader and top drop-in bobbin are beginner-friendly features that reduce setup friction in the first ten minutes of use.
Thread matters more than you think. Grab a spool of Gutterman Mara 100 all-purpose polyester thread. The cheap thread that comes with some machines is fuzzy, breaks often, and leaves lint in your bobbin case. Good thread feeds smoothly and creates a strong seam. For needles, start with a universal 80/12, but switch to a denim 90/14 if your fabric is thick. A dull or fine needle will skip stitches or break.
Here’s what to avoid. Don’t start with slippery satin, stretchy knit, or a loose weave like linen. They shift under the needle and pucker. The ideal beginner fabric is a tight, medium-weight woven. Cotton canvas, poplin, or a sturdy cotton twill are all winners. They are stable, easy to cut, and press well.
TL;DR: Get a basic machine, sharp scissors, an iron, and Gutterman thread. Use cotton canvas. Skip anything stretchy or slippery for bag one.
Fabric and Notions: Making the Right First Choice
Your fabric choice decides whether this project is fun or frustrating. Go to the fabric store and feel the “drape.” You want something that holds its shape when you hold a corner, not something that flows like a curtain. A 10-ounce cotton canvas is the sweet spot. It comes in 45-inch or 60-inch widths. For a simple tote, a half-yard of 60-inch wide fabric is enough.
You’ll also need fusible interfacing. This is a thin web that gets ironed onto fabric to add stiffness. Use a medium-weight like Pellon SF101 on your strap pieces. It prevents them from stretching out when the bag is loaded. Without it, your straps will dig into your shoulders.
Common mistake: Using quilting cotton without interfacing for straps, the straps will stretch and deform under the weight of a single hardcover book, usually within two weeks of regular use.
Consider these two common options head-to-head:
| Fabric Type | Best For | Risk If Chosen for a First Bag |
|---|---|---|
| Cotton Canvas (10 oz) | Structured totes, grocery bags | Minimal. Forgiving, easy to press. |
| Quilting Cotton | Lined bags, decorative projects | Too light; bag won’t hold shape without heavy interfacing. |
| Denim | Durable work totes | Too thick for some machines; can blunt needles quickly. |
| Polyester Blends | Water-resistant totes | Can be slippery; melts under a too-hot iron. |
Beyond fabric, buy a spool of thread that matches your main color. Get a package of universal sewing needles. Have a fabric marking tool on hand, a chalk pencil or disappearing ink pen. Pins or wonder clips are essential for holding pieces together before sewing.
Why does interfacing matter? Woven fabric has threads running in two directions. When you cut a long, narrow strap, those threads can pull apart under tension, a process called “bias stretch.” Fusible interfacing bonds a grid of fibers to your fabric, locking those threads in place. It turns a stretchy strip into a stable, load-bearing strap. Iron it on before you cut your strap pieces for the cleanest edges.
TL;DR: Buy 1/2 yard of 10-oz cotton canvas and 1/4 yard of Pellon SF101 interfacing. Match your thread. This combo guarantees a usable first bag.
The 7-Step Bump-Feed Replacement (and the One Step Nobody Skips)
This is the sequence. Do not jump ahead. The most common failure point is rushing the pressing. Every single seam gets pressed before you sew the next one. If you skip pressing, the layers shift and your bag twists.
Step 1: Cut Your Pieces.
Cut two identical rectangles for the bag body. A good starter size is 14 inches wide by 16 inches tall. This yields a finished bag about 13″ x 15″. Cut two straps: 4 inches wide by 22 inches long. Cut two pieces of interfacing the same size as your straps. Use a rotary cutter, a mat, and a clear quilting ruler for straight lines. Scissors work, but the lines won’t be as perfect.
Consequence: Uneven cutting leads to mismatched edges. Your side seams will pucker because one piece is longer than the other, forcing you to ease in the extra fabric.
Step 2: Fuse Interfacing and Make Straps.
Iron the interfacing to the wrong side (the less pretty side) of each strap piece following the manufacturer’s directions. Let it cool. Fold one strap in half lengthwise, wrong sides together, and press. Open it up. Now fold each long raw edge inward to meet the center crease you just made. Press again. You should have a long strip with all raw edges hidden inside. Topstitch close to both long folded edges. Repeat for the second strap.
Consequence: Skipping the interfacing means your straps will stretch like taffy. Skipping the pressing before topstitching means the fabric won’t stay folded and your stitching will catch loose layers.
Step 3: Attach Straps to the Bag.
Take one of your bag body pieces. This is the front. Lay it right side up. Measure 3 inches in from the left side edge. Pin the raw end of a strap here, aligning the strap’s raw edge with the top raw edge of the bag piece. The strap should be pointing down toward the bottom of the bag. Do the same on the right side, 3 inches in from the right edge. Baste the straps in place using a 1/4″ seam allowance. This is just a temporary hold.
Consequence: If you attach the straps after sewing the bag together, you’ll be wrestling the whole bag under the machine arm. It’s awkward and the placement is never as even.
Step 4: Sew the Bag Sides and Bottom.
Place your two bag pieces right sides together, with the straps sandwiched between. Pin around the two sides and the bottom. Sew with a 1/2″ seam allowance. Start at one top corner, sew down the side, across the bottom, and up the other side. Leave the top completely open. Backstitch at the beginning and end. Press the seams open.
Consequence: Not backstitching at the top of the side seams is the main reason straps tear out. The stress point is right there, and a simple seam will unravel.
I once used a 1/4″ seam allowance on a canvas tote because the pattern said it was “standard.” The bag held a gallon of milk from the store. Halfway to the car, the bottom seam split open like a zipper. Milk everywhere. I now use 1/2″ for anything meant to carry weight.
Step 5: Box the Corners.
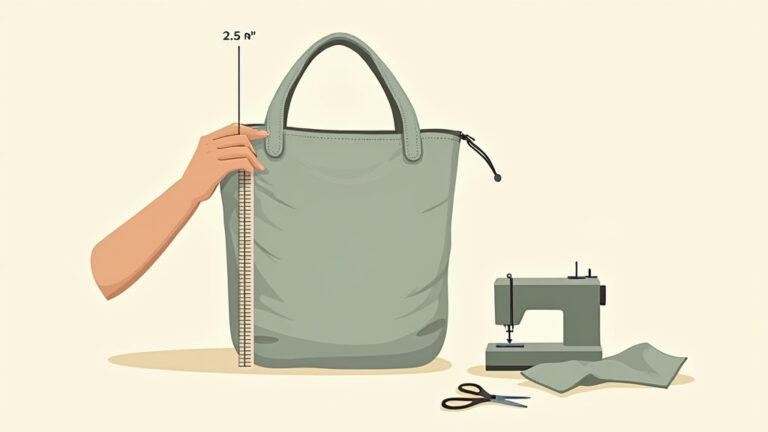
This step creates the flat bottom. Reach into the bag and pull one bottom corner out so the side seam and the bottom seam are aligned, forming a point. Flatten this point into a triangle. The side seam should run down the center. Measure 2 inches from the tip of the triangle and draw a line perpendicular to the seam. Sew straight across on this line. Do this for both corners. Cut off the excess triangle about 1/4″ beyond your stitching line.
Consequence: If you don’t align the seams perfectly before sewing, your bag will sit crooked. It will twist and never rest flat.
Step 6: Finish the Top Edge.
Press the top raw edge 1/4″ to the wrong side. Then press it down another 1″. This creates a clean, double-fold hem. Pin it in place. Topstitch close to the inner folded edge, all the way around the bag opening. Go slow here to keep it even.
Consequence: A single-fold hem will fray over time. The raw edge will peek out after a few washes and look messy.
Step 7: Final Press and Inspect.
Turn the bag right side out. Poke the corners out fully. Give the entire bag a vigorous press with the iron. Check every seam. Look for any gaps, especially where the straps meet the bag. If you see a small hole, reinforce it with a few hand stitches.
TL;DR: Cut, interface straps, attach straps, sew sides/bottom, box corners, hem top, press. Press every seam. The boxing step is where most bags go crooked.
What to Do When Your Machine Acts Up
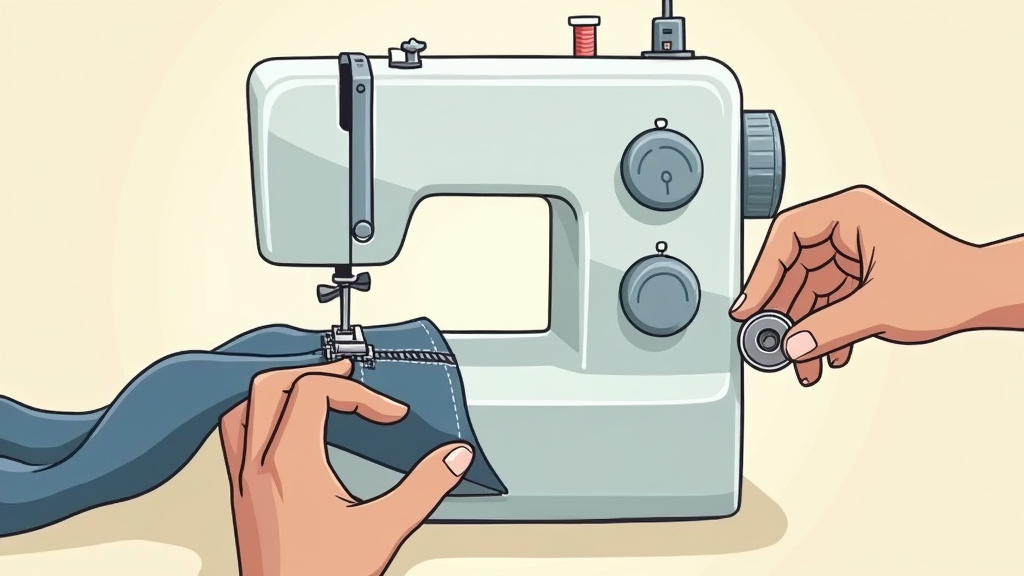
You will have tension issues. The thread will bunch underneath in a bird’s nest. First, re-thread the entire machine, top thread and bobbin. This fixes 80% of problems. Make sure your presser foot is down when you sew. If the fabric isn’t feeding, check that the feed dogs are up and not clogged with lint.
If the needle keeps breaking, you’re pulling the fabric instead of letting the machine feed it. Guide gently from the front and back. Also, a bent needle from a pin strike will break on the next seam. Change your needle after every 6-8 hours of sewing.
Common mistake: Using old thread that’s been in a drawer for years, it becomes brittle and snaps randomly mid-seam, leaving you with a half-sewn piece and a jammed bobbin case.
For persistent skipped stitches, change your needle. A dull or slightly bent needle won’t penetrate the fabric layers cleanly. Switch to a fresh universal or denim needle. If you’re sewing multiple layers (like where the strap attaches), go slow. Let the machine’s motor work at its own pace; forcing it causes jams.
Sometimes the issue is the bobbin. The bobbin thread should be wound evenly and placed in the case with the thread tail pulled through the tension spring. If it’s just dropped in loosely, the upper and lower threads won’t lock together correctly. Consult your machine’s manual for the exact diagram.
TL;DR: Re-thread everything first. Change your needle. Don’t pull the fabric. These three actions solve most beginner sewing machine problems.
Your Next Project: Where to Go After the Basic Tote
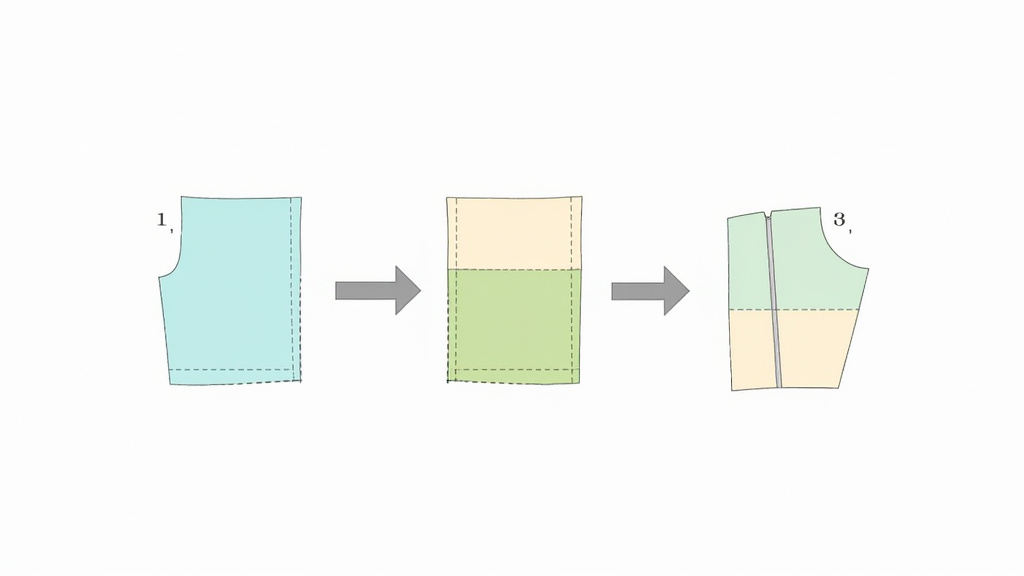
Once your first tote bag is done, you have the core skills. Now you can add complexity intentionally. A logical next step is a simple tote bag sewing guide that introduces lining. Lining hides all the raw seams inside the bag and gives it a professional finish.
Want more structure? Try a flat-bottom tote bag tutorial. This uses a rectangular gusset piece sewn between the front and back, creating a bag that stands upright on its own. It’s excellent for a grocery bag or a project tote.
If you’re ready for closures, learn about adding a secure closure. Installing a zipper across the top of a tote keeps contents safe. It’s a fantastic skill that translates to pouches, cosmetic bags, and luggage accessories. Start with a nylon coil zipper, they’re more forgiving than metal ones.
For a different look, a reversible bag project lets you use two contrasting fabrics. The construction is clever, resulting in a bag with no visible raw edges that can be flipped inside out. It teaches precision in seam allowance and pressing.
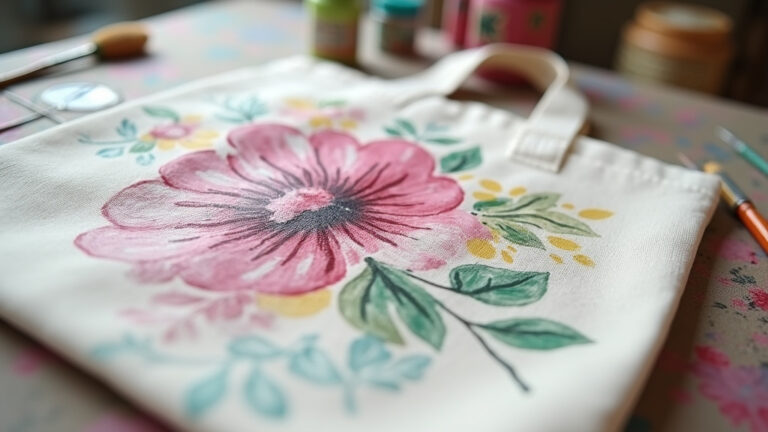
Finally, consider personalizing a plain tote. Add pockets, embroidery, or fabric paint. This is where you move from following instructions to applying your own design. It’s also how you salvage a first bag that has a few cosmetic flaws.
TL;DR: After mastering the basic tote, add a lining, try a flat bottom, install a zipper, make it reversible, or decorate it. Each skill builds on the last.
Frequently Asked Questions
What is the easiest fabric to sew a tote bag for beginners?
Medium-weight cotton canvas or duck cloth is the easiest. It’s stable, doesn’t stretch, presses crisply, and is forgiving of minor tension issues. Avoid quilting cotton for your first bag, it’s too light and requires extensive interfacing to be useful.
Can I sew a tote bag by hand?
Yes, but it’s labor-intensive and the seams won’t be as strong. Use a sturdy hand-sewing needle and a strong thread like buttonhole twist. Employ a backstitch for all major seams. A hand-sewn bag is a great practice piece for understanding construction, but for daily use, machine sewing is recommended.
How much does it cost to make a tote bag compared to buying one?
For a basic canvas tote, materials cost roughly $10-$15 for fabric, thread, and interfacing. A comparable store-bought canvas tote costs $15-$25. The real value isn’t savings, it’s customization, quality control (your seams are stronger), and the acquired skill.
What size should I make my first tote bag?
finished size of approximately 13 inches wide by 15 inches tall is ideal. It’s large enough to hold a standard notebook and a few books, but small enough that it doesn’t require excessive fabric. This scale is manageable under the sewing machine arm.
Why did my tote bag turn out inside out?
You likely sewed the main pieces with right sides together, then forgot to turn it right side out before boxing the corners. If the seams are on the outside, you’ve made a “deconstructed” style. Embrace it, or carefully clip the boxing seams, turn it, and re-sew.
How do I wash a handmade canvas tote bag?
Turn it inside out. Wash in cold water on a gentle cycle. Tumble dry on low or, better yet, air dry. The heat of a dryer can shrink cotton canvas slightly and set wrinkles. Iron it while slightly damp to restore its shape.
The Bottom Line
Sewing your first tote bag teaches you the fundamental rhythm of garment and accessory construction: cut, interface, press, stitch, press again. The specific skills, consistent seam allowance, strap making, boxing corners, are the building blocks for every bag you’ll make after this.
Your first one will have flaws. One strap might be sewn on slightly crooked. The topstitching may waver. That’s not failure; it’s the prototype. The second bag will take half the time and look twice as good. The real goal isn’t a perfect bag. It’s learning how your machine feeds fabric, how an iron transforms a seam, and how following a sequence yields a physical object you can use.
Grab that half-yard of canvas and start. The only way to learn where the 1/2″ seam allowance really is on your machine’s throat plate is to sew it wrong once. Then you’ll know forever.