How to Add a Zipper to a Tote Bag: A Complete Guide
This post contains affiliate links. As an Amazon Associate, we earn from qualifying purchases.
To add a zipper to a tote bag, you must match three things: the zipper type, the installation method, and the right preparation. This ensures a stable, professional closure. The actual sewing is quick, but this planning phase determines if your finished bag looks factory-made or like a clumsy repair.
Most people grab the first zipper they find and try to stitch it straight onto the bag’s top edge. That gives you a floppy, puckered mess that catches on everything inside. The zipper tape needs a stable foundation, and the raw ends need to be finished before you ever touch the machine.
This guide walks through the three professional methods, recessed, top-mount, and panel gusset, and the tools that make the difference between a hack job and a clean install. We’ll cover how to retrofit a zipper onto an existing bag and how to build one into a new project from the start.
Key Takeaways
- A zipper should be 1-2 inches shorter than your bag’s opening width. Adding fabric end tabs bridges the gap and creates squared-off, professional finishes that won’t fray.
- Fuse woven interfacing to the wrong side of your zipper tape before you sew. Skipping this step is the number one reason zippers pucker and wave on canvas or heavy cotton.
- Use a separating zipper if you want the bag to open fully like a suitcase. Non-separating zippers are for pockets and smaller closures.
- For a recessed zipper, you stitch the zipper between two fabric facing strips first, then attach that whole panel to the bag. This buries the zipper teeth below the top edge for security and a minimalist look.
- Hand-sewing a zipper is viable with a backstitch and patience, but you must match your thread weight to the zipper coil size. A size 90/14 needle and polyester thread handle canvas without breaking.
Tools and Materials You’ll Need
Gather everything before you cut a single thread. Rushing to find a seam ripper mid-project guarantees a mistake.
You need a sewing machine with a zipper foot. The regular presser foot can’t get close enough to the teeth without hitting them. A universal foot will jam, skip stitches, and possibly break the needle. The zipper foot mounts off-center, letting you stitch a clean, tight line right next to the coil.
For thread, use Gutermann or Coats & Clark polyester. Cotton thread abrades and snaps under the stress of a zipper pull. Polyester has more stretch and strength. Match your needle to your fabric: a 90/14 universal or denim needle punches through canvas and multiple layers without deflecting.
A size 3 (4.5mm) nylon coil zipper with a small slider works for light to medium-duty totes. For heavy canvas or bags that will see real weight, step up to a size 5 (7mm) coil or a metal tooth zipper. The larger teeth engage more fabric tape, distributing the pull force.
Fusible woven interfacing is non-negotiable. It’s a lightweight mesh you iron onto the wrong side of your fabric or zipper tape. Without it, the zipper tape stretches independently from the bag fabric. The result is a wavy, puckered mess within two weeks of use. You’ll see ripples along the tape every time you zip it closed.
Other essentials:
– Seam ripper
– Sharp fabric scissors
– Fabric clips or glass-head pins
– Iron and pressing cloth
– Ruler and fabric marker or chalk
– Optional but helpful: Double-sided basting tape, a walking foot for thick layers, a rotary cutter and mat.
TL;DR: Get a zipper foot, polyester thread, a 90/14 needle, and fusible interfacing. Without these, the install will look homemade.
Choosing the Right Zipper and Method
Not all zippers are equal, and the wrong pick fails fast. Your fabric weight and how you use the bag decide the winner.
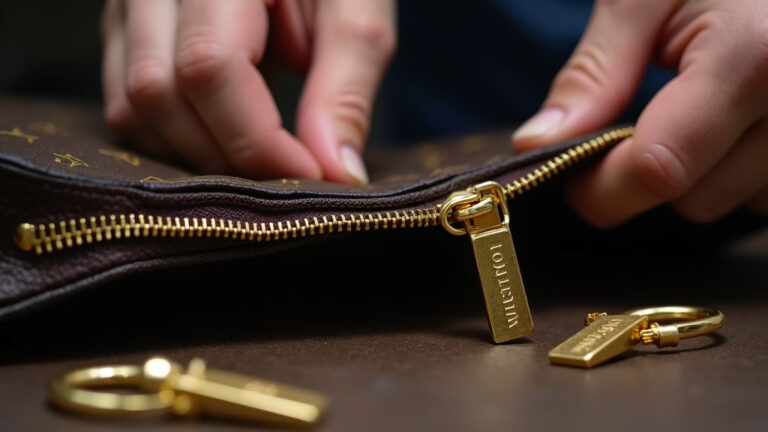
Nylon coil zippers are flexible and easy to sew over. They’re the default for most DIY canvas tote bag guide projects. Metal zippers look crisp and are more durable, but the teeth can catch thread if your needle strays. For a truly waterproof bag, a TPU waterproof zipper has sealed teeth and a laminated tape. They’re stiff and require a specific foot, but nothing gets past them.
| Zipper Type | Best For | Risk If Skipped |
|---|---|---|
| Nylon coil (size 3, 4.5mm) | Light to medium canvas, everyday totes | Teeth can deform under heavy load, pull slips off track |
| Metal tooth (brass, aluminum) | Heavy-duty canvas, structured bags, fashion totes | Teeth catch thread, can rust if not coated |
| TPU waterproof (size 5, 7mm) | Outdoor, travel, or beach totes | Requires specific presser foot; standard foot won’t feed |
A separating zipper opens completely, like on a jacket. Use it if you want to lay the bag flat for packing. A non-separating zipper is one continuous loop. It’s for pockets or bags where you only need an opening partway across the top.
The three main installation methods serve different goals. A recessed zipper sits below the bag’s top edge, attached to two facing strips. It looks integrated and secure. A top zipper with end tabs lays across the opening, stitched directly to the bag and lining. It’s the fastest method. A zipper panel gusset is a dedicated panel that runs across the opening and joins the side seams. It’s the most secure, luggage-like closure.
Common mistake: Buying a zipper the exact width of your bag opening, the ends will be raw, the tape will fray after three washes, and you’ll have no seam allowance to square off the corners. Cut it an inch shorter and add fabric tabs.
Preparing the Bag and Zipper
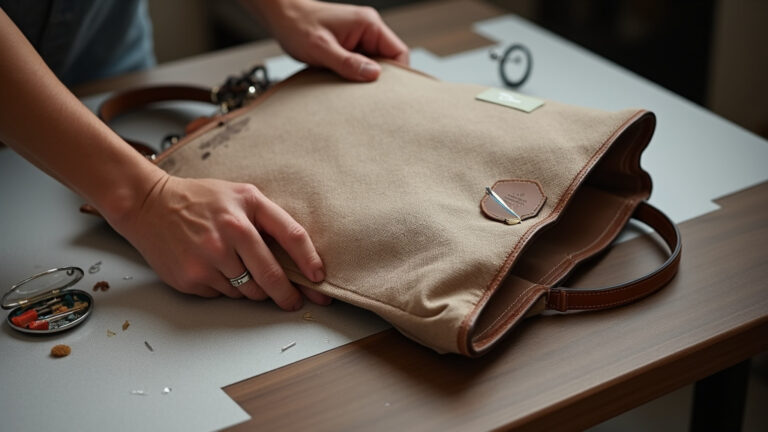
If you’re adding a zipper to an existing tote, start by unpicking the top seam. Use a seam ripper carefully, slice every third stitch, then pull the thread chain from the back. Cutting every stitch takes three times as long. For a new bag, simply plan the opening width and mark it with chalk.
Your zipper length is not the bag’s width. Cut the zipper 1 to 2 inches shorter than the measured opening. This gives you room to add fabric end tabs. For a separating zipper, you can go up to 4 inches longer than the bag’s width to allow a wider opening.
Fuse a strip of interfacing to the wrong side of the zipper tape. Extend it about half an inch beyond where the tape will meet the bag fabric. This stabilizes the entire stress zone. If you’re doing a recessed zipper or panel, also interface the facing fabric strips.
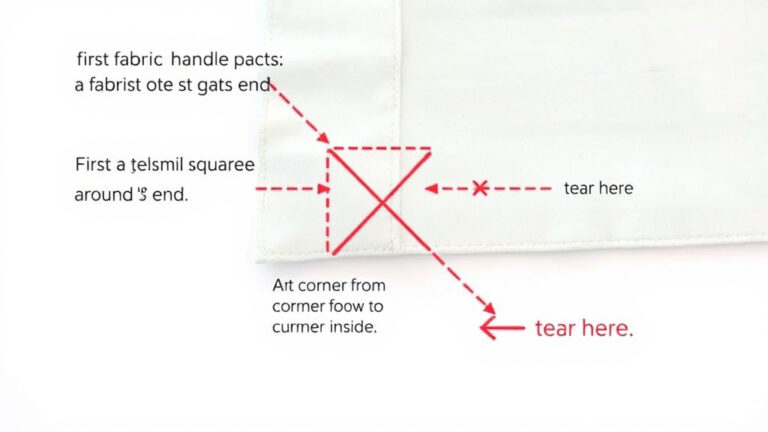
Create the end tabs. Cut two fabric rectangles about 3 inches by 2 inches. Fold one around each end of the zipper tape, right sides together, and stitch across. Turn them right side out and press. You now have clean, square ends that won’t fray and give you a solid anchor point for sewing the zipper to the bag.
TL;DR: Unpick the top seam, cut the zipper short, interface the tape, and make fabric end tabs. Do this before touching the machine.
The Recessed Zipper Method
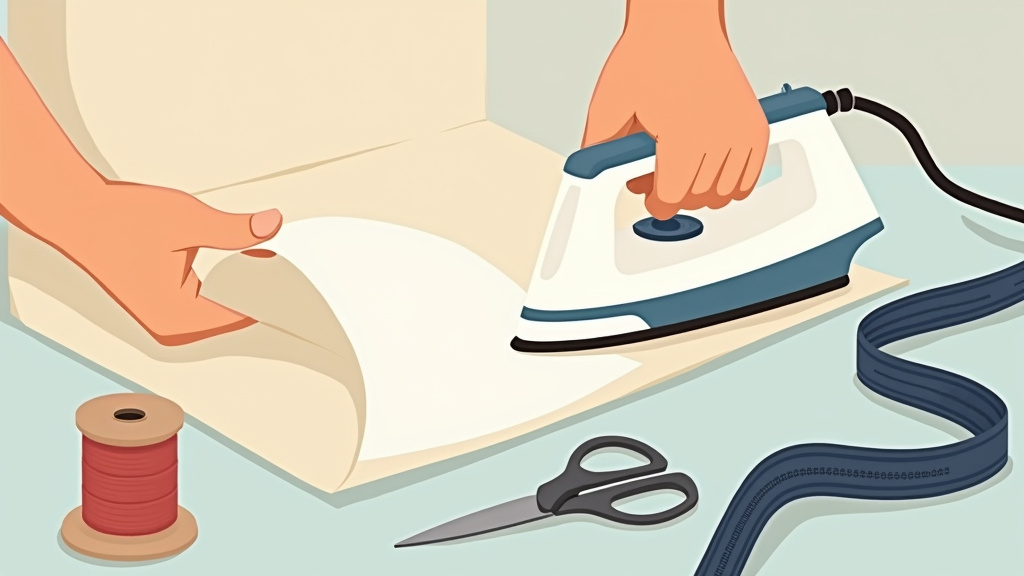
This is the cleanest, most professional look. The zipper sits in a well below the bag’s top edge, protected from rain and snags.
You need two fabric strips (the facings) cut to the length of your zipper plus 1 inch, and the width of your desired recess depth plus seam allowances. A common depth is 1.5 inches.
- Interface the facing strips. Fuse interfacing to the wrong side of both strips. This keeps them from stretching when you attach the zipper.
- Pin the zipper. Place the zipper face down on the right side of one facing strip, aligning the tape edges. The zipper teeth should point inward. Use clips to hold it. Stitch down the length using your zipper foot, about 1/4 inch from the edge.
- Attach the second facing. Place the second facing strip right side down on the zipper sandwich. Pin, then stitch the other side of the zipper tape to this strip. Press the seams away from the zipper.
- Topstitch the facings. Flip the assembly over and topstitch along both sides of the zipper, about 1/8 inch from the seam. This flattens the fabric and adds durability.
- Sew the panel to the bag. With the zipper closed, align the right side of the recessed panel with the right side of your bag top. Match the center points and ends. Stitch with a 1/2-inch seam allowance. Press the seam allowance toward the bag, then topstitch along the exterior to secure.
The first time I tried this without interfacing the facings, the whole panel twisted. The bag fabric was medium-weight canvas, but the facing strips were a lighter quilting cotton. They stretched under the machine’s feed dogs, and the finished zipper sat crooked. I had to seam rip the entire thing and start over with fused interfacing. Now I interface anything that touches zipper tape.
The Top-Mount Zipper with End Tabs
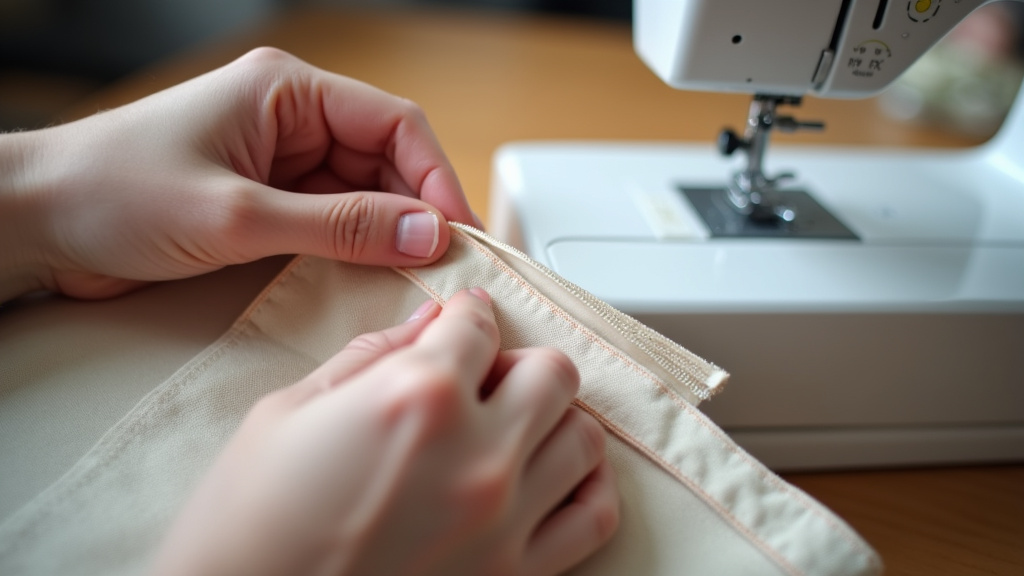
This is the fastest way to add a zipper to a finished tote bag. The zipper lays across the top opening, secured between the outer bag and the lining.
If your bag is unlined, you’ll need to add a lining or facing strip for this to work cleanly. An unlined tote bag guide usually skips this, but for a zipper, you need that interior layer to hide raw edges.
- Prepare the zipper with tabs. Use the end tabs you made earlier. With the zipper closed, pin the tabs to each end, right sides together.
- Mark strap positions. Close the zipper and lay it across your bag’s top opening. Mark on the zipper tape where the bag’s side seams and any straps align. This keeps everything symmetrical.
- Pin the zipper to the bag. Open the zipper. With the right side of the zipper tape facing the wrong side of the bag’s top edge, align your marks. Pin the zipper tape along the entire top edge, leaving the tabs extending past the bag corners.
- Sew the zipper. Using your zipper foot, stitch the zipper tape to the bag with a 3/8-inch seam allowance. Go slowly over the end tabs, the layers get thick.
- Attach the lining. Place the lining (or a second facing strip) right side down over the zipper, sandwiching the tape. Stitch around the entire top edge, enclosing the zipper. Turn the bag right side out through the lining gap if you left one, or through the zipper if it’s separating.
- Topstitch. From the outside, topstitch along the bag’s top edge, close to the zipper teeth. This gives a finished look and secures the lining.
I won’t use a metal zipper for a top-mount on thin canvas. The weight of the metal teeth, combined with the leverage of the pull, can tear the stitch line after a few months of hard use. For heavy bags, either recess the zipper or use a heavy-duty nylon coil.
The Zipper Panel Gusset Method
This method builds the zipper into a separate panel that becomes the bag’s top band. It’s the most secure, common on luggage and high-end structured tote bag project designs.
The panel is a long strip of fabric, as wide as your desired finished band height plus seam allowances, and as long as your bag’s perimeter plus extra for the zipper.
- Cut and interface the panel. Cut your fabric strip. Fuse interfacing to the entire wrong side. This panel needs to be stiff.
- Install the zipper in the panel. Decide where you want the zipper to be, centered or off-center. Cut the panel at that point. Attach the zipper between the two panel pieces using the same method as the recessed zipper (face the zipper to the right side of one panel piece, then attach the other). Press seams away from the zipper.
- Create the continuous band. Topstitch along both sides of the zipper on the panel’s right side. You now have one long, rigid band with a zipper in it.
- Attach the band to the bag body. With the zipper closed, pin the right side of the panel to the right side of the bag’s top edge, matching side seams. The panel will be longer than the bag’s top circumference, this extra is ease for opening. Distribute the ease evenly. Stitch with a 1/2-inch seam allowance.
- Attach the lining. Repeat the process, attaching the panel to the lining. Turn the bag right side out through the zipper or a lining gap.
- Finish. Topstitch along the top and bottom of the panel from the outside, securing all layers.
This method adds significant structure. It’s overkill for a simple grocery tote, but for a professional tote bag finish that needs to hold its shape under books or tools, it’s the right choice.
Hand-Sewing a Zipper: When You Have No Machine
You can sew a zipper by hand. It’s slow, but it works. The stitch matters.
Use a backstitch. A running stitch won’t hold the tension. Thread a hand-sewing needle with a double strand of polyester thread. Knot the end.
Start by basting the zipper in place with long, loose stitches. This holds everything while you do the permanent work. Then, work a backstitch along the zipper tape, about 1/8 inch from the edge. Keep your stitches small and even.
The biggest risk is the thread catching on the zipper teeth as you sew. Keep the zipper closed while you work. If you’re using a metal zipper, consider a thimble, pushing the needle through multiple layers of canvas and interfacing is hard on your fingers.
A hand-sewn zipper on heavy canvas takes about three hours. On lighter fabric, maybe ninety minutes. It’s a viable last resort, but your stitches must be tight. Loose stitches will abrade and snap the first time the bag is overfilled.
TL;DR: Use a backstitch, double-thread the needle, keep the zipper closed, and brace for a long sit. It’s stronger than glue, but not as strong as machine stitching.
Troubleshooting Common Zipper Problems
A zipper that puckers, catches, or won’t close smoothly is usually a prep problem, not a zipper problem.
Wavy or puckered zipper tape means the tape and the bag fabric are stretching at different rates. You didn’t use interfacing, or you stretched the tape while sewing. Fix it by seam ripping, fusing interfacing to the tape, and re-sewing with clips, not pins, to hold the tape flat without tension.
Common mistake: Stretching the zipper tape while sewing, the feed dogs pull the bottom layer (bag fabric) faster than the top layer (zipper tape), creating gathers. Use a walking foot or place tissue paper under the tape and tear it away after stitching.
The zipper pull comes off the track on a separating zipper. This happens if you cut the zipper too short and the end stop is too close to the bag’s edge. The pull hits the seam and derails. The fix is to add a longer fabric end tab to move the stop further from the edge. For a non-separating zipper, a missing top or bottom stop usually means the slider can run right off the end. You need to crimp a new metal stop or stitch a bar tack across the tape.
The zipper catches on the lining. This is a clearance issue. The lining is too loose and gets sucked into the zipper teeth when you close it. You need to topstitch the lining closer to the teeth or trim the lining seam allowance shorter. For a lined tote bag tutorial, the solution is to attach the lining separately to the seam allowance, not directly to the zipper tape.
| Problem | Likely Cause | Fix |
|---|---|---|
| Zipper won’t close smoothly | Fabric caught in teeth, misaligned tape | Seam rip, trim stray threads, re-sew with tape flat |
| Zipper pulls apart at ends | End stops missing or weak | Crimp new metal stops or sew a bar tack across tape |
| Fabric puckers along tape | No interfacing, tape stretched while sewing | Seam rip, fuse interfacing to tape, re-sew with clips |
| Lining gets caught | Lining too loose, too close to teeth | Topstitch lining down or trim seam allowance shorter |
TL;DR: Puckering means you need interfacing. Catching means trim the lining. A pull that comes off needs a longer end tab.
Zipper Care and Maintenance
A tote bag zipper sees more abuse than a jacket zipper. Grit, dust, and overstuffing wear it down.
Every few months, clean the teeth with a soft toothbrush. For a nylon coil zipper, you can run a bar of soap along the teeth to lubricate them. For metal teeth, a dry graphite lubricant works, avoid oil, it attracts more dirt. If the slider becomes hard to move, check for a bent tooth or thread caught in the coil.
If the slider fails, you can replace it without replacing the whole zipper. Buy a slider of the same size and type (locking or non-locking). Use pliers to carefully remove the old metal stop at the top of the zipper, slide the old slider off, slide the new one on, and crimp the stop back on. It takes five minutes and saves a full re-sew.
For long-term storage, don’t leave the zipper fully closed on an empty bag. It can set a crease in the tape. Leave it slightly open.
Frequently Asked Questions
Can I add a zipper to any tote bag?
Yes, but the method changes. A lined bag with a top seam is easiest, unpick the seam, insert a zipper panel. A bag without a lining needs you to add a lining or facing strips first. A simple tote bag construction with raw top edges requires the most prep work.
What is the strongest type of zipper for a heavy-duty tote?
size 5 (7mm) nylon coil zipper or a metal tooth zipper. The larger teeth engage more tape. For a durable canvas bag, pair a heavy-duty zipper with interfaced facing strips and reinforce the end tabs with a second row of stitching.
How do I shorten a zipper that’s too long?
Measure the desired length plus 1 inch for end tabs. Cut the zipper. For a coil zipper, use a lighter to melt the cut end and prevent fraying. For a metal zipper, you’ll need to stitch a new bar tack or add a new metal stop after cutting.
Can I use fabric glue instead of sewing?
You can, but it won’t hold under stress. Fabric glue creates a stiff bond that cracks with repeated flexing. For a temporary fix or a no-sew beginner tote bag tutorial, it works. For a bag that will carry weight, sewing is the only permanent solution.
Why does my zipper look wavy after sewing?
You didn’t interface the zipper tape or the facing fabric. The tape stretched under the machine’s tension. Seam rip, fuse interfacing to the wrong side of the tape, and re-sew using clips to hold everything flat without pulling.
How do I match the zipper color to my bag?
Buy a zipper a shade darker than your fabric. Zippers tend to look lighter once installed. If you can’t find a match, a contrasting color can be a design feature. For a unique tote bag materials project, a bright zipper on neutral canvas looks intentional.
The Bottom Line
Adding a zipper to a tote bag turns a simple carrier into a secure piece of luggage. The difference between a hack job and a clean install is prep: interfacing, accurate cutting, and fabric end tabs. Match the zipper type to your bag’s use, nylon for everyday, metal for heavy-duty, TPU for waterproof. The recessed method looks pro, the top-mount is fastest, and the panel gusset is the strongest.
Your first attempt will take twice as long as you think. The second will take half the time. The key is to go slow with the seam ripper and fast with the iron. Press every seam as you go. That crisp edge is what makes a homemade bag look store-bought.