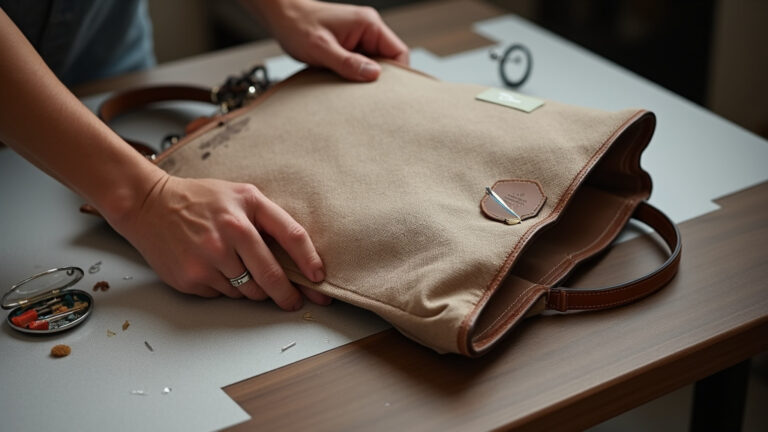
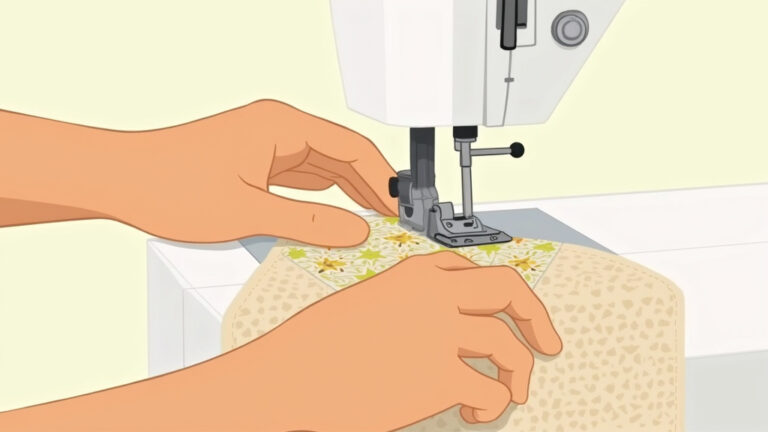
DIY Tutorial: How to Make a Tote Bag from Start to Finish
This post contains affiliate links. As an Amazon Associate, we earn from qualifying purchases.
To make a tote bag, you need three main fabric pieces (outer, lining, interfacing), cut to size, then follow a sequence of sewing the body, creating boxed corners, attaching handles, and assembling the lining. A consistent 1/2 inch seam allowance and pressing at every step are non-negotiable for a professional, durable result.
Most first attempts fail because the sewer rushes the handle attachment or guesses the boxed-corner measurement. The handles pull loose after a week of groceries, or the bag sits lopsided because one corner is a quarter-inch wider than the other. That flimsy feeling comes from skipping interfacing.
This guide walks through the seven physical steps, the exact tools that prevent common failures, and how to choose materials for a bag that lasts years, not months.
Key Takeaways
- Use a mid-weight cotton canvas or duck cloth for the outer layer, light quilting cotton sags under weight, and denim is too stiff for clean corners.
- Fuse interfacing (Pellon SF101) to the outer fabric before you sew a single seam. Skipping this creates a floppy bag that loses its shape after one use.
- Boxed corners are not optional for a functional bag. The standard depth is 2 inches; measure and sew this line accurately on all four corners.
- Reinforce handle attachment points with a box-stitch or multiple passes. The stress concentrates here, and a single line of stitching will fray within months.
- Topstitch the final top seam after turning the bag right side out. This secures the lining, closes the turning gap, and adds a professional finish that resists wear.
Choosing Your Fabric and Tools (Not the Pretty Stuff)
Head to the fabric store with a list, not a mood. The outer fabric needs to hold structure. Mid-weight cotton canvas, duck cloth, or a sturdy linen blend works. Avoid quilting cotton for the main body, it’s too light. The lining can be a lighter quilting cotton for contrast.
Fusible interfacing adds body without stiffness. Pellon SF101 (Shape-Flex) is a woven interfacing that moves with the fabric and doesn’t create a cardboard feel. Iron it onto the wrong side of your outer fabric pieces before cutting if your pattern calls for it; it’s easier to handle.
For straps, you have two paths. Cut 4-inch wide strips of your outer fabric, fold, and stitch them into tubes. Or, buy pre-made 1-inch wide cotton webbing. The webbing is stronger for heavy loads, but fabric straps look cleaner. If you make fabric straps, a Dritz loop turner is the fastest way to pull them right side out after sewing.
Your thread matters. Use an all-purpose polyester thread like Gutermann or a heavy-duty thread like Gutermann Mara 100 for high-stress areas. Match your machine needle to the fabric: a size 80/12 for linings, a 90/14 heavy-duty needle for canvas and multiple layers at the seams.
Common mistake: Using a universal needle on canvas, the point blunts against the tight weave, and you’ll hear skipped stitches before the seam starts to wobble. Switch the needle.
The 7-Step Assembly Sequence (In Order)
This isn’t a choose-your-own-adventure. The sequence exists because each step prepares for the next. Jump to attaching handles before sewing the side seams, and you’ll fight bulk at the corners later.
Before you start: Unplug your iron when not in hand, it stays hot enough to scorch fabric for ten minutes after the light goes off. Keep scissors closed and sheathed when moving them; a dropped pair can punch through a vinyl floor. If your machine starts making a thumping sound, stop. The needle is likely bent and will snap on the next thick seam.
Step 1: Cut Everything at Once
Cut two identical rectangles for the outer bag. A standard size is 16 inches wide by 18 inches tall. Cut two more from your lining fabric. Cut two from your fusible interfacing. For straps, cut two fabric strips 4 inches wide by 24 inches long (or longer if you want a shoulder carry). Label the pieces with masking tape if you’re using similar colors. Now fuse the interfacing to the wrong side of the outer fabric pieces. Press firmly with steam for 10 seconds per section.
Step 2: Make the Straps
Take your 4×24 inch fabric strips. Fold each in half lengthwise, right sides together, and press. Sew along the long edge with a 1/2 inch seam allowance. Use a loop turner to pull the tube right side out. This tool has a hook that grips the fabric, far easier than a safety pin. Press the strap flat with the seam centered on one side. Edge-stitch along both long sides. This keeps the strap flat and reinforces it.
I made a set of straps from a linen blend without edge-stitching. After two weeks of use, the internal seam allowance twisted, creating a permanent ridge that dug into my shoulder. I had to slice them open, re-press, and stitch. Now I edge-stitch every time.
Step 3: Sew the Outer Bag and Lining
Place your two outer fabric pieces right sides together. Pin along the two sides and the bottom edge. Sew with a consistent 1/2 inch seam allowance. Do not sew the top. Repeat this with the two lining pieces, but this time, leave a 4-inch gap in the center of the bottom seam. You’ll use this gap to turn the bag later. Press these seams open. This reduces bulk.
TL;DR: Sew three sides on the outer bag, three sides on the lining but leave a hole in the lining’s bottom seam. Press seams open.
Step 4: Create the Boxed Corners
This step gives the bag depth and a flat bottom. It’s the most common point of failure.
Take your sewn outer bag, still inside out. Flatten one bottom corner so the side seam aligns perfectly with the bottom seam, forming a triangle. The point is the original corner. Measure 2 inches from that point along the folded edge and draw a line perpendicular to the seam. This is your sewing line. Pin it.
| Corner Depth | Bag Bottom Width | Best For |
|---|---|---|
| 1 inch | ~4 inches | Small, flat accessory bag |
| 2 inches | ~5 inches | Standard grocery/library tote |
| 3 inches | ~6 inches | Deep bag for bulky items |
Sew across that line. Use a backstitch at the start and end. Trim the excess triangle off, leaving a 1/4 inch seam allowance. Repeat for the other bottom corner of the outer bag. Then, repeat the entire process for both corners of the lining. Accuracy here is everything. If one corner is 2 inches and the other is 2.5 inches, the bag will rock on a flat surface.
Common mistake: Not aligning the side and bottom seams perfectly before sewing the box line, the resulting corner is twisted, and the bag won’t sit flat. It’s visibly lopsided when empty.
Step 5: Attach Handles to the Outer Bag
Turn your outer bag right side out. The lining stays inside out. Press the top edge flat. Measure and mark points 3 inches in from each side seam on the top edge of the outer bag. This is where the strap ends go. Pin the raw ends of your straps to the right side of the outer bag, aligning them with your marks and pointing downward into the bag. The straps should be inside the bag’s interior at this point. Baste them in place within the 1/2 inch seam allowance. This temporary stitching just holds them for the next step.
Step 6: Assemble the Bag
This is the magic step. Take your lining (still inside out) and place your outer bag (right side out, with handles attached) inside it. Your outer bag is inside the lining, and right sides of both layers are facing each other. Match the top raw edges and align the side seams. The handles are sandwiched between the two layers. Pin all around the top edge.
Sew around the entire top edge with a 1/2 inch seam allowance. Go slow over the areas where the strap ends are sandwiched, eight layers of fabric here. Use your handwheel to manually feed the first few stitches.
Step 7: Turn, Press, and Topstitch
Reach through the 4-inch gap you left in the lining’s bottom seam. Pull the entire bag right side out. The outer bag is now on the outside, and the lining is inside. Push the lining into the outer bag. Use a blunt tool like a chopstick to push the corners out fully. Press the top seam allowance downward toward the lining. The gap in the lining seam needs to be closed. You’ll do this by topstitching.
Edgestitch 1/8 inch from the top folded edge all the way around the bag. This secures the lining, closes the gap in the lining seam, and locks the handles in place. For extra strength, stitch a second line 1/4 inch inside the first, creating a double topstitch.
Why a Lining and Interfacing Are Not Optional
A lining isn’t just for pretty fabric. It hides all the internal seams, creating a clean interior that won’t snag keys or sunglasses. It also adds a layer of structure. The lined interior construction allows you to use a lighter, prettier fabric inside while the outer canvas takes the abrasion.
Interfacing provides body. Without it, the bag walls collapse under the weight of a hardcover book. The interfacing distributes stress across the fabric weave. Fusible is easiest for beginners. Sew-in interfacing offers more control for tailored shapes but adds steps.
If you want a truly sturdy bag, consider a flat-bottom tote tutorial that uses a separate, rigid base panel. For everyday use, the boxed-corner method outlined here is sufficient. The key is choosing the right weight; a flimsy outer fabric will defeat even the heaviest interfacing.
How to Reinforce Handles for Heavy Loads
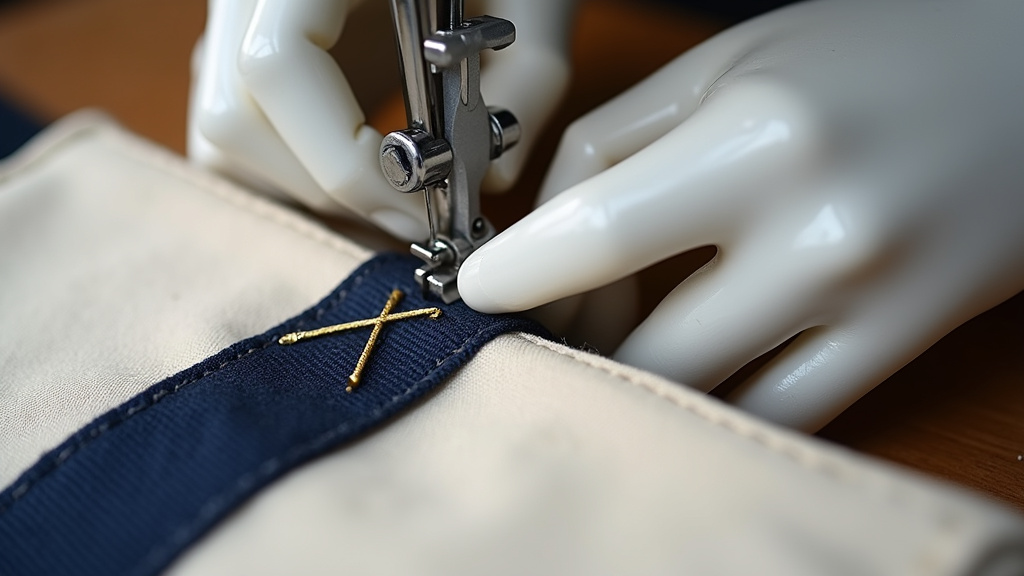
Handle attachment is the number one failure point. The stress isn’t just downward; it’s a rocking, pulling motion. A single line of stitching will fray.
After basting the handles in Step 5, reinforce them with a box stitch or an “X” stitch at the attachment points. Once the bag is fully turned and topstitched, go back and stitch a small rectangle or “X” over the strap ends on the outside of the bag, through all layers. This spreads the load.
For a durable canvas project meant for tools or groceries, use webbing straps and attach them with heavy-duty thread. Stitch back and forth over the webbing ends several times.
Common mistake: Attaching straps with only the topstitching line, the constant pull will rip the stitches through the fabric within six months of regular use. The fix requires unpicking the topstitch, re-basting the straps, and re-sewing the entire top seam.
Troubleshooting a Crooked or Lopsided Bag
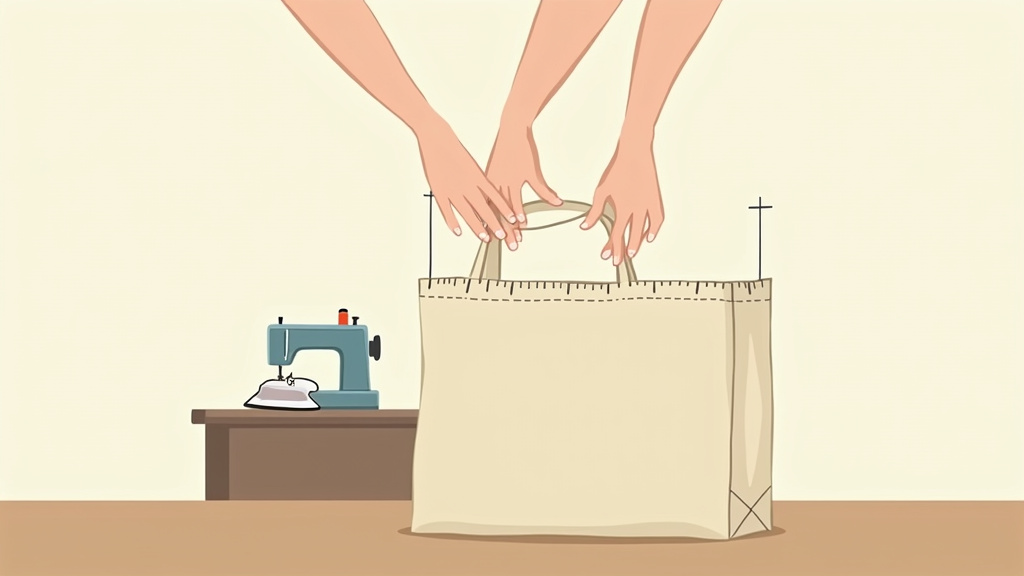
Your bag is done, but it wobbles. One side is taller. The corners are uneven.
First, check your initial cuts. Were the rectangles identical? Second, re-examine your boxed corners. Measure the distance from the point to your sewn line on all four corners. If they differ, that’s the culprit. There’s no easy fix after assembly, it’s a lesson in precision for the next bag.
If the top edge is wavy, you likely stretched the fabric while sewing the final top seam. This happens with lighter linings. The solution is to press thoroughly and use more pins, every inch, to distribute the fabric evenly before sewing.
For a professional finish on future bags, always press seams open or to one side before moving to the next step. Pressing sets the stitches and flattens bulk, which is the difference between homemade and handmade.
Frequently Asked Questions
What’s the best fabric for a beginner’s first tote bag?
Mid-weight cotton canvas or a heavy quilting cotton. They’re stable, easy to cut, and feed evenly through the machine. Avoid slippery fabrics like satin or stiff ones like heavyweight denim for your first attempt.
Can I make a tote bag without a sewing machine?
You can hand-sew one with a sturdy needle and strong thread, but it will take 4-5 times longer. The seams, especially where handles attach, won’t be as strong. For a durable bag meant for carrying weight, a machine is nearly essential.
How do I clean my homemade tote bag?
Check your fabric care. Most cotton canvas can be machine washed on cold and tumble dried low. Turn the bag inside out to protect the outer surface. If you used a zippered tote bag closure, close the zipper before washing to prevent snagging. Air dry is gentler on the seams.
My sewing machine keeps jamming when I go over the thick strap layers. What do I do?
You’ve hit a high-bulk area. First, ensure you’re using a 90/14 heavy-duty needle. Second, hand-wheel the machine slowly through the thickest part, don’t use the foot pedal. Third, consider trimming the strap ends at an angle before basting to reduce the stacked thickness.
What’s the difference between a boxed corner and a gusset?
boxed corner is created by sewing across a triangle of fabric on the existing bag piece, creating depth from the same fabric. A gusset is a separate strip of fabric sewn between the front and back panels to add width. Boxed corners are simpler and standard for basic totes; gussets allow for more complex shapes.
Is this a good starter sewing project?
Absolutely. A basic tote teaches straight seams, consistent seam allowances, pressing, and simple construction. It’s a practical beginner sewing project that yields a usable item. Once mastered, you can move on to adding pockets, zippers, or trying a reversible bag design.
Before You Go
A well-made tote bag is a workhorse. Its strength comes from three things: the right fabric, precise boxed corners, and reinforced handles. Skip the interfacing, and you have a sack. Guess the handle placement, and it will tear.
Start with a simple, lined design using cotton canvas. Master the 1/2 inch seam allowance and the 2-inch boxed corner. That foundation lets you build anything, add pockets, experiment with a quilted bag tutorial for padding, or try an upcycled bag project with heavier material. The skills transfer.
The bag you make following these steps will carry books, groceries, or beach gear for years. It’s a simple project that rewards patience over speed. Make your cuts accurate, your seams consistent, and press every time. The result holds up.