How to Pack a Suitcase: 7 Steps That Prevent Overweight Fees
This post contains affiliate links. As an Amazon Associate, we earn from qualifying purchases.
To pack a suitcase efficiently, you need a system that balances weight distribution, wrinkle prevention, and airline compliance. The core sequence is: cull your list, place heavy items over the wheels, roll soft fabrics into packing cubes, fold stiff garments flat, fill every cavity, weigh before zipping, and secure essentials in your carry-on.
Most people treat packing like a game of Tetris, shoving items in until the zipper strains. That approach guarantees wrinkles, overweight fees, and a frantic search for your charger at the hotel. The real problem isn’t a lack of space. It’s a lack of sequence.
Follow this seven-step system. It works for a week-long business trip, a family vacation, or a rugged hiking excursion. The principles are the same. The execution adapts.
Key Takeaways
- Weigh your bag at 48 pounds, not 50. Airport scales can vary, and that 2-pound buffer saves you a $100+ overweight fee at the check-in counter.
- Rolling works because it eliminates dead air. A rolled t-shirt has no folded crease to trap empty space, which is why you can fit 30 percent more soft knits in a cube versus folding them.
- Packing cubes don’t save weight, but they prevent chaos. A medium Eagle Creek Pack-It Cube holds one complete outfit. You unpack in seconds and never rummage through the entire bag for a pair of socks.
- Your shoes are your best packing tool. Stuff them with socks, belts, or rolled underwear. It protects the shoe’s shape and uses otherwise wasted volume.
- The bottom of your suitcase is a structural zone. Place dense items like shoes and toiletry kits directly over the wheels. This lowers the center of gravity so the bag doesn’t tip when you pull it.
Why Your Current Packing Method Fails (The Weight and Wrinkle Equation)
You start with good intentions. Then you add a “just in case” sweater. Then another pair of shoes. The bag feels heavy, but you assume it’s fine. At the airport, the scale flashes 52 pounds. You’re now that person repacking on the floor, stuffing jeans into a carry-on.
Overpacking doesn’t just cause fees. It physically stresses the suitcase’s frame and zipper. A Samsonite zipper strained past its designed tolerance will fail within 3–5 trips, usually at the worst possible moment.
The wrinkle problem has a similar root. Folding a dress shirt and then piling heavy items on top crushes the fibers along the fold line. The crease sets. Rolling a stiff cotton shirt, however, creates multiple, unpredictable creases that are harder to steam out. Your method must match the fabric.
TL;DR: Overpacking breaks bags and budgets. Wrinkles are caused by mismatched fabric and technique, not destiny.
The 7-Step Suitcase Packing Sequence (Start to Finish)
This isn’t a collection of tips. It’s a mandatory order. Skip a step, and you’ll create a problem two steps later.
Step 1: The Bed Audit – Lay Out and Cull
Empty your closet onto the bed. Include every charger, every pair of shoes, every potential outfit. Now, remove at least three items. Be ruthless with shoes, limit yourself to three pairs total. This visual reality check is non-negotiable. If you skip it, you will overpack.
Step 2: Build the Foundation – Pack the Bottom Layer
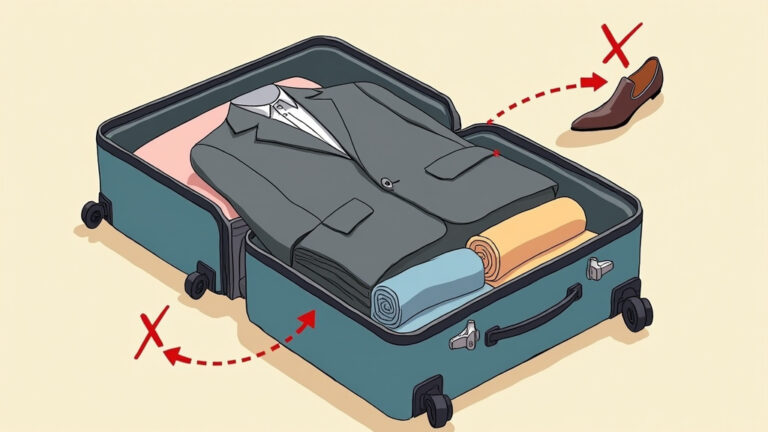
Open your suitcase flat on the floor, wheels down. This bottom compartment is for weight and structure. Pack your shoes (in dust bags or shower caps), your toiletry kit, and any other dense, hard items here. Place them directly over the axle line.
Common mistake: Packing shoes at the top, this raises the bag’s center of gravity, making it tippy and awkward to roll through a terminal.
Step 3: The Roll Zone – Soft Items into Cubes
Grab your t-shirts, polos, underwear, socks, pajamas, and casual pants like jeans or chinos. Roll each one tightly, like a sleeping bag. The tension keeps them compact.
Now, load these rolls into packing cubes. Don’t just throw them in. Pack them side-by-side, filling the cube’s grid. I use Eagle Creek Pack-It Specter cubes because the thin fabric adds almost no weight. A medium cube fits one complete outfit: two shirts, underwear, socks, and pants.
Step 4: The Fold Layer – Wrinkle-Prone Items Flat
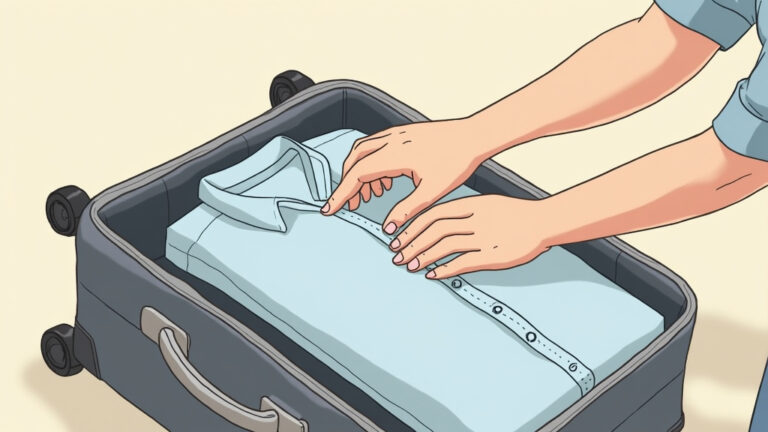
Your dress shirts, blazers, trousers, and skirts get folded. Use the method the dry cleaner does: fold along the existing seams and creases. Place a piece of tissue paper or a dry-cleaning bag between each layer. This slick surface allows the fabrics to shift slightly during transit instead of locking creases into each other.
Lay these folded items flat on top of the now-packed cubes. They form a protective, flat layer.
Step 5: Cavity Fill – Utilize Every Gap
Look at the leftover spaces. Stuff your rolled socks and belts inside your shoes. Tuck your rolled scarf along the suitcase perimeter. Slide your power bank and charging cables into the exterior zippered pocket or a small mesh bag. This step turns wasted air into useful storage.
Step 6: The Pre-Flight Weigh-In
Close the cubes and smooth the folded layer. Zip the suitcase. Now, weigh it with a digital luggage scale. The magic number is 48 pounds, not 50. Airport scale calibrations can vary, and you want a buffer. If you’re over, open the bag and remove the heaviest item. A pair of boots or a hardcover book usually does it.
Step 7: The Carry-On Contingency Plan
Your checked bag might get lost. Your flight might be delayed. Never check your essentials. Your personal item and carry-on combo must contain medications, your passport, a phone charger, a full change of clothes, and any jewelry or expensive electronics. Follow the TSA 3-1-1 rule for liquids in your quart bag.
Rolling vs. Folding: The Physics of Space and Wrinkles
This debate is pointless without context. The right choice depends on the fabric’s memory and the item’s structure.
| Technique | Best For | Why It Works | Risk If Used Wrong |
|---|---|---|---|
| Rolling | T-shirts, knits, underwear, jeans, casual pants | Eliminates folded air pockets; allows flexible stacking in cubes. | Creates permanent creases in stiff wovens like dress shirts. |
| Folding | Dress shirts, blazers, suit pants, skirts, dresses | Maintains intentional creases; provides a flat, stable layer. | Wastes space if used on bulkier knits; can set deep wrinkles if compressed. |
| Bundle Wrapping | Multi-day business trips with a single suit | Keeps a suit jacket and trousers together as a unit, minimizing movement. | Time-consuming; requires practice to master the wrapping sequence. |
Rolling is superior for volume because it removes the dead air trapped in a fold. A folded t-shirt has a raised crest running its length, that’s empty space. A rolled t-shirt is a solid cylinder. You can pack more cylinders in a given grid.
Folding is superior for structure. A dress shirt’s collar and placket need to hold their shape. Rolling crumples them unpredictably. A neat fold supports them.
I pack for a weekend trip using only rolling and cubes. For a week-long business conference, I fold my dress shirts and suit, then roll everything else. Your airline-specific packing rules matter here, too. If you’re on a budget airline like Frontier with strict size limits, rolling is your best friend for maximizing a small suitcase.
Packing Cubes, Compression Sacks, and Other Organizers
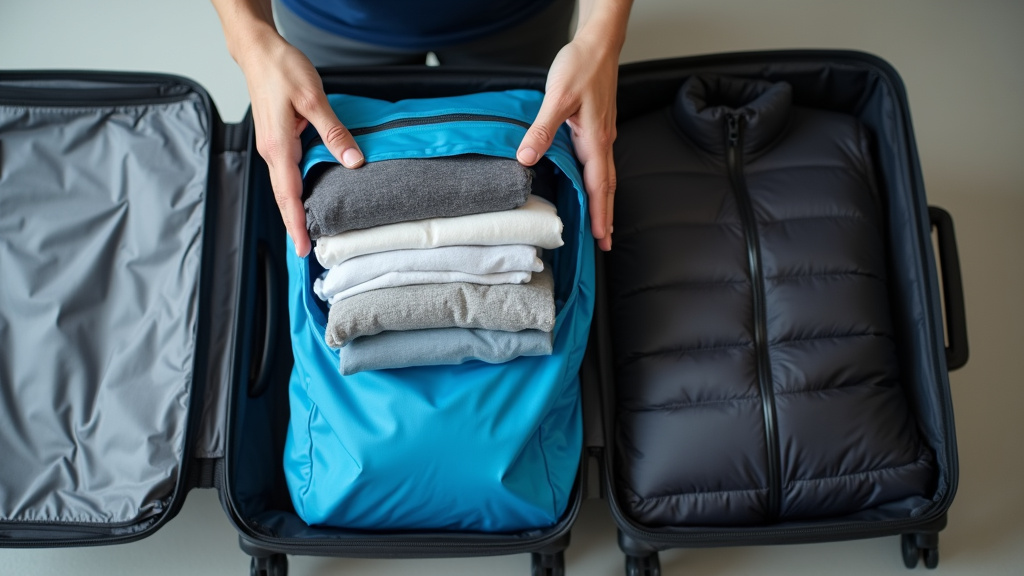
Packing cubes are not magic. They are partitions. Their value is organizational and psychological.
A set of three cubes, small, medium, large, lets you separate categories: underwear and socks in the small, daily outfits in the medium, and bulkier sweaters or gym clothes in the large. When you arrive, you pull out the cubes and place them in drawers. You never fully unpack your suitcase. Repacking is just as fast.
Compression sacks with one-way valves are a different tool. They are for down jackets, puffy coats, and sleeping bags. You roll the sack to force air out, drastically reducing volume. Do not use them on cotton tees or jeans. The extreme compression will set deep wrinkles that a hotel iron can’t fix.
I used a generic compression sack on a wool sweater for a trip to Iceland. The result was a felted, misshapen rag that never recovered its loft. Now I only use them for synthetic fills.
For most travel, a simple set of lightweight packing cubes is the smart play. They keep your family vacation essentials sorted and accessible.
Packing for Different Trip Types: Business, Adventure, Family
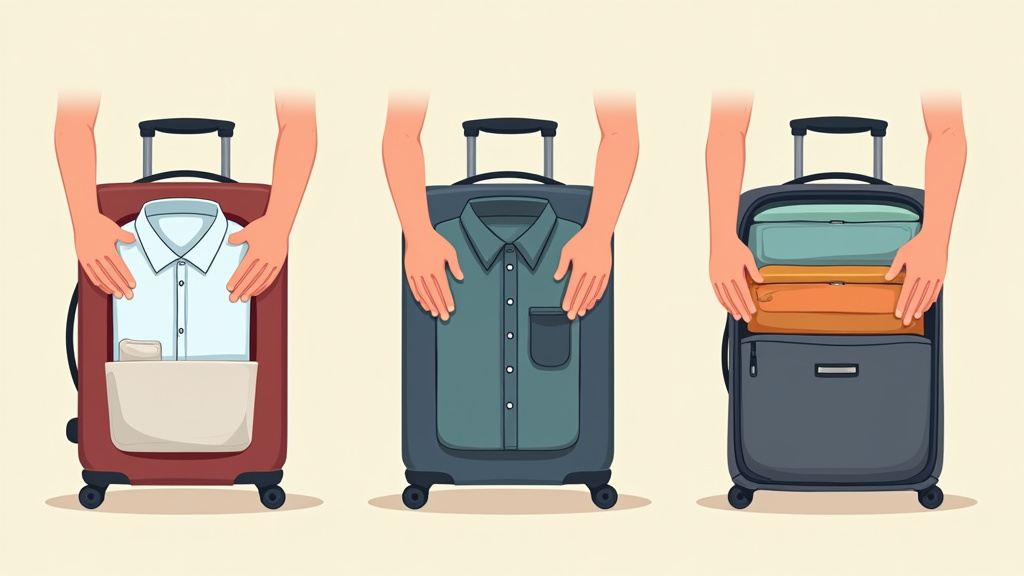
The core system stays the same. The gear list changes.
Business Travel (The Wrinkle-Free Mandate)
- Suitcase: A 22-inch carry-on spinner (like a Travelpro Crew 11).
- Core Technique: Bundle wrapping for your suit. Pack two dress shirts folded with tissue paper. Use a garment folder if your suitcase has one.
- Pro Move: Carry a handheld travel steamer. Hotel irons are often dirty and can scorch fabric.
Adventure Travel (The Durability Test)
- Suitcase: A durable travel backpack like the Osprey Farpoint 40 or a rugged rolling duffel.
- Core Technique: Rolling everything. Use waterproof dry bags inside your pack for wet gear or soiled clothes.
- Pro Move: Multi-day trip packing requires layering. Use merino wool base layers, they resist odor and dry fast.
Family Vacation (The Volume Game)
- Suitcase: One large checked bag per family, plus personal items.
- Core Technique: Color-coded packing cubes for each person. Roll all casual clothes.
- Pro Move: Pack a collapsible duffel bag inside your suitcase. Use it for souvenirs on the return trip, avoiding a last-minute purchase at the airport.
Understanding theme park bag policies is crucial here. If you’re heading to Disney World, you’ll need a bag that meets their security screening procedures and holds sunscreen, ponchos, and snacks for the day.
The Carry-On and Personal Item Strategy
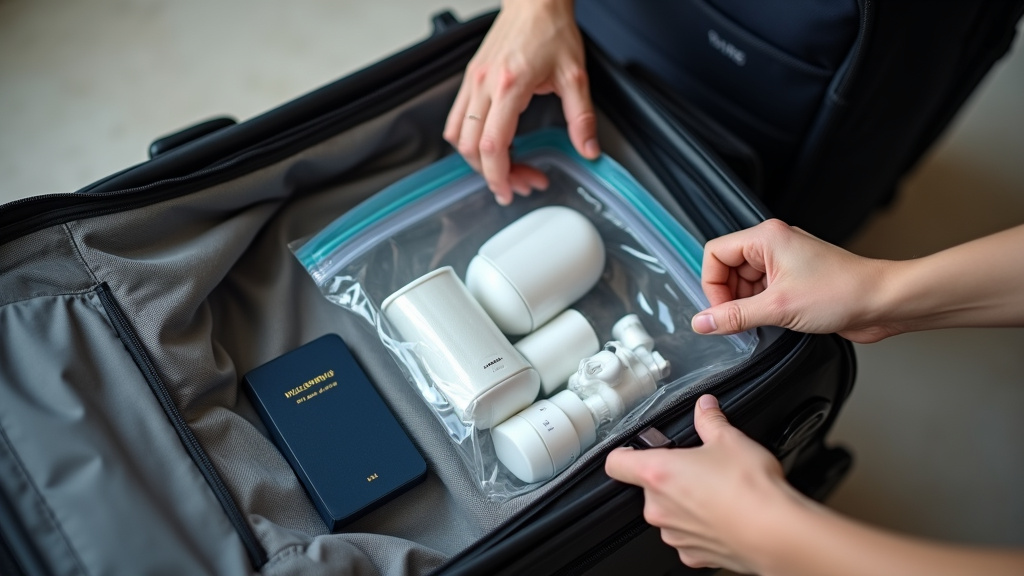
Your carry-on is your lifeline. Its packing follows stricter rules.
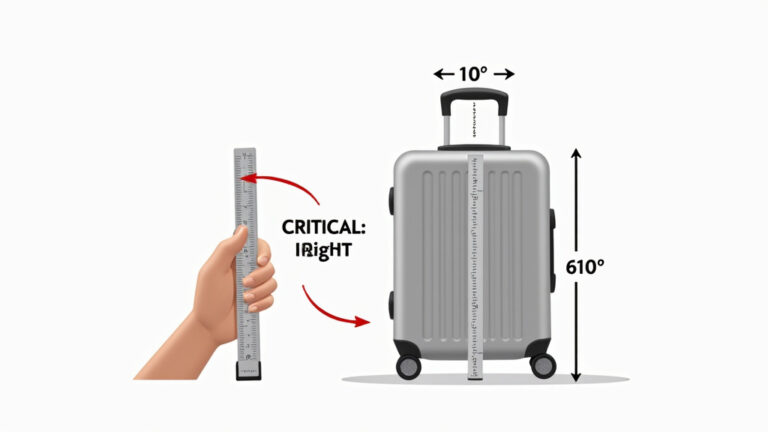
First, know your airline’s dimensions. A Delta Air Lines carry-on can be larger than a Spirit Airlines personal item. Check the carry-on size restrictions on your airline’s website before you pack.
Second, master the TSA 3-1-1 rule: liquids in containers of 3.4 ounces (100ml) or less, all inside one clear, quart-sized, resealable bag. This isn’t a suggestion. I’ve watched TSA agents toss a full-sized shampoo bottle because it was in a carry-on.
Before you start: A lithium-ion power bank must be in your carry-on, not checked baggage. Checked holds are not pressurized, and a damaged battery can cause a fire. Also, never pack sharp tools like multi-tools or knives in your carry-on, they will be confiscated during TSA security screening.
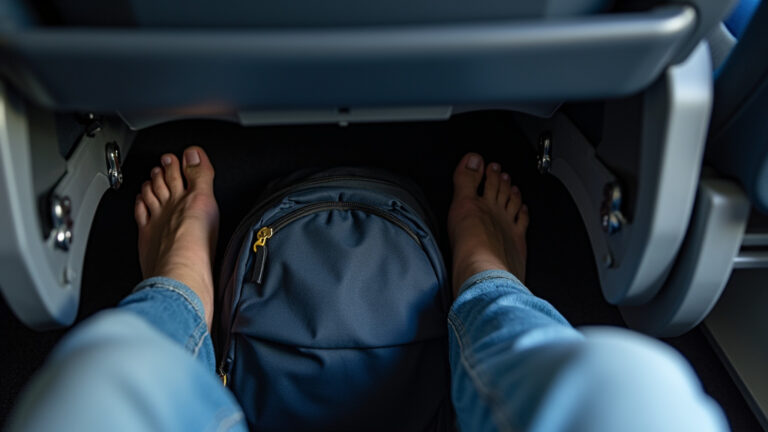
Your personal item (backpack, large purse) should hold everything you need for 24 hours without your checked bag: a change of clothes, toiletries, medications, your laptop, and important documents. This is your in-flight essentials bag.
Frequently Asked Questions
What is the most common packing mistake?
Overpacking “just in case” items. It leads to overweight bags, disorganization, and physical strain on the suitcase zippers. You can buy almost anything you forget at your destination.
Do packing cubes actually save space?
They save organized space and can compress soft items slightly, but their primary benefit is compartmentalization. They turn your suitcase into a set of drawers, making packing and unpacking systematic instead of chaotic.
How do I prevent my clothes from smelling musty?
Place a dryer sheet or a small sachet of baking soda in each packing cube. For longer trips, pack a few core items in merino wool, which naturally resists odors. Always unpack and air out your clothes as soon as you arrive at your hotel.
Can I lock my checked suitcase?
Yes, but use a TSA-approved lock. These have a special keyway that allows TSA agents to open them with a master key if they need to inspect your bag. A non-TSA lock will be cut off.
What’s the single best investment for better packing?
digital luggage scale. It costs less than $20 and will save you from a single overweight baggage fee, paying for itself instantly. Knowing your bag’s weight before you leave for the airport removes all guesswork and stress.
The Bottom Line
Packing a suitcase well is a repeatable mechanical process, not an art. It demands you make choices on your bedroom floor, not at the airport check-in counter. Follow the seven-step sequence: cull, build a heavy base, roll soft items, fold stiff ones, fill gaps, weigh, and secure your carry-on.
Your reward is a bag that rolls smoothly, stays under the weight limit, and opens to reveal organized, presentable clothes. That confidence is worth more than any extra pair of shoes you left behind. Now go pack.