How to Wash a Sleeping Bag Without Damaging Its Insulation
This post contains affiliate links. As an Amazon Associate, we earn from qualifying purchases.
To wash a sleeping bag, you need three things: a large-capacity front-loading washer, a technical cleaner matched to your insulation (down or synthetic), and a low-heat dryer. The process is gentle agitation, double rinsing, and extended drying, often 2-4 hours, with clean tennis balls for down to break up clumps. Never use a top-loading machine with an agitator, standard detergent, or high heat.
That front-loader spec isn’t optional. An agitator column wraps the bag’s baffles and tears seams on the first spin cycle. The repair costs more than the wash.
What follows: the exact washer and dryer sizes manufacturers list, the two cleaning products that don’t strip natural oils, and the single storage mistake that compresses insulation for good.
Key Takeaways
- Front-loading washers are mandatory. A top-loader’s agitator shreds baffles and tangles the fill.
- Match your soap to the fill. Down needs a down-specific cleaner like Nikwax DownWash; synthetic needs a technical wash. Standard detergent leaves a residue that collapses loft.
- Dry on low heat only. High heat melts synthetic fibers and damages down clusters. Expect 2-4 hours in a large dryer, adding tennis balls for down after the first hour.
- Store it loose, never compressed. A damp bag packed tight grows mold in a week. A dry bag kept in its stuff sack loses loft permanently within a season.
- Wash frequency is about nights, not trips. Clean a down bag every 40-50 nights of use; synthetics can go longer but collect oils faster.
Before You Start: The 3 Non-Negotiables
Skip any of these and you’re washing a ruined bag. The damage happens inside the machine, where you can’t see it until you pull out a lumpy, torn mess.
You need a front-loading washing machine. Top-loading machines with a central agitator column are banned by Therm-a-Rest and Mammut. The agitator wraps the bag, stretches the baffle stitching, and tangles the fill. A front-loader’s tumbling action is gentle enough for the seams.
The drum must be big enough. Jack Wolfskin’s care sheet calls for an 8 kg minimum drum capacity, with 12 kg preferred. That’s a commercial laundromat size. A standard home machine crams the bag, preventing proper rinsing and leaving soapy clumps in the insulation.
Use a technical cleaner, never laundry detergent. Detergent leaves surfactants that coat down clusters, so they can’t loft. It also breaks down the natural oils in down that provide resilience. For down, use Nikwax DownWash or Rab’s Down and Synthetic Wash. For synthetic fills, a product like Nikwax Tech-Wash works.
Common mistake: Using a top-loading washer with an agitator. The bag wraps around the column during the spin cycle, and the stress tears baffle seams at the shoulders and footbox. The repair requires a professional and often costs half the price of a new bag.
The Gear You Actually Need (And What to Skip)
Your home machine probably isn’t big enough. Head to a laundromat with commercial-grade units. The extra $10 in quarters saves a $300 bag.
A large-capacity front-loading washer. Look for the 8 kg or 12 kg label. If you’re unsure, the drum should fit the bag with room to slosh freely.
A matching technical cleaner. For down: Nikwax DownWash. For synthetic: Nikwax Tech-Wash or Grangers Performance Wash. These are non-detergent soaps formulated not to leave residue.
Clean, dry tennis balls (3). They’re for the dryer, not the washer. Their job is to beat clumped down apart. Don’t use baseballs or dryer balls with hard nubs, they’re too aggressive.
A large-capacity dryer. Jack Wolfskin specifies a 180-liter drum for drying. Again, this is laundromat territory. The bag needs space to tumble fully lofted.
Skip the home dryer. Unless you have a massive capacity dryer, the bag will wad up in a corner and never dry evenly. The lingering dampness leads to mildew inside the baffles.
Skip fabric softener and bleach. Softener coats fibers, blocking loft. Bleach eats through nylon shell fabric and weakens stitching.
Step-by-Step: The Machine Wash
This is a slow, gentle process. Rushing it with hotter water or a faster spin breaks things.
Step 1: Prep the bag. Unzip it completely. Loosen all drawcords. Turn it inside out. This exposes the inner lining, where your body oils live, to the water flow.
Step 2: Load the washer. Place the bag in the drum evenly. Don’t stuff it. Add the cleaner according to the bottle’s directions, usually two capfuls for a large load.
Step 3: Set the cycle. Select Gentle/Cold or Delicate cycle. Set the water temperature to 30°C (85°F). This is the manufacturer-specified sweet spot: warm enough to lift oils, cool enough not to shock the fabrics.
Step 4: Double rinse. After the main wash cycle completes, run an extra rinse cycle. Soap residue is the enemy of loft. If the bag still feels slick after the second rinse, run a third.
Step 5: Extract carefully. Use a low or no-spin final extraction. When removing the bag, support its entire weight from underneath with your arms. Grabbing one end can overstress wet seams.
| Step | Setting | Why It Matters | Risk If Skipped |
|---|---|---|---|
| Cycle Selection | Gentle / Delicate | Minimizes mechanical stress on baffles | High-speed agitation tangles fill and strains seams |
| Water Temperature | 30°C / 85°F | Activates cleaner without setting stains | Hot water can melt synthetic fibers or degrade down clusters |
| Rinse Cycles | 2 Minimum | Removes all soap residue | Residual soap attracts moisture, collapses loft permanently |
| Final Spin | Low / No Spin | Reduces weight on wet seams | High-speed spin twists the bag, tearing baffle attachments |
A top-loading washing machine with an agitator can destroy your bag. Seek out a front-loader (found at most laundry mats) and use a non-detergent soap. We also recommend running extra rinse and spin cycles for best results. . Therm-a-Rest Support Article
That “destroy your bag” line isn’t exaggeration. The agitator acts like a spindle, winding the bag into a tight rope.
The Dryer: Low Heat, Tennis Balls, and Patience
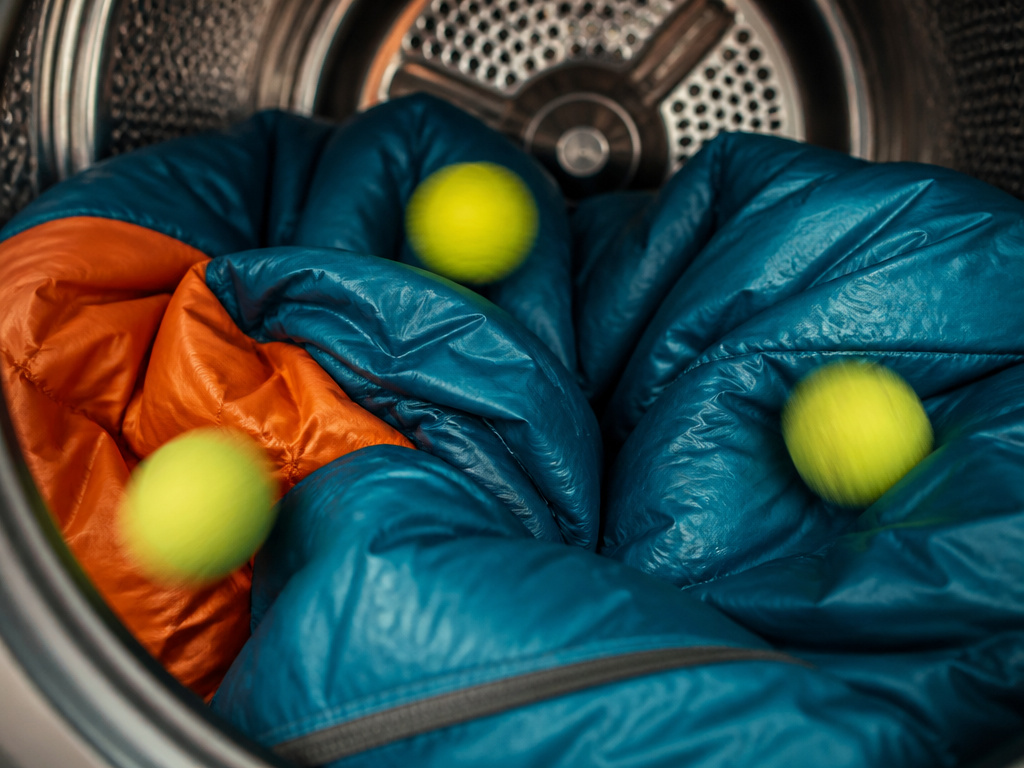
Drying is where most people quit too early. A damp bag molds in storage within days. A down bag will feel dry on the shell long before the inner clusters are.
Transfer the bag gently. Support it from below again. Gently squeeze out standing water over the washer drum.
Set the dryer. Low heat only. High heat melts synthetic fibers and can scorch down. Use the Air Fluff or Air Dry setting if available. Toss in three clean tennis balls.
Run it in cycles. Start with a 60-minute cycle. Afterward, stop the dryer and feel the bag. Break up any large clumps you find, especially around the seams. The goal is to redistribute the fill evenly.
Check for complete dryness. A down bag can take 2-4 hours of cumulative drying time. You’re done when you can’t feel any cool, damp spots deep inside the baffles, and the down flows freely like powder inside the chambers.
The overnight test. When you think it’s dry, lay the bag flat on a clean bed or table overnight. If the room smells musty by morning, there’s still moisture trapped inside.
| Insulation Type | Estimated Dryer Time | Key Tool | Doneness Signal |
|---|---|---|---|
| Down | 2–4 hours | Clean tennis balls | No clumps; down flows freely inside baffles |
| Synthetic | 1–2 hours | Optional tennis balls | Shell and fill are warm and uniformly dry |
| Air Drying (Not Recommended) | Up to 3 days | Frequent manual squeezing | Bag is stiff, risk of mildew is high |
Where this goes sideways: Pulling the bag out after one dryer cycle because the shell feels dry. The down inside the center baffles stays damp for another two hours. Pack it now and you’ll smell mildew in three days.
Hand Washing: When You Have No Other Choice
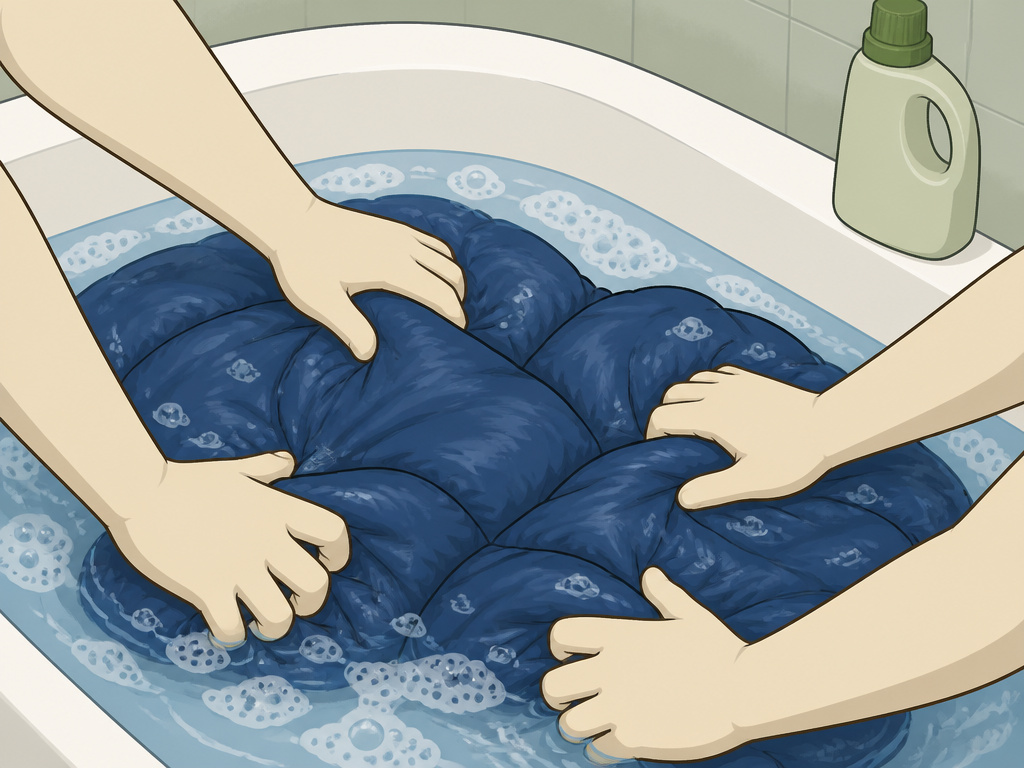
No front-loader? Hand washing in a bathtub works. It’s labor-intensive, but it’s safer than an agitator.
Fill the tub with lukewarm water. Add the appropriate technical cleaner, about half the machine dose. Submerge the bag and gently knead it for 10 minutes. Let it soak for 45 minutes to an hour.
Drain the tub. Press the bag against the sides to expel water. Do not wring or twist. Refill with clean water and repeat the press-soak process for 15 minutes. Do this rinse cycle twice.
Lifting a waterlogged bag is a two-person job. Support it from underneath. The wet fill can weigh over 20 pounds, enough to rip seams if you lift from one end.
Drying after hand washing is the same process, but it will take longer. Expect a down bag to need the full 4 hours in the dryer.
Special Cases: DWR Coatings and Synthetic Fill
Not all bags are created equal. Two common variants need slight tweaks to the standard formula.
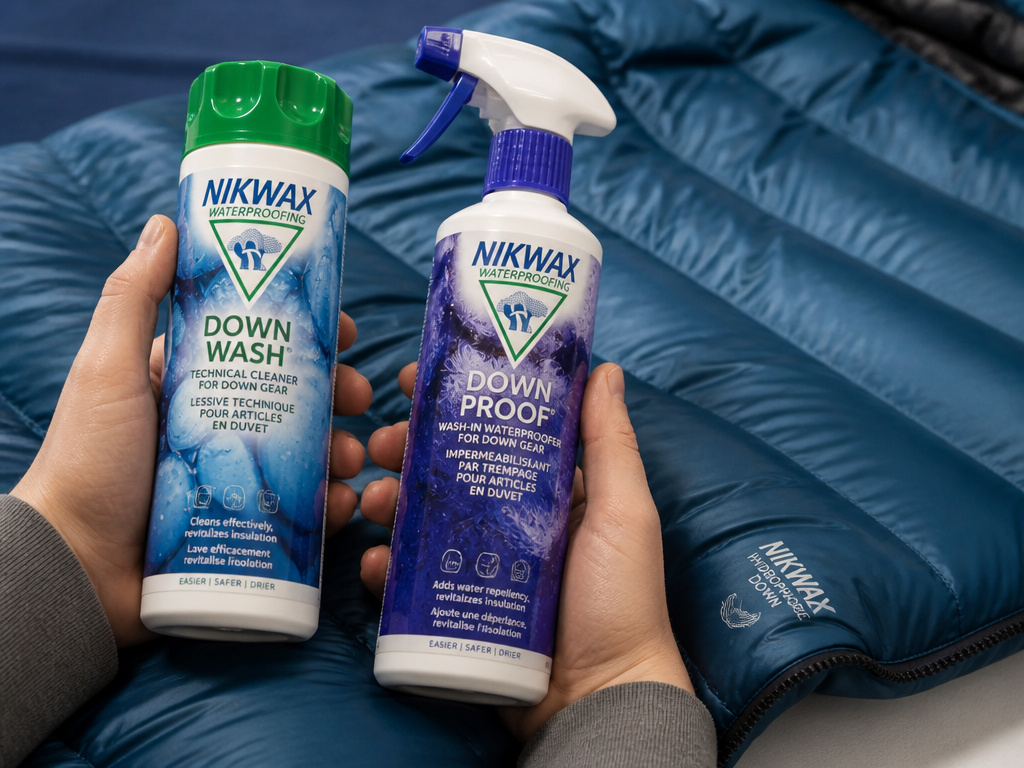
DWR-Treated Down (like Nikwax Hydrophobic Down). This down has a water-repellent coating. Use a DWR-safe cleaner like Nikwax DownWash to maintain the coating. Standard detergent strips it away. After several washes, the DWR performance will drop. You can re-treat it with a spray-on product like Nikwax Down Proof, but factory-level repellency is hard to restore at home.
Synthetic Fill (Polyester). It’s more forgiving than down but melts under high heat. Use a synthetic-specific wash like Nikwax Tech-Wash. It dries faster, often in 90 minutes, but still requires low heat. Tennis balls are optional; they help restore loft but aren’t critical.
The part nobody mentions: Body oils break down synthetic insulation faster than down. A synthetic bag used heavily without a liner might need washing more frequently than a down bag, even though it’s less delicate in the machine.
Storage: The Final, Critical Step
A clean, dry bag is worthless if you store it wrong. Compression is the slow killer.
Never store a bag in its stuff sack. That sack is for transport only. The included large mesh sack or a cotton pillowcase is for storage. Hang it in a closet or lay it flat under a bed.
If the bag is even slightly damp, do not pack it. Let it air out fully first. Jack Wolfskin warns never to leave a damp bag packed for longer than the next day.
Check on it seasonally. Unfold it, give it a shake, and let it loft for a day. This prevents permanent compression folds in the insulation.
Frequently Asked Questions
How often should I wash my sleeping bag?
Wash it after every 40-50 nights of use, or at least once a year if you use it less. Body oils and dirt accumulate and degrade the insulation’s loft over time, even if the bag doesn’t look dirty.
Can I dry clean my sleeping bag?
No. The chemical solvents used in dry cleaning strip the natural oils from down, leaving it brittle and lifeless. For synthetic bags, the chemicals can degrade the polyester fibers. Always use a water-based washing method.
What if my down bag is clumped after washing?
This is normal. Wet down forms dense clumps. The combination of low heat and tennis balls in the dryer will break them apart. Be patient and run multiple dryer cycles, manually breaking up large clumps between cycles until the down is loose.
Can I use a regular laundry detergent?
You should not. Standard detergents leave residues that coat down clusters, preventing them from lofting, and can break down synthetic fibers. Always use a technical cleaner formulated for down or synthetic insulation.
Is air drying a sleeping bag okay?
It’s a last resort. Air drying can take up to three days and carries a high risk of mildew setting in before the deep fill is completely dry. If you must air dry, lay the bag flat in a well-ventilated area, turn it frequently, and manually break up clumps several times a day.
How do I restore loft to an old sleeping bag?
Give it a proper wash using the correct technical cleaner, followed by a thorough low-heat dryer session with tennis balls. This removes oil and dirt weighing down the fibers. If loft doesn’t return after this, the insulation is likely permanently degraded and compressed.
The Bottom Line
Washing a sleeping bag is about respecting the machinery. A front-loading washer, technical soap, and a low-heat dryer with tennis balls get the job done without damage. The agitator, the detergent, and the stuff sack are what ruin bags. Follow the manufacturer’s specs for drum size and temperature, and you’ll pull out a bag that’s as good as it was before the dirt. Store it loose, and it’ll be ready when you are.