How to Check a Backpack: Complete TSA & Manufacturer Guide
This post contains affiliate links. As an Amazon Associate, we earn from qualifying purchases.
You can check a backpack for airline travel, for safety hazards, or for manufacturer compliance. The process involves a visual and tactile inspection of seams, zippers, straps, and hardware, plus verifying it meets specific carrier rules for size and prohibited items. For backpacks with integrated safety features like the EVOC TRAIL PRO, the check also includes confirming the protector’s service life and post-impact integrity.
The airline check and the safety check are two different jobs. One is about policy, will this bag fly as checked or carry-on? The other is about physics, will this strap hold when you need it to? Confusing them is how gear fails in the field.
What follows is the split: how to clear your pack for a flight, how to vet it for a hike, and the one manufacturer rule that overrides both.
Key Takeaways
- Airline “checking” means surrendering your bag to hold luggage; always remove batteries and sharp tools first.
- A proper safety inspection is a 5-step hands-on process focusing on seams, stress points, and strap integrity.
- Backpacks with integrated protectors, like the EVOC TRAIL PRO, have a hard 5-year service life from the purchase date.
- An incorrect fit voids any protective function, the pack’s yoke must sit 1-2 inches below your C7 vertebra.
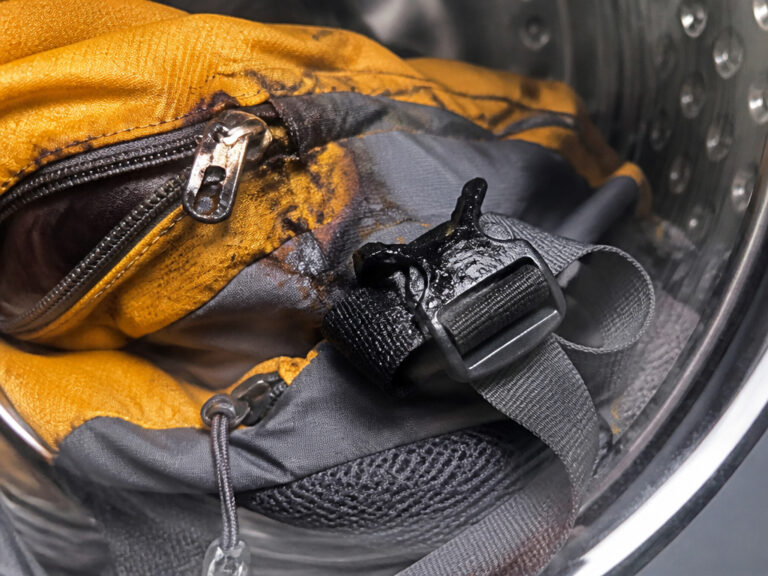
- UV exposure degrades nylon and webbing silently; a bag left in a car window for a season can fail at the stitch.
The Two Types of “Check”: Airline vs. Safety
You ask if you can check a backpack. The answer hinges on which authority you’re answering to. Is it a TSA agent at the counter, or the tensile strength of the shoulder strap?
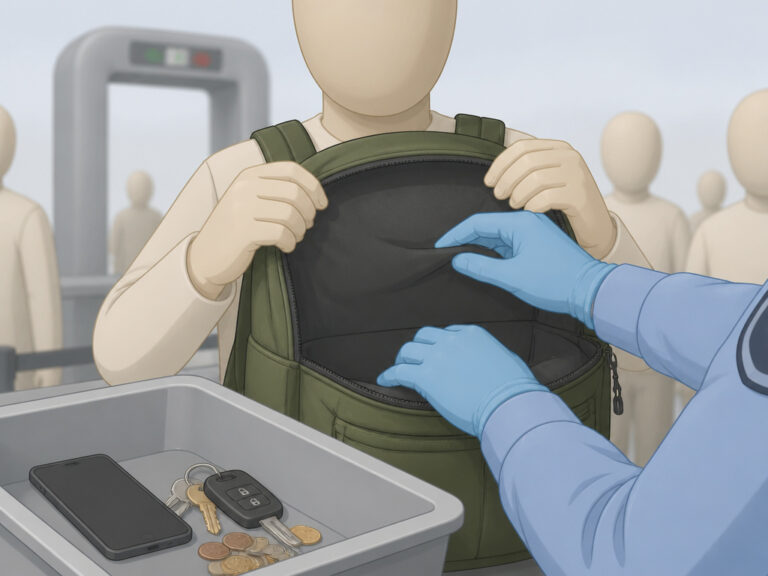
For airlines, “checking” a backpack means handing it over to become hold luggage. This is a paperwork and policy exercise. You must ensure the bag contains no prohibited items, lithium batteries, fuel canisters, sharp tools, and that it’s within size and weight limits. The airline’s concern is liability and space, not your bag’s longevity. They will process it, and you hope it arrives.
A safety check is a physical interrogation. You are looking for the points of failure that develop over miles and weather. This is not about rules. It’s about material fatigue. A strap doesn’t break during a gentle walk. It fails under load, on a slope, when the weight shifts. The inspection finds the weak spot before the slope does.
Before you start: Remove all items from the backpack. A loaded pack hides stress points, masks fit issues, and makes inspecting liners and seams impossible. Empty it completely.
How to Check a Backpack for Airline Travel
This is a logistics game. The goal is to avoid fees, delays, and having your bag ripped open on the tarmac.
First, know your airline’s specific backpack on a plane policy. A standard carry-on backpack must typically fit in the overhead bin (around 22″ x 14″ x 9″). If you plan to keep your backpack under the seat, it’s a personal item and often smaller. Budget carriers like Frontier and Spirit are strict; their Frontier backpack policy and Spirit backpack fee structures make checking a bag expensive, so sizing correctly is critical.
When you decide to check the bag as hold luggage, your prep list is short and non-negotiable:
- Remove all batteries. This includes power tool battery packs, spare AAs, and power banks. Lithium batteries in hold luggage are a fire risk and are banned by all major carriers.
- Take out any tools. A simple pocket knife or a set of drill bits will get your bag flagged. TSA considers these potential weapons.
- Secure all straps. Loose straps get caught in conveyor belts. Use the pack’s compression straps to wrap the shoulder straps and hipbelt tight to the bag’s body. Some packs have a dedicated strap-hide panel.
- Consider a protective cover. A simple nylon duffel bag or a reusable polybag protects zippers and fabric from abrasion. The Arc’teryx Bora AR manual explicitly recommends this for checked luggage.
The table below clarifies the common airline stances. Always verify on the carrier’s website before you fly.
| Airline | Backpack as Personal Item | Backpack as Checked Bag | Key Consideration |
|---|---|---|---|
| Delta | Allowed (must fit under seat) | Allowed (standard fee) | Delta’s backpack as personal item size is generous, but their checked weight limit is strictly enforced. |
| Southwest | Allowed | Two bags fly free | Their backpack and carry-on policy is among the most flexible, but the backpack must still fit size rules. |
| Frontier / Spirit | Strict size bin (paid) | High added fee | The Frontier personal item and Spirit personal item charge make checking a bag often cost more than the ticket. |
Can you have pins on your backpack? The TSA pin rules allow them, but they can trigger additional screening. Agents may swab decorative pins for explosives residue. It’s a minor delay, not a prohibition.
The 5-Step Visual and Physical Inspection

This is the core of checking a backpack for safety. You are playing detective with wear and tear. Set the pack on a table with good light.
Step 1: Seams and Stitching. Run your fingers along every seam, inside and out. Feel for loose threads, gaps, or thinning fabric. Pay double attention to load-bearing seams: where shoulder straps attach, the bottom of the pack, and hipbelt anchors. A few loose threads are a warning. A gap you can fit a fingernail into is a failure.
Step 2: Zippers and Hardware. Work every zipper slowly. They should glide, not catch or stutter. A catch often means a bent tooth or fabric in the track. Check plastic buckles for cracks, especially at the stress point where the pin passes through. Metal ladder-lock buckles should hold firm without slipping.
Step 3: Fabric and Padding. Look for abrasion, discoloration, and thinning. Rub the fabric between your fingers. If the coating feels sticky or powdery, the waterproof urethane laminate is degrading. Press on padded straps and the back panel. Foam should rebound; if it stays compressed, it’s lost its cushion.
Step 4: Straps and Webbing. Examine the full length of every strap. Fraying at the edges is common. Fraying that reaches the central load-bearing fibers is not. Check where straps adjust through ladder-locks, this is a high-friction zone. Webbing weakened by UV exposure feels stiff and brittle.
Step 5: Odor and Mold. Smell the inside of the main compartment. A persistent musty smell, even after airing out, indicates mold or mildew in the padding or lining. This compromises fabric strength and is a health issue.
A backpack left in a hot car or damp garage for a season will show UV damage and mildew. The fabric fades, the webbing stiffens, and the smell won’t wash out. That bag has lost a significant portion of its safe service life.
When a Backpack Fails the Check (And What to Do Next)

You found a problem. The severity dictates the response. Not every flaw means the trash bin.
Minor Issues (Repairable):
- Loose stitching: Use a needle and heavy-duty thread (like nylon upholstery thread) to back-stitch over the original seam. Seal the thread ends with a lighter.
- Sticky zipper: Clean the teeth with a dry toothbrush, then lubricate with a silicone-based zipper lube or a graphite pencil. Never use oil, it attracts dirt.
- Frayed strap end: Apply a small amount of clear nail polish or a specialty fabric glue like Fray Check to seal the fibers. Trim only after sealing.
Major Issues (Retire or Professional Repair):
- Torn load-bearing seam: This is a structural failure. Unless you have a heavy-duty sewing machine and know how to bartack, this is a job for the manufacturer or a professional gear repair shop like Rainy Pass.
- Cracked buckle or broken ladder-lock: Replace with an identical part from the manufacturer. Using a non-standard buckle changes the load dynamics.
- Delaminated or rotten fabric: If the fabric itself is peeling apart or disintegrating to the touch, the pack’s integrity is gone. Time to replace.
For technical packs with frames, like the Osprey Aether, also check the frame sheet for cracks and the stay channels for abrasion. A cracked frame sheet transfers load unevenly and can dig into your back.
| Symptom | Likely Cause | Severity | Action |
|---|---|---|---|
| Zipper catches | Bent tooth, fabric in track | Low | Clean, lubricate, realign teeth with pliers. |
| Strap fraying at edges | Normal abrasion | Low | Seal with glue, monitor. |
| Strap fraying into core fibers | Excessive wear/UV damage | High | Replace strap immediately. |
| Foam padding not rebounding | Compression fatigue | Medium | Loss of comfort; assess for replacement. |
| Musty odor in lining | Mold/mildew growth | Medium-High | Deep clean with tech wash; may persist. |
| Seam separation (>1/8 inch) | Thread failure | High | Professional repair or retire. |
The Critical Check for Protective Backpacks

This is a specialized, non-negotiable protocol. Backpacks with integrated back protectors, such as the EVOC TRAIL PRO series, are certified as Personal Protective Equipment (PPE). Their check goes beyond fabric and looks at certified function.
The EVOC manual states two hard rules that most owners never see:
- Service Life: 5 years from purchase. The protector’s materials degrade. The date of manufacture is printed on the back of the protector itself. After five years, EVOC says to replace the backpack to guarantee protection. This isn’t a warranty, it’s an expiration date.
- Post-Impact Inspection. After any crash or significant impact, you must check for mechanical damage to the protector, straps, belt, and seams. “If in doubt, stop using the backpack.” The manual directs you to contact EVOC at service@evocsports.com for a protector replacement.
Where this goes sideways: Using a protective backpack of the wrong size. The EVOC manual is explicit: size must be chosen based on torso length for the protective function to be fulfilled. The company is not liable for damage resulting from incorrect sizing. A protector that sits too high or low on your spine is just plastic.
These packs are tested to the EN 1621-2:2014 standard for full-back protectors. The certification means the protector limits force transmission to an average of less than 5 kN. That rating is void if the pack is old, damaged, or doesn’t fit you.
How to Check Backpack Fit (It’s Not About Height)
A pack that doesn’t fit can’t carry weight efficiently or protect you. The industry standard for fit uses torso length, not your overall height.
The C7 Vertebra Method:
- Locate the C7 vertebra. Tilt your head forward; the prominent bone at the base of your neck is C7.
- Have someone measure from the C7 vertebra down your spine to the point level with the top of your hip bones (the iliac crest).
- That measurement is your torso length. Pack sizes (S, M, L) correspond to torso ranges, not height ranges.
The Loaded Fit Test (Per Osprey Manual):
- Loosen all straps on the pack, hipbelt, shoulder, load lifters.
- Load the pack with 10-20 lbs of gear (about 4-9 kg). This simulates real use.
- Put the pack on. Center the hipbelt over your hip bones. The padding should wrap around, with about 1-3 inches of webbing between the buckle and belt when tightened.
- Tighten the shoulder straps until they wrap snugly with no gap between the pack and your back. The padded part should end at least 2 inches below your armpits.
- Tighten the load lifters. These are the small straps connecting the top of the pack to the shoulder straps. When correctly adjusted, they sit at a 30- to 60-degree angle. This pulls the load into your center of gravity.
- Buckle and adjust the sternum strap. It should sit about 2 inches below your collarbone and help stabilize, not bear weight.
If the hipbelt “tops out” (the buckle hits the end of the webbing) or the shoulder harness doesn’t wrap correctly, you need a different pack size or model. For packs with adjustable frames like the Arc’teryx Bora AR, you can fine-tune the fit by carefully bending the aluminum stays above the RotoGlide rail.
Frequently Asked Questions
What does TSA check for in a backpack?
TSA checks for security threats: liquids over 3.4 oz, sharp objects (tools, knives), firearms, and explosives residue. They use X-rays and physical searches. Their goal is aviation security, not the condition of your bag.
How can I tell if my backpack is too old?
Look for UV fading (fabric color loss), stiff or brittle webbing, a persistent musty smell, delaminating fabric (a peeling, sticky interior coating), and foam padding that no longer rebounds. For technical or protective packs, heed the manufacturer’s service life, like EVOC’s 5-year rule.
Can I repair a torn backpack myself?
You can repair minor seam stitching, patch small holes, and replace simple buckles with identical parts. Use a heavy-duty needle, nylon thread, and seam sealant. Major structural tears, especially at strap anchors, require a professional with the right industrial sewing machine to maintain strength.
What’s the difference between checking a bag and carrying it on?
Checking a bag means you surrender it at the airline counter to travel in the aircraft’s hold. You cannot access it during the flight, and it’s subject to weight/size limits and fees. Carrying it on means you keep it with you in the cabin, either in the overhead bin or under the seat in front of you.
How do I check the size of my backpack for an airline?
Use a tape measure. For a carry-on backpack, measure the height, width, and depth including all pockets and compression. For a personal item backpack like a 30-liter backpack, it must fit under the seat, airlines often provide a sizing bin at the gate. Compare your measurements to your airline’s published dimensions.
The Bottom Line
Checking a backpack is really two questions. One is for the gate agent: does this bag comply? The other is for yourself: will this bag perform? The first is solved with a tape measure and a quick inventory. The second demands your hands, your eyes, and the humility to retire a piece of gear that’s served its time.
Ignore the airline rules and you pay a fee. Ignore the worn stitch or the expired protector and you pay a different price. Start with the five-step physical inspection. Know the service life of your equipment. And never assume a backpack that looks fine on the outside hasn’t been quietly failing on the inside for the last hundred miles.