How to Organize Tote Bags: 5 Systems That Actually Work
This post contains affiliate links. As an Amazon Associate, we earn from qualifying purchases.
Organizing a tote bag starts with three matching principles: weight distribution, category containers, and a dedicated spot for every high-use item. A heavy laptop belongs against your back, not bouncing at the bottom. Pens need a pouch, not a loose swim in the abyss. Your keys require a clip, not a five-minute excavation.
Most people treat a tote like a bucket. They toss everything in, assume the bag’s structure will sort it, and spend the next week fishing for a pen that rolled under the laptop sleeve. The bag sags. The straps dig. You arrive with everything you own, yet nothing you need. A structured approach turns that bucket into a tool cabinet.
This guide covers the systems that work for a work tote, a gym bag, a weekend carry, and a festival haul. It names the specific pouches, cubes, and clips that survive daily use. It also shows you how to store your collection of empty totes so they’re ready to grab, not buried.
Key Takeaways
- Zone your tote in three layers: heavy flat items against your back, medium organizers in the middle, light daily essentials on top or in front pockets.
- Use rigid containers for fragile items (sunglasses, tech) and soft pouches for everything else; a single large organizer creates a bigger mess.
- Attach high-use items like keys and transit cards to a mini carabiner clipped inside the bag, you’ll find them blind in three seconds.
- Label every pouch and cube with a label maker or masking tape; after two days of use, you’ll stop forgetting your charger or allergy pills.
- Store empty totes by folding them flat and filing them upright in a storage bin or on a shelf; hanging them by their handles stretches the straps over a season.
Why Your Current System Is Failing
You bought the tote for its pockets. Two weeks later, every pocket is full, yet your hand still dives to the bottom seam hunting for a lip balm. The problem isn’t the bag. It’s treating all pockets as equal.
A front zip pocket is for immediate access: wallet, keys, phone, transit pass. A deep side pocket is for a water bottle or umbrella, things you pull out once. An interior slip pocket is for a flat notebook or tablet, not a tangle of cables. When you mix those roles, the system collapses by Tuesday afternoon.
A front pocket holding both your keys and a loose granola bar means you’ll fish out crumbs with your key fob by Wednesday. Remap the pockets once, label them with a piece of masking tape, and stick to the plan for a week.
The other failure point is weight. A 15-inch laptop placed in the main compartment instead of against the back panel shifts your center of gravity six inches forward. Your shoulder compensates, the strap digs in, and by lunchtime you’re switching arms. The bag wasn’t designed to carry everything in a single clump.
TL;DR: Remap each pocket for a single category. Put the heaviest, flattest item (laptop, hardcover book) directly against the back panel of the bag.
The 3-Layer Zoning Method
This is the core physics of an organized tote. Imagine your bag divided into three depth layers from the back panel (against your body) to the front opening.
Layer 1 (Back): Heavy & Flat. This is for your laptop, a hardcover notebook, a tablet, or a lunch container in a slim insulated bag. These items are rigid and provide a stable back wall for everything else. If your tote has a dedicated laptop sleeve, use it. If not, slide the laptop in first, screen facing your back.
Layer 2 (Middle): Medium-Weight Organizers. This zone holds your categorized kits: a tech pouch, a makeup bag, a small first-aid kit, a snack pouch. These are typically soft-sided cubes or pouches that fill the bag’s volume. They should be sized so they sit snugly side-by-side, not stacked haphazardly.
Layer 3 (Front/Top): Light & Frequent. Your wallet, keys, phone, lip balm, pens, and sunglasses live here. If your tote has a front zip pocket, that’s Layer 3. If not, use a small, brightly colored pouch placed right at the top of the main compartment. The rule is simple: you should be able to retrieve any item in this layer with one hand, without moving anything else.
I learned this the hard way with a messenger bag I used for site visits. Tools went in the main compartment, paperwork in the back slot. By day three, I was unpacking the entire bag on a client’s driveway to find a tape measure. I switched to a Tom Bihn Freudian Slip organizer, a vertical panel with pockets, and slid it into the back slot. Layer 1 became the Freudian Slip with pens, notes, and a small level. Layer 2 was a tool roll. Layer 3 was a front-pocket clip for my keys. I haven’t dumped a bag on a driveway since.
| Layer | Contents | Container Type | What Happens If You Skip It |
|---|---|---|---|
| Back (Layer 1) | Laptop, notebook, lunch bag | Dedicated sleeve or placed flat | Bag pulls forward, strap digs into shoulder, items shift and damage each other. |
| Middle (Layer 2) | Tech pouch, makeup bag, snacks | Soft packing cubes or zip pouches | Items swim loose, cables tangle with food wrappers, you dump the entire bag to find one thing. |
| Front/Top (Layer 3) | Wallet, keys, phone, sunglasses | Front zip pocket or bright top pouch | You dig for 60 seconds at the checkout, holding up the line while you panic-search. |
The Right Tools for the Job
You need containers inside the container. The wrong container is a single giant organizer that turns your tote into a Russian nesting doll, you still have to open it and dig. The right containers are multiple small, dedicated ones.
Zip-Top Pouches (Clear & Colored). These are the workhorses. A clear pouch is for things you need to identify visually: charging cables, allergy medication, earbuds. A colored opaque pouch is for private items or things that don’t need checking: feminine products, spare cash, business cards. The Eagle Creek Pack-It Specter line is ultralight and crinkles loudly so you know it’s closed.
Small Packing Cubes. For clothing, gym wear, or bulkier soft items. Use a cube for your gym shorts and t-shirt, not for your protein shaker bottle (that gets its own side pocket). Cubes compress and keep clothes separate from your lunch.
Tech Organizer. A dedicated tech pouch like the Peak Design Tech Pouch or the Bellroy Classic Pouch is worth the premium. It has segmented slots for batteries, cables, dongles, and a hard-sided section for sunglasses or a small camera. A loose cable ball in a generic pouch dies within a month from knot stress.
Grid-It or Elastic Panel Organizers. For the person who needs to see every item at once. A Cocoon Innovations Grid-It or similar panel uses elastic straps to hold pens, notebooks, phones, and power banks in a single flat layer. It’s terrible for deep bags but perfect for slim totes or as a removable insert.
Mini Carabiners. Not just for climbing. A small, lightweight carabiner clipped to a D-ring inside your bag is a permanent home for keys, a transit pass, or a small flashlight. You unclip, use, reclip. It never falls to the bottom.
Common mistake: Using one giant organizer for everything, you create a single point of failure. When you need your keys, you still have to unzip the big organizer and rummage. Small, dedicated containers let you remove one category without disrupting the others.
The first time I used a generic “organizer” from a big-box store, it was a single compartment with a few flimsy dividers. My keys sank under a notebook. My charger cord wrapped around a pair of pliers. After a week, the organizer itself became just another large item to dig through. I switched to four separate Eagle Creek pouches and a Grid-It. The system cost three times as much, but I’ve used the same pouches for eight years.
Building Kits for Different Bag Roles
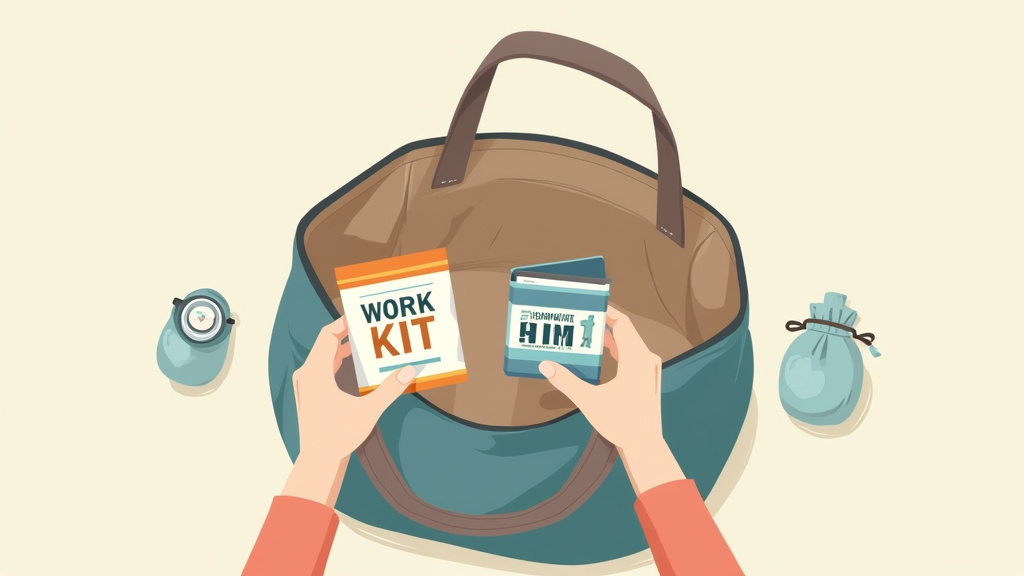
A tote bag often plays multiple roles: work bag Monday, gym bag Tuesday, weekend errand bag Saturday. You don’t need separate bags. You need interchangeable kits.
-
The Work Kit. This lives in a dedicated pouch or cube. Contents: laptop charger, mouse, notebook, pens, a portable battery, a thumb drive, a granola bar. When you switch bags for the day, you grab this one pouch and drop it into your chosen tote. The Dagne Dover Dakota Neoprene Pouch is sized perfectly for a 13-inch laptop and its accessories.
-
The Gym Kit. Another dedicated cube. Gym clothes, sneakers (in a separate shoe bag), towel, toiletries, lock. Keep your gym shoes at the office? Then the cube is just clothes and toiletries. Use a compression cube to save space.
-
The Weekend/Essentials Kit. This is your always-in-tote baseline. A small pouch with a phone charger, a pen, a mini notebook, hand sanitizer, a reusable shopping bag like a Baggu Standard Baggu, and a foldable tote for unexpected purchases. This kit never leaves your main bag.
-
The “Just In Case” Kit. A tiny pouch for emergencies: a few bandaids, pain relievers, a safety pin, a spare hair tie, a $20 bill, a portable phone charger. This stays in the bottom of your tote and gets forgotten until you need it.
Why this works: Your brain stops deciding what to pack each morning. You see “gym day,” you grab the gym cube and drop it into your tote alongside your work kit. The rest stays. Overpacking stops because each kit has a finite, tested capacity.
I keep my gym kit in a Stasher Reusable Bag, the silicone is easy to wipe down after a sweaty session. My work kit is in a Tom Bihn Freudian Slip. My weekend kit is a single clear zip pouch. On Friday, I pull the work slip out and the tote is ready for Saturday without any thought.
Storing Your Tote Collection
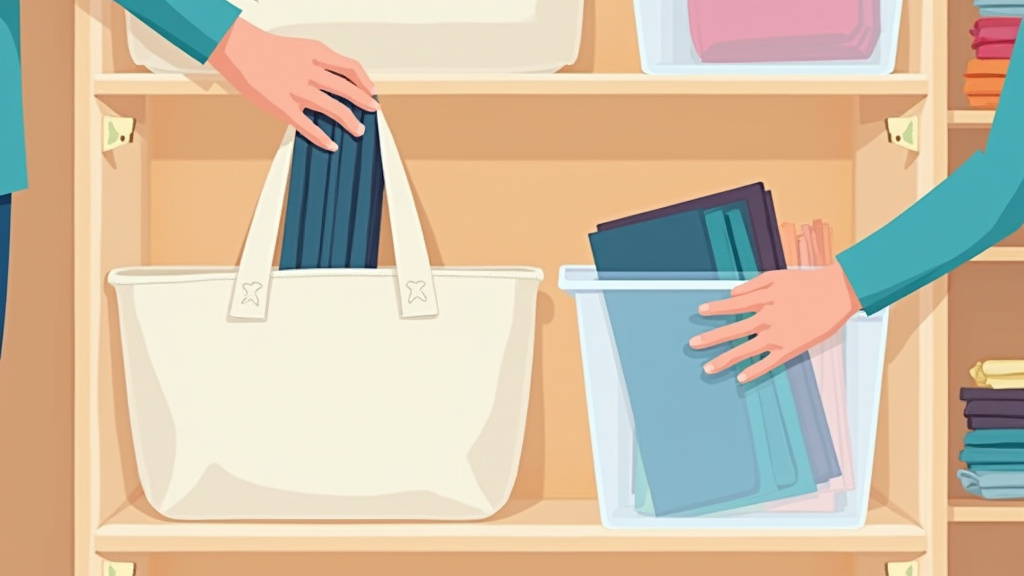
You own more than one tote. The seasonal canvas one, the structured leather work tote, the nylon packable for travel. Throwing them in a closet corner crumples the structure and makes grabbing the right one a chore.
Folding Method. Empty the bag completely. Lay it flat, outside facing down. Fold the bottom third up, then fold the top third down over it. If it has long straps, tuck them inside the fold. You now have a flat, neat rectangle.
Filing, Not Stacking. Place the folded totes upright in a storage bin or on a shelf, like files in a filing cabinet. You can see each one at a glance. Stacking them hides the bottom bags and crushes the ones underneath.
Hanging Storage. Only hang a tote by its handles if the material is robust like leather or heavy canvas, and only for short periods. Hanging a nylon or lightweight canvas tote by its straps for a season will stretch them permanently. If you must hang, use a wide, padded hanger.
Designated “Bag of the Season” Spot. Keep your current daily tote on a hook by the door, ready to grab. Its internal organizers stay inside. When you switch bags for a new season, you move the organizers over, fold and file the old one.
The goal is to treat your totes like tools in a toolbox, each has a purpose, and each is stored ready for that purpose. A tote bag storage system prevents the morning scramble.
Hard Organizers vs. Soft Pouches: Which Wins?
This isn’t an abstract preference. The choice determines whether your items survive a commute.
Hard Organizers (like a Tech Pouch or a Freudian Slip) protect fragile items. Use them for:
* Sunglasses
* Tablets or e-readers
* External hard drives
* Delicate makeup (powder compacts, palettes)
* Any item that can’t withstand a textbook shifting against it
Soft Pouches (like zip-top bags or packing cubes) conform to space. Use them for:
* Clothing
* Snacks
* Cables and chargers (within reason)
* First-aid supplies
* Toiletries
A hard organizer provides structure but wastes space if the bag isn’t full. A soft pouch saves space but offers zero protection. Most people need one of each: a hard case for tech and glasses, soft pouches for everything else.
| Organizer Type | Best For | Worst For | Real-World Test |
|---|---|---|---|
| Hard Case | Tech, sunglasses, fragile items | Conforming to odd space; under-packed bags | A Peak Design Tech Pouch thrown in a backpack with a laptop survived a 4-foot drop onto concrete. The glasses inside were fine. |
| Soft Pouch | Clothing, snacks, non-fragile daily items | Protecting anything with a screen or glass | A soft pouch of cables is fine. A soft pouch for your Kindle Paperwhite is a one-way ticket to a cracked screen. |
| Elastic Panel (Grid-It) | Flat, frequently accessed items: pens, notepad, phone, battery | Deep bags; bulky items | Perfect in a slim laptop brief. Useless in a deep beach tote—everything falls out the sides. |
TL;DR: Use a hard organizer for anything that can break. Use soft pouches for everything else. Never put a tablet in a soft pouch at the bottom of a bag.
Frequently Asked Questions
How do I organize a tote bag with no pockets?
You add the pockets. Use a removable insert like a Tom Bihn Freudian Slip or a Dagne Dover Ace Organizer. These are fabric panels with multiple slots and pockets that you drop into the main compartment. They create instant interior organization for a basic tote bag definition canvas tote.
What’s the best way to organize a work tote bag?
Follow the 3-layer zoning method. Layer 1 (back): laptop. Layer 2 (middle): a tech pouch and a lunch bag. Layer 3 (front/top): a small zip pouch for wallet, keys, lip balm. Clip your keys to a carabiner inside the bag. The goal is to retrieve your wallet without moving the laptop.
How can I keep my tote bag from getting so heavy?
Weigh it. Seriously, put it on a bathroom scale. Then remove one category at a time and re-weigh. You’ll find the culprit, often it’s “just in case” items you haven’t used in months, a hardcover book, or too many cables. Enforce a one-in, one-out rule. If you add a new charger, pull an old one out.
What is the best material for tote bag organizers?
For durability, look for 420D nylon or polyester with YKK zippers. For water resistance, silicone-lined fabrics like those in Stasher bags or coated nylon. For ultralight weight, ripstop nylon like Eagle Creek Pack-It Specter. Avoid cheap non-woven polyurethane (PU) organizers; the zippers fail within six months.
How do I organize a tote bag for a weekend trip?
Use packing cubes for clothes. Use a hard-shell case for toiletries. Use a tech pouch for electronics. Keep a separate, small “day pouch” inside the tote for your wallet, phone, and sunglasses so you don’t have to unpack the entire bag at your destination. This approach to organizing your tote turns a single bag into a modular travel system.
The Bottom Line
An organized tote bag isn’t about buying more stuff. It’s about assigning a single, fixed home to every item you carry. Weight goes against your back. Frequently used items live on top. Everything else lives in a labeled container.
Start by dumping your current bag and sorting the contents into categories. Assign each category a pouch. Zone the bag back-to-front: heavy, medium, light. Clip your keys to a carabiner. That’s the system. It takes twenty minutes to set up and saves you hours of digging over a year.
The difference between a bag you tolerate and a bag you rely on is about six ounces of nylon and thirty minutes of intent. Your back, your shoulders, and your patience will know the difference by next Monday.