How to Sew a Tote Bag: A No-Fuss Guide with Boxed Corners
This post contains affiliate links. As an Amazon Associate, we earn from qualifying purchases.
To sew a tote bag with boxed corners, you must precisely construct a bag body from two fabric rectangles, create a structured flat bottom via boxed corners, and finish with reinforced handles and a clean top edge. This method transforms fabric into durable, load-bearing gear.
Most first attempts fail because the sewer rushes the handle attachment or skips the pressing. The bag looks homemade because the top edge rolls, the handles pull loose after two grocery runs, or the bottom stays rounded like a sack. This happens when you treat it like a quick craft project instead of a small piece of load-bearing gear.
This guide walks through building a lined tote with a flat bottom, from choosing fabric that won’t fray in a month to the specific stitch pattern that locks the handles in place. We will cover the tools that save time, the one step you absolutely cannot skip, and how to fix the two most common machine hiccups.
Key Takeaways
- Use a size 90/14 needle and all-purpose polyester thread. A standard 80/12 needle will skip stitches and break when going through multiple layers of canvas and interfacing.
- Press every single seam immediately after you sew it. An unpressed seam looks puffy and amateur; a pressed one looks store-bought.
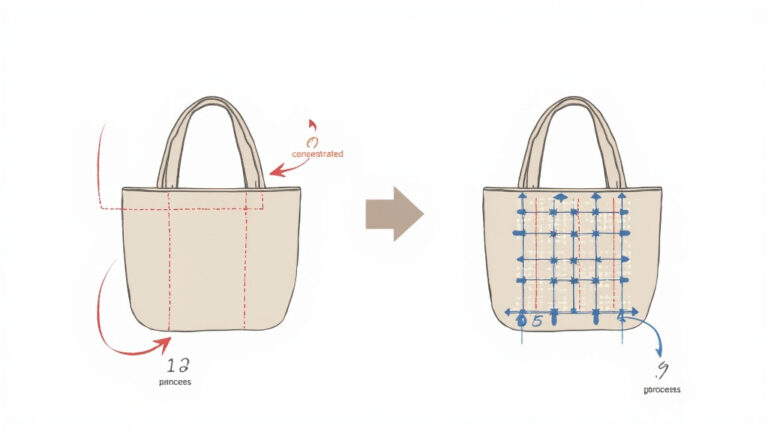
- Reinforce handle attachments with a box-and-X stitch pattern. A single straight line of stitching will tear out under the weight of a full bag within six months.
- Cut the lining fabric pieces exactly the same size as the outer pieces. Cutting it smaller, a common “pro tip,” often causes the lining to pull the outer bag out of shape.
- Leave a 4-inch gap in the lining seam for turning the bag right side out. Sewing the lining completely shut is the most frequent beginner error, forcing you to rip stitches.
Choosing Fabric That Won’t Wear Out in a Month
Fabric choice decides whether your bag lasts for years or starts fraying at the stress points after a few uses. The wrong material feels great in your hands but fails in practice.
Medium-weight canvas or cotton duck is the benchmark. It has enough body to hold structure without being impossible to sew. Denim works but is heavier and dulls needles faster. Avoid quilting cotton for a primary grocery or book bag; it’s too light and the handles will stretch. For a beach bag, look for a solution-dyed acrylic canvas or a polyester blend that resists mildew and fading.
A 10-ounce canvas yardage holds its shape without interfacing for a simple tote. For a more structured look, like a laptop bag, fuse a medium-weight woven interfacing to the outer fabric before cutting. The fusible type bonds with heat and adds body without the bulk of a sewn-in layer.
Interfacing is non-negotiable for floppy fabrics. Skip it and the bag collapses when empty. The bonding process is simple. Cut the interfacing to match your outer fabric pieces. Place the adhesive side against the wrong side of the fabric. Cover with a press cloth and iron with steady pressure for 10-15 seconds per section. Let it cool completely before moving. Rushing this creates bubbles that never lie flat.
TL;DR: Use 10-oz canvas for durability; add fusible interfacing for stiffness; never use quilting cotton for a load-bearing bag.
The 4 Tools That Replace a $200 Service Visit
You can sew a bag with basic equipment, but three specific tools prevent frustration and produce a clean result. I learned this after a morning of broken needles and uneven handles on my first project.
A rotary cutter, mat, and acrylic ruler guarantee square cuts. Scissors can wobble, especially through thick canvas. A 45mm rotary blade slices through multiple layers in one pass, ensuring your front and back panels are identical. The clear ruler lets you measure and cut in one motion. The first tote I cut with shears had one panel a quarter-inch narrower than the other. The whole bag twisted.
A walking foot attachment is the secret to feeding thick layers evenly. A standard presser foot pushes the top layer while the feed dogs move the bottom, causing shifting and puckered seams. The walking foot has its own set of feed dogs that move the top fabric in sync with the bottom. Install it when sewing over the handle attachments or through multiple layers at the boxed corners. The difference in seam smoothness is immediate.
Sharp scissors are not the same as fabric shears. Use your fabric shears only on fabric. Using them on paper or interfacing backing dulls the blades, which then chew and fray your fabric edges instead of cutting cleanly. Keep a cheap pair of utility scissors on the table for everything else.
| Tool | Purpose | What Happens If You Skip It |
|---|---|---|
| Rotary Cutter & Mat | Accurate, square cutting of thick fabric. | Panels mismatch, causing a twisted bag that won’t sit flat. |
| Walking Foot | Evenly feeds multiple fabric layers. | Seams pucker over thick handle areas; layers shift. |
| Seam Ripper | Precisely removes stitching errors. | Using scissors damages fabric fibers, creating weak spots. |
| Tailor’s Ham | Pressing curved seams and boxed corners. | Unable to press 3D shapes flat, leaving a wrinkled interior. |
TL;DR: A rotary cutter ensures square pieces, a walking foot prevents puckering, sharp shears cut cleanly, and a seam ripper saves the fabric from scissor damage.
How Much Fabric Do You Really Need?
Estimating yardage is easier when you break it down by the bag’s components. Buying a single yard of everything often leads to waste or shortage. This table covers a standard 16″ wide x 14″ tall x 5″ deep tote bag.
| Bag Component | Fabric Type | Amount Needed | Notes |
|---|---|---|---|
| Main Body (Front/Back) | Outer Fabric (Canvas) | 1/2 yard (44″ wide) | Allows for two 16″x14″ rectangles with grainline alignment. |
| Lining | Lining Fabric (Broadcloth) | 1/2 yard (44″ wide) | Same cutting layout as outer fabric. |
| Handles (2) | Outer Fabric (Canvas) | 1/4 yard (44″ wide) | For two 4″x22″ strips. Cut on the lengthwise grain for strength. |
| Interfacing | Fusible Woven | 1/2 yard (20″ wide) | Fuse to the wrong side of outer fabric pieces before cutting. |
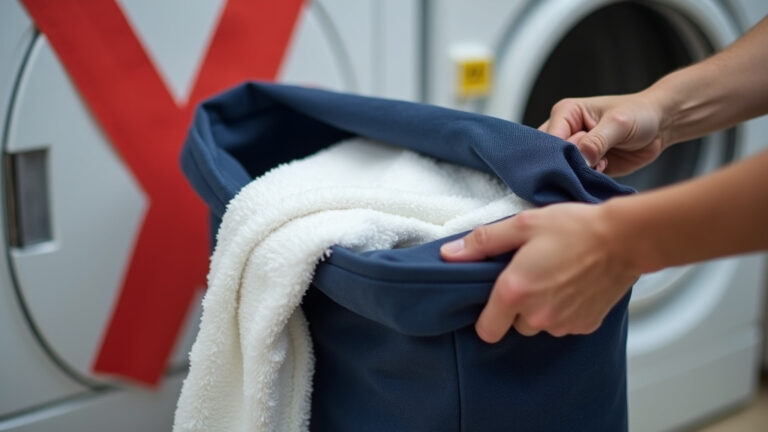
Always pre-wash and dry your outer and lining fabrics. Canvas can shrink up to 5% on its first wash. If you skip this, your beautifully sewn bag will shrink and pucker after its first cleaning, and the lining will become too tight. Dry the fabric and press it thoroughly before cutting. This step removes sizing and sets the final dimensions.
Cut all pieces with the fabric’s lengthwise grain running parallel to the height of the bag. This provides maximum strength against the pulling weight of the contents. Cutting off-grain, especially for handles, leads to stretching and distortion.
Common mistake: Not pre-washing fabric — the bag shrinks unevenly after its first clean, pulling the lining taut and warping the shape permanently.
The 7-Step Bump-Feed Replacement (and the One Step Nobody Skips)

This sequence builds the bag from the inside out. The logic is constructing the outer shell and lining separately, joining them at the top, and flipping everything right-side-out through a strategic hole. Missing the order forces you to backtrack with a seam ripper.
Step 1: Construct the outer bag body. Place your two interfaced outer fabric rectangles right sides together. Pin along the two long sides and one short side. Sew with a consistent 1/2-inch seam allowance. Leave the top short side completely open. Clip the corners diagonally to reduce bulk, being careful not to cut the stitching. Turn this piece right side out and press the seams flat. Set it aside.
Step 2: Construct the lining (and leave the turning gap). Repeat the process with the two lining rectangles. However, when sewing one of the long sides, stop sewing 4 inches from the end, backstitch, and leave a gap. Then start sewing again 4 inches further down, backstitch, and continue to the end. This gap is your escape hatch. Do not turn the lining right side out. Keep it wrong-side-out.
Step 3: Box all four corners. This technique transforms a flat sack into a bag with a stable, flat bottom.
1. Take the outer bag (right-side-out). Flatten one bottom corner so the side seam aligns perfectly with the bottom seam, forming a pointed triangle. The seams should run down the center of the triangle.
2. Measure 2 inches from the tip of the point along the seam. Draw a line perpendicular to the seam. This is your stitching line.
3. Sew straight across this line. Backstitch at both ends for strength.
4. Trim the corner off, leaving a 1/2-inch seam allowance.
Repeat this for the other bottom corner of the outer bag. Now, repeat the entire process for both bottom corners of the lining (which is still wrong-side-out). You now have four boxed corners.
Pinch the corner so the side seam and bottom seam align perfectly. If they’re off by even 1/8 inch, the finished corner will twist and the bag will rock on a flat surface.
Step 4: Make the handles. Take your two 4″x22″ fabric strips. Fold each one in half lengthwise, wrong sides together, and press a sharp center crease. Unfold. Now fold each long raw edge inward to meet that center crease, and press again. Finally, fold along the original center crease, enclosing the raw edges. You should have a strip about 1 inch wide. Edgestitch close to both long open edges. This double-fold-and-topstitch method creates a strong, clean-finish handle.
Step 5: Attach handles to the outer bag. Turn the outer bag wrong-side-out again. Measure and mark a spot 3 inches in from each side seam on the top open edge. The handle ends will be positioned between these marks. Pin the raw ends of one handle to the bag’s top edge, right sides together, ensuring it’s not twisted. Repeat for the other handle on the opposite side. To reinforce, sew a small rectangle (about 1×2 inches) and then stitch an “X” inside it. This distributes the pulling force over a wider area.
Step 6: Assemble the bag. Keep the outer bag wrong-side-out. Take your lining (wrong-side-out, with the gap in its side). Slip the outer bag down inside the lining. Your two pieces are now right sides together, with the handles sandwiched between them. Align the top raw edges and the side seams precisely. Pin all around. Sew around the entire top edge using a 1/2-inch seam allowance.
Step 7: Turn and finish. Reach through the 4-inch gap in the lining and pull the entire outer bag through it. You are now turning the whole assembly right-side-out. Once everything is out, push the lining down into the outer bag. Use a point turner or blunt chopstick to gently push the boxed corners into shape. Press the top seam allowance downward. Hand-stitch the gap in the lining closed using a ladder stitch. Finally, topstitch 1/8 inch from the very top edge of the bag. This final step secures the lining, keeps the top edge crisp, and adds a professional detail.
TL;DR: Sew outer bag and lining separately, box all corners, attach handles, join bags at the top, pull through the lining hole, stitch the hole closed, and topstitch.
Why Does My Machine Skip Stitches on Thick Seams?

This is a tension and needle issue, not a sign of a broken machine. It happens at the worst moment, usually when sewing over the multi-layer handle attachment point.
The cause is almost always a needle that’s too fine for the job. A size 80/12 universal needle bends when hitting thick canvas, interfacing, and handle layers. The bend makes it miss the loop of the bobbin thread, causing a skipped stitch. The fix is to install a size 90/14 denim or jeans needle. These have a sharper point and a stronger shaft to punch through without deflecting.
Thread tension is the second culprit. Polyester thread has some stretch; cotton thread does not. For heavy-duty sewing, use a good quality all-purpose polyester thread. It’s stronger and more consistent through the machine’s tension disks. If you hear a “pop” as the needle goes through, the top tension is too tight. Loosen it slightly until the stitch forms smoothly on both sides.
If the problem persists, check your needle placement. Ensure it is fully seated and tightened in the clamp. A slightly loose needle will wobble and skip. Also, slow down your sewing speed when approaching a thick section. Let the machine’s motor and the walking foot feed the layers at their own pace. Forcing it causes jams.
I used a standard needle on a canvas tote for a neighbor. The machine skipped four stitches right over a handle attachment. The bag held for a week before the handle tore clean off at that weak spot. I now keep a pack of 90/14 needles in a jar right on the machine.
How Do You Calculate the Perfect Handle Length?

Handle length is about ergonomics, not just aesthetics. Too short and the bag digs into your armpit. Too long and it swings against your legs, spilling contents if you lean over.
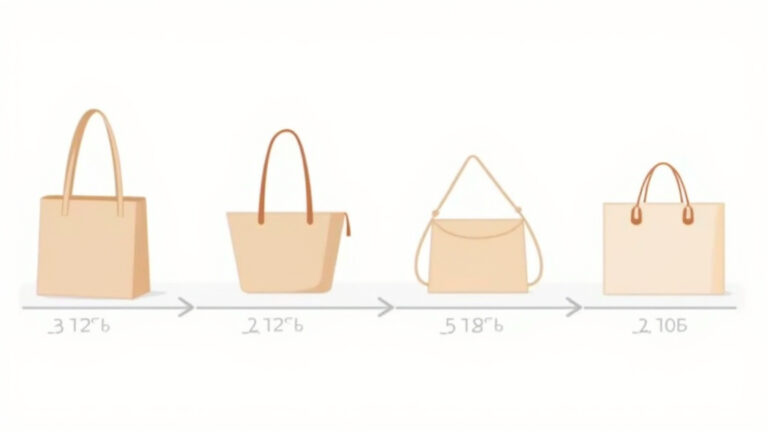
The standard 22-inch finished handle works for hand-carrying or resting on a forearm. For a comfortable shoulder carry, you need a drop length (the distance from the bag’s top to the top of the strap) of at least 9 inches. This usually means a finished handle length of 24 to 26 inches, depending on the bag’s height.
To calculate, decide how you’ll carry the bag. For shoulder carry: measure from your shoulder down to where you want the bag to sit (e.g., at your hip). Add the height of your bag, plus 2 inches for seam allowance and comfort. For example, a 14-inch tall bag worn at the hip (about 20 inches from shoulder) needs a handle drop of about 20 – (14/2) = 13 inches. This is a longer, crossbody-style strap.
For a simple tote, cut your handle fabric strips 4 inches wide and 1.5 times your desired finished length. A 22-inch finished handle needs a 33-inch strip to account for the folding and seam allowances. Always test the length by pinning a scrap of fabric or ribbon to your bag mock-up and slinging it over your shoulder before you cut the good fabric.
TL;DR: For hand-carry: 22-inch finished handle. For shoulder carry: 24-26 inch finished handle. For crossbody: measure your body and add the bag’s height.
Frequently Asked Questions
What is the best stitch length for sewing a tote bag?
stitch length of 2.5mm to 3mm is ideal. This creates a strong, dense stitch that resists pulling apart under load. A shorter stitch (under 2mm) can perforate and weaken the fabric, especially on canvas. A longer stitch (over 3.5mm) won’t hold the seams securely over time.
Can I use a regular foot instead of a walking foot?
You can, but you must work harder. Pin every half-inch over thick areas like handle attachments. Hold the fabric layers firmly front and back as they feed, gently guiding them to prevent shifting. The result may still have slight puckering. For more than one bag, the walking foot is a worthwhile investment.
How do I fix a hole or torn seam in an existing tote bag?
Reinforce it from the inside. Cut a patch of matching fabric or iron-on mending tape larger than the damaged area. If the hole is on a side, turn the bag inside out. Place the patch over the hole on the wrong side of the fabric. Use a tight zigzag stitch (width 3, length 1) to saturate the area, sewing back and forth over the patch’s edges. This creates a flexible, durable mend.
What’s the difference between boxed corners and gussets?
boxed corner is created by sewing across a pinched corner of the main bag fabric, creating depth from a single piece of material. A gusset is a separate strip of fabric (like a long rectangle) sewn between the front and back panels to add width and depth. Boxed corners are simpler and standard for basic totes. Gussets allow for more complex shapes and often greater volume.
Is it necessary to line a tote bag?
lining is not strictly necessary for a purely utilitarian bag, but it is highly recommended. It hides raw seams for a clean interior, adds a layer of strength, and allows you to incorporate pockets. An unlined bag will have exposed seams that can fray, and the inside will look unfinished.
The Bottom Line
Sewing a tote bag teaches you more about construction than a dozen simple projects. The lessons in precision cutting, managing thick layers, and reinforcing stress points translate directly to upholstery, gear repair, and bag modifications. The difference between a bag that lasts and one that fails is in the unseen details: the size 90/14 needle, the box-with-an-X on the handles, the pressed seams.
Start with a sturdy canvas and follow the sequence. Your first one might have a wobbly topstitch line or a slightly asymmetrical corner. That’s fine. The second one will be straight. By the third, you’ll be altering the dimensions and adding pockets without a second thought. The goal isn’t perfection on the first try. It’s building the muscle memory for a fundamental skill. Then you can make exactly the bag you need.