How to Make a Canvas Tote Bag: The 7-Step Build That Lasts
This post contains affiliate links. As an Amazon Associate, we earn from qualifying purchases.
Making a canvas tote bag requires three things: the right heavy-duty fabric (10oz canvas or heavier), the correct sewing machine needle (a 90/14 denim needle), and reinforced strap attachments. Skip any one, and the bag fails within six months of grocery runs.
Most tutorials treat this like a cute afternoon craft. They use quilting cotton, skip the lining, and attach straps with a single seam. The bag looks fine for a week. Then the straps pull loose, the bottom sags, and the fabric frays at every edge.
This guide is for building a tool, not a trinket. We’ll cover fabric that survives abrasion, needles that punch through four layers without breaking, and a strap attachment method that distributes weight. You’ll end up with a bag that carries 30 pounds of tools or groceries without a complaint.
Key Takeaways
- The needle is non-negotiable. A standard 80/12 needle will snap or bend sewing canvas. Use a 90/14 or 100/16 denim needle.
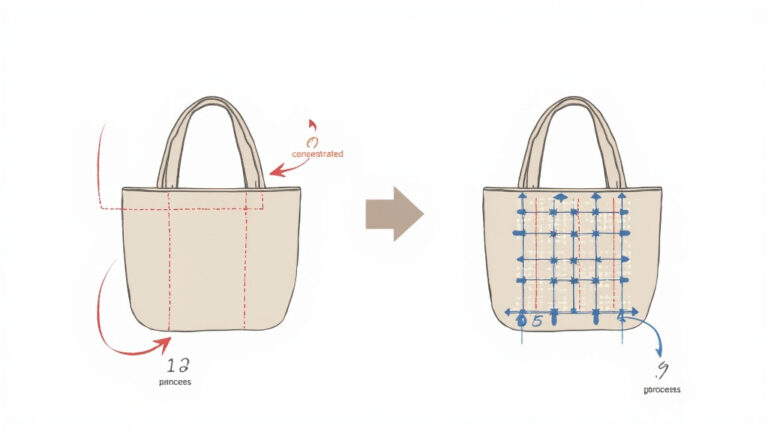
- Reinforce strap points with a square and an X. A single seam concentrates stress on two thread lines. The square-and-X pattern spreads the load across eight lines of stitching.
- Finish every raw edge before assembly. Canvas unravels faster than lighter fabrics. Use pinking shears, a zig-zag stitch, or a serger immediately after cutting.
- Boxed corners create structure. A flat-bottomed bag stands up and carries weight evenly. The alternative is a saggy sack.
- Budget two hours for a lined bag as a beginner. The process isn’t complicated, but pressing, clipping, and careful stitching take time. Rushing leads to uneven seams and weak points.
The 4 Tools That Replace a $200 Service Visit
You don’t need a professional-grade machine. You need the right accessories on a home machine. The first tool is the needle.
A 90/14 denim needle has a sharp point and a stronger shaft to pierce densely woven canvas without deflecting. The standard universal needle pushes fibers aside, causing skipped stitches and thread bunching underneath the fabric.
The second is thread. All-purpose polyester works, but Gutterman Mara 100 or another heavy-duty thread has less stretch and higher tensile strength. When the bag is loaded, the seams hold.
Third, get fabric clips, not pins. Pins leave holes in canvas and often bend when hitting multiple layers. Clips hold the thickness without damage. I keep a box of 50mm quilter’s clips for this.
Fourth, an iron. Pressing seams open is not a suggestion. An unpressed seam in canvas creates a ridge so stiff it can distort the entire panel. Press after every stitching step.
TL;DR: Upgrade your needle and thread first. Clips and an iron are force multipliers for accuracy.
The .095 vs .105 Trade-Off That Burns Out Electric Motors
This isn’t about line diameter. It’s about fabric weight. Canvas is sold by ounces per square yard (oz). A lightweight 7oz canvas feels soft but won’t hold a laptop without stretching. A 10oz or 12oz canvas is stiff, durable, and the sweet spot for a functional tote.
Heavier than 12oz, and you risk overwhelming a home sewing machine. The motor strains, the feed dogs slip, and you get uneven stitch lengths. That’s the trade-off.
| Fabric Weight | Best For | Risk If Heavier |
|---|---|---|
| 7–8 oz canvas | Light-duty bags, beach totes | Stretches under >10 lbs, loses shape |
| 10–12 oz canvas | Grocery, library, everyday carry | Requires denim needle, may need slower stitching |
| 14+ oz canvas (duck canvas) | Tool bags, heavy trade use | Can jam home machine feed dogs, requires walking foot |
Your first bag should be 10oz natural canvas. It’s widely available, breaks in nicely, and forgives minor sewing errors. Belgian linen is beautiful but expensive and less abrasion-resistant. Recycled canvas is a fantastic, eco-friendly option that often comes pre-worn and softer.
Common mistake: Using quilting cotton for a “canvas” tote, the bag collapses under a hardcover book and the handles tear out after a dozen uses. The word “canvas” refers to the weave, not just any cotton.
If you want a liner, choose a light cotton poplin or broadcloth. It adds a clean finish and a tiny bit of structure without significant bulk. Fusible fleece interfacing gives the bag body but also stiffness; decide if you want a bag that stands up on its own or one that folds flat.
The 7-Step Build That Lasts
This sequence assumes a lined bag with reinforced straps. For an unlined version, you simply skip the lining steps and use a French seam to hide raw edges.
Before you start: Unplug your sewing machine when changing the needle. A slipping screwdriver can drive the needle into your finger. Also, canvas dust from cutting can irritate lungs, work in a ventilated area or wear a dust mask.
Step 1: Cut and Finish All Pieces
Cut two main panels to your desired size. A versatile finished size is 15.5″ tall by 16″ wide. Cut two identical lining panels. Cut four strap pieces 4″ wide by 22″ long.
Now, before you do anything else, finish every raw edge on every piece. Run them through a serger, sew a zig-zag stitch along the edge, or cut them with pinking shears. Canvas unravels aggressively the first time it’s washed. If you skip this, you’ll find threads pulling out after the first construction seam.
Step 2: Construct the Straps
Take two strap pieces, place them right sides together, and sew the long edge with a 1/2″ seam. Turn the tube right side out. This is the fussy part. Use a chopstick or a turning tool to poke the fabric through. Then press the seam so it sits centered on the back of the strap.
Topstitch 1/8″ from both long edges. This flattens the strap and adds visual detail. Repeat for the second strap. Press them thoroughly.
Step 3: Attach Straps to the Main Body
Place one main panel right side up. Measure 3″ in from each side edge at the top. This is your strap placement. Pin or clip the raw ends of a strap to these points, ensuring the strap isn’t twisted.
Baste the straps in place with a long stitch length. This is a temporary hold. The real reinforcement comes later.
I once sewed straps on with just a single reinforcing rectangle. After six months of carrying gardening tools, the fabric around the stitches began to tear. Now I use the square-and-X method. The difference isn’t subtle, it’s the reason my current bag is five years old.
Step 4: Assemble the Main Bag and Lining
Place the two main panels right sides together, sandwiching the straps inside. Sew the side and bottom seams with a 1/2″ allowance. Backstitch at the start and end. Do not sew the top open. Press these seams open. This is difficult with thick canvas, use firm pressure and steam.
Repeat this process with the two lining panels, right sides together. However, leave a 6″ gap unsewn in the center of the bottom seam. You’ll use this gap to turn the bag later. Press these seams open too.
Step 5: Create the Flat Bottom (Boxed Corners)
This step gives the bag its shape. Look at the bottom corner of your main bag. Push the side seam and the bottom seam together to align them, forming a triangle. The point of the triangle is the original corner.
Flatten this triangle. Measure 2″ from the point (or wider for a bag with a broader base) and draw a line perpendicular to the seam you just matched. Sew across this line. Cut off the triangle of excess fabric about 1/2″ beyond your stitching line.
Repeat this for the other bottom corner of the main bag. Then repeat the process for both corners of the lining. You now have three-dimensional bags.
Step 6: Join the Bag and Lining
Turn the main bag right side out. The lining should still be wrong side out. Slip the main bag down inside the lining. Your bag is now inside-out, with right sides of the main fabric and lining facing each other.
Align the top raw edges of the main bag and lining perfectly. Match the side seams. This is critical. Pin or clip every 2 inches around the entire circumference.
Sew around this top edge with a 1/2″ seam allowance. Go slowly over the areas where the straps are sandwiched, you’re now sewing through six layers of canvas.
Step 7: Turn, Close, and Finish
Reach through the 6″ gap you left in the lining’s bottom seam. Pull the entire main bag out through that gap. You’ve now turned the bag right side out.
Push the lining down into the main bag. The wrong sides are now together. Press the top edge flat. You’ll see the clean seam where the bag and lining meet.
Hand-stitch the gap in the lining closed with a ladder stitch, or machine-stitch it close to the edge. Finally, topstitch 1/4″ from the top edge all around the bag. This secures the lining, strengthens the opening, and gives a professional look. Give the whole bag a final vigorous press.
TL;DR: Finish edges first, reinforce straps with more than a single seam, and use the lining gap as your turning tunnel. Press after every single step.
Which Fabric Weight Matches a 28-Second Espresso Shot?
That’s the wrong question. The right question is: what are you carrying? Match the fabric to the load.
A beach tote holding towels and sunscreen can be 7oz canvas or even a heavy linen. A grocery bag that will regularly hold two gallons of milk needs 10oz. A bag for library books or laptop plus accessories is also 10oz. A tool tote for wrenches, drill bits, and a hammer should be 12oz duck canvas.
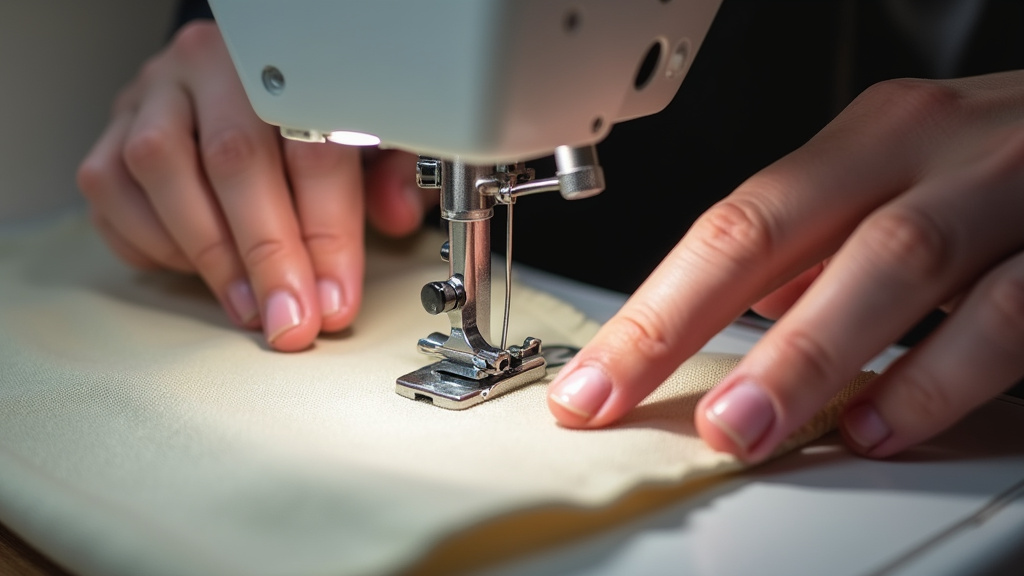
The thicker the fabric, the more you need to adjust your machine. Increase your stitch length to 3.0mm or longer. A short stitch punches too many holes close together, weakening the fabric along the seam line.
You might need a walking foot. This attachment feeds the top and bottom layers of fabric at the same rate, preventing the thick canvas from crawling under the presser foot. If you see uneven, bunched seams on the bottom layer, a walking foot fixes it.
Common mistake: Ignoring thread tension when switching to heavy thread, if the bobbin thread pulls to the top, loosen the upper tension slightly. Test on two scraps of your canvas before sewing the real bag.
The 3 Stitch Patterns That Prevent a Blowout
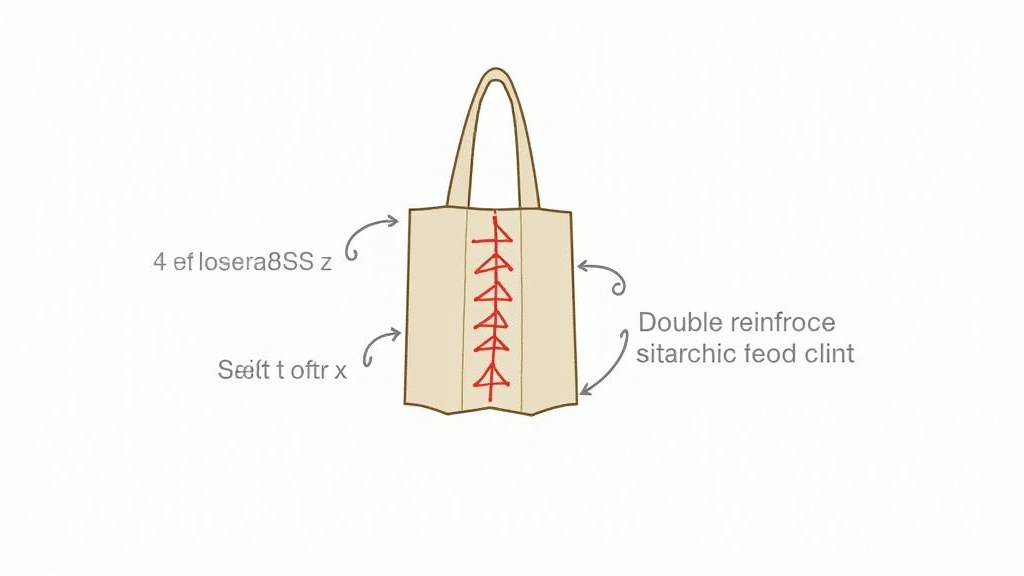
Straps fail first. The attachment point bears the entire weight of the bag’s contents, concentrated on a few square inches. A single line of stitching is a guaranteed failure point.
The first pattern is the simple rectangle. Stitch a box around the strap end. This is better than one line.
The second, stronger pattern is the rectangle with an X inside it. This distributes stress across multiple angles.
The strongest method for a home machine is a rectangle with an X, stitched twice. Use a straight stitch for the box, then stitch the X. Go back over the entire pattern with a second pass, slightly offset. You’re building a reinforced patch.
For the bag’s bottom, consider double-stitching the seam. Sew the seam with a 1/2″ allowance. Then sew another line 1/8″ inside the first, within the allowance. This creates a backup stitch line if the primary one is abraded.
Side seams rarely fail unless the bag is overloaded. Focus your reinforcement efforts where force is applied: the strap anchors and the bottom corners.
How to Sew a Straight Line on Slippery Silk

Again, wrong fabric. But the principle holds: control the material. Canvas is not slippery, but it’s stiff and can be hard to guide.
Chalk your seam lines. Don’t rely on the edge of the presser foot as your only guide. Draw the line you intend to follow with a fabric marker or chalk. Go slow. Let the machine feed the fabric; don’t push or pull it, as that bends the needle and can cause breakage.
If your machine has a speed control, set it to medium. High speed on thick fabric causes the needle to heat up and can weaken the thread.
After sewing, check the back of your work. Are the stitches even? Is the thread tension balanced? Fix any issues now, before you assemble more pieces. It’s easier to rip one seam than four.
TL;DR: Mark your lines, use a moderate speed, and inspect the underside of every seam before moving on.
Frequently Asked Questions
What size needle do I need for canvas?
Use a 90/14 or 100/16 denim/heavy-duty needle. The sharp point pierces the tight weave, and the stronger shaft prevents bending or breaking when hitting multiple layers.
Can I make a canvas tote bag without a sewing machine?
You can, but it’s arduous. Hand-sewing canvas requires a strong needle (like a leather needle) and a lot of patience. The stitches must be very tight and close together to bear weight. For a durable bag, a machine is strongly recommended.
How do I prevent the canvas from fraying?
Finish the edges immediately after cutting. Use pinking shears, a zig-zag stitch along the raw edge, or a serger. If you wait until after construction, fraying will have already started inside the seams.
What’s the best stitch length for canvas?
Set your machine between 3.0mm and, 3.5mm. A longer stitch puts fewer perforations in the tough fabric, maintaining its strength. A very short stitch (2.0mm) makes a perforation line that can tear.
How much fabric do I need for a tote bag?
For a bag approximately 15″ x 16″, you need 1 yard of 45″ wide canvas for the exterior. If adding a lining, purchase an additional 1/2 yard of lining fabric. Always buy a little extra for practice or error.
Can I wash a canvas tote bag?
Yes, but turn it inside out and wash it in cold water on a gentle cycle. Tumble dry low or, better yet, air dry. Hot water and high heat can shrink the canvas and weaken the thread over time.
The Bottom Line
A canvas tote bag is a simple project with a high payoff. The difference between a bag that lasts a season and one that lasts a decade is in the details: the needle, the thread, the strap reinforcement, and the pressing.
Don’t use fabric meant for a quilt. Don’t skip the edge finishing. And never attach a strap with a single seam. Build it like the tool it is, something meant to carry a load, resist abrasion, and survive daily use. The extra half-hour you spend reinforcing pays off every time you lift a full bag without a second thought.