How to Make a Quilted Tote Bag in 7 Steps (No Guesswork)
This post contains affiliate links. As an Amazon Associate, we earn from qualifying purchases.
To make a quilted tote bag, you quilt the fabric and batting together first, then treat that quilted piece as a single, stable fabric for construction. The sequence is non-negotiable: cut oversized pieces, quilt them flat, trim to final size, assemble the bag, add a lining, and finish with topstitching. Matching the right fabric weight to the batting type determines whether your bag holds its shape or collapses.
Most tutorials get the steps right but miss the physics. They tell you to quilt first, but they don’t explain that quilting cotton with thick batting will pucker unless you use a walking foot. They show you how to box corners, but they skip why a 2-inch box gives you a different base than a 3-inch one. Your first bag will have a wavy lining if you don’t know the trick.
This guide walks through the seven physical stages, from picking a fabric that won’t sag in six months to attaching handles that won’t rip out under a load of books. We’ll cover the tools that save time, the common mistakes that waste an afternoon, and how to adjust dimensions for anything from a lunch bag to a weekend duffel.
Key Takeaways
- Quilt your fabric panels before cutting them to final size and assembling the bag; quilting shrinks the fabric sandwich by 3-8%, and cutting first guarantees a misshapen bag.
- Use a walking foot on your sewing machine; a standard presser foot will push the top layer faster than the bottom, creating puckers and tucks in the quilting that you cannot press out.
- For a structured tote that holds its shape, pair a medium-weight fabric like cotton linen canvas with fusible fleece; for a soft, drapey bag, use quilting cotton with a thin 80/20 cotton/polyester batting.
- Boxed corners are created by sewing across the point where the side seam meets the bottom seam; the distance you measure from the point (e.g., 2 inches) directly sets the width of the bag’s base.
- Always press every seam open or to the side before moving to the next step; skipping the iron leads to bulky, uneven seams that prevent crisp corners and a professional finish.
The Fabric & Batting Trio That Actually Works
Head to the fabric store with a plan. The wrong combination feels fine in your hands but makes a bag that droops or stands too stiff. Your three layers are the outer fabric, the batting, and the lining.
Quilting a tote bag uses a fabric sandwich: the decorative outer fabric, a middle layer of batting for loft and structure, and a plain lining fabric. This is quilted as one unit before any bag pieces are cut, turning three separate layers into a single, stable material. The batting choice, fusible fleece, polyester, or cotton, dictates the bag’s final drape and stiffness.
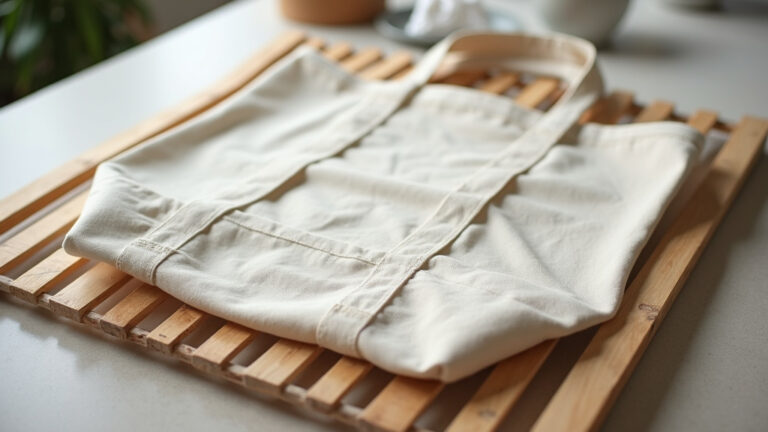
Cotton linen canvas is my go-to for the outer layer. It’s heavier than quilting cotton but still easy to sew, and it wears like iron. Quilting cotton works for a lighter, more decorative bag, but it will soften and lose shape faster. For the lining, standard quilting cotton is perfect, it’s smooth, comes in endless prints, and is cheap.
The batting is the secret. Fusible fleece (like Pellon 987F) is the cheat code. You iron it to the wrong side of your outer fabric; it doesn’t shift while you quilt, and it adds serious body. For a softer, more traditional quilted feel, use a low-loft 80/20 cotton/polyester batting. Avoid high-loft polyester batting unless you want a puffy, unstructured bag.
TL;DR: Outer fabric (canvas for durability, quilting cotton for drape) + batting (fusible fleece for structure, 80/20 for softness) + lining fabric (quilting cotton). Quilt these three layers together before cutting your bag pieces.
The Non-Negotiable Tool Shortlist
You can sew a bag with just scissors, pins, and a basic machine. You will also hate the process. Three tools turn a frustrating project into a clean one.
A rotary cutter, mat, and acrylic ruler are not optional for accurate cuts. Scissors introduce wobble, and your panels won’t match. The 6×24 inch Olfa acrylic ruler lets you square up fabric after quilting, which is the step everyone misses.
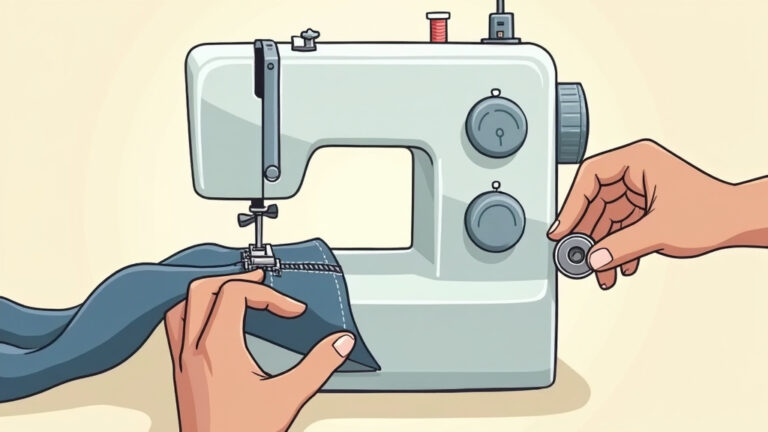
A walking foot for your sewing machine is the second mandatory buy. It feeds the top layer of fabric at the same rate as the bottom feed dogs. Without it, the batting creates drag, the top fabric creeps, and you get puckered seams that look homemade in the worst way.
Finally, get a 1/4 inch presser foot if your machine didn’t come with one. Consistent seam allowances are everything in bag-making. Guessing a 1/2 inch seam with a standard foot leads to mismatched corners and a lopsided bag. The marked foot removes the guesswork.
| Tool | Why It’s Critical | What Happens If You Skip It |
|---|---|---|
| Rotary Cutter & Mat | Ensures perfectly square panels after quilting, which shrinks and distorts fabric. | Panels are trapezoids, seams don’t align, and the finished bag twists. |
| Walking Foot | Feeds all layers of the quilt sandwich evenly to prevent puckering. | The top fabric creeps, creating permanent tucks and wrinkles in the quilting lines. |
| 1/4″ or 1/2″ Presser Foot | Guarantees consistent seam allowances for predictable assembly. | Inconsistent seams cause misaligned corners and handles, and the lining won’t fit. |
| Steam Iron & Pressing Mat | Sets seams and creases crisply for professional edges. | Seam bulk prevents sharp corners, and the top edge of the bag looks wavy and unfinished. |
The 7-Step Assembly Sequence (and Why Order Matters)
The biggest mistake is treating this like sewing a pillowcase. A quilted bag is a structured object, and the construction order is locked in. Deviate, and you fight the materials.
Step 1: Cut Oversized and Quilt Flat
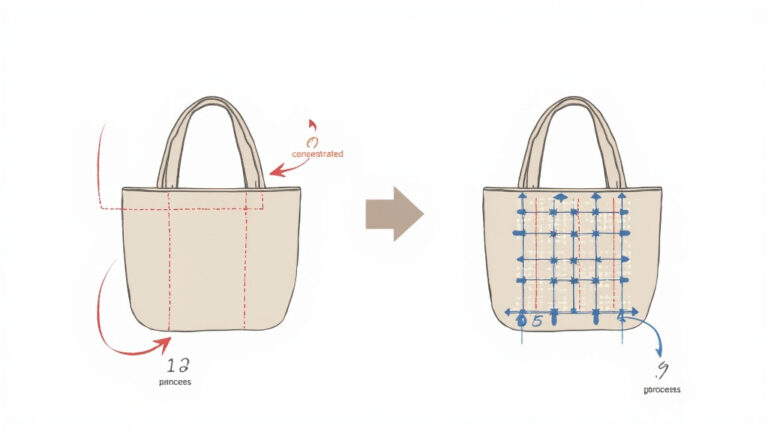
Cut your outer fabric, batting, and lining fabric at least 1 inch larger than your final desired panel size. For a 14″ tall by 16″ wide bag, cut three 15″ by 17″ rectangles. Layer them: lining (right side down), batting, outer fabric (right side up). Baste with spray adhesive or pins. Quilt this sandwich with straight lines, a grid, or free-motion design. Quilting shrinks the layers. If you cut to final size first, your panel will be too small.
Step 2: Trim to Perfection
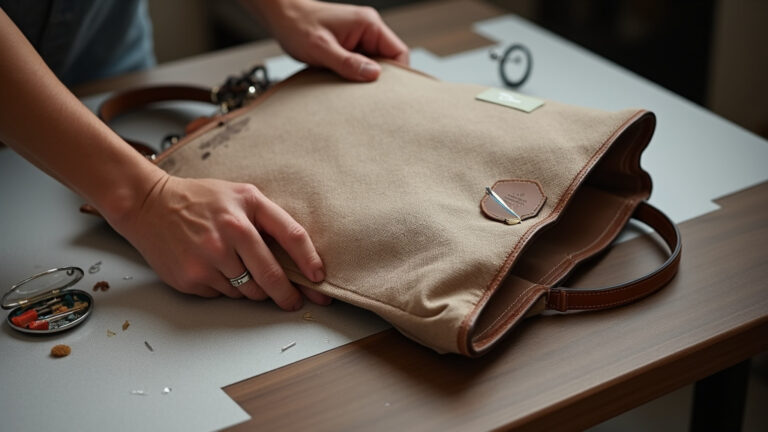
Place your paper pattern or acrylic ruler on the quilted piece. Trim it to the exact final size. This is where the rotary cutter earns its keep. Check that all corners are 90 degrees. This step fixes any distortion from quilting. Two panels must be identical.
Step 3: Sew the Basic Bag Shape
Place the two quilted panels right sides together. Pin the sides and bottom. Sew with a 1/2 inch seam allowance. Do not sew the top shut. This creates a simple bag shape inside out. Finish the raw seam edges with a zigzag stitch or serger if you have one, it reduces fraying inside the lining.
Common mistake: Using a 1/4 inch seam allowance for bag construction, the stress of carrying weight will pop the seams within a few months of regular use. The 1/2 inch allowance is standard for bags because it provides a much stronger seam.
Step 4: Create the Base with Boxed Corners
This step gives the bag three-dimensional volume. Flatten one bottom corner so the side seam aligns perfectly with the bottom seam, forming a triangle. The point of that triangle is the original corner. Measure 2 inches from that point along the seam and mark a line perpendicular to the seam. Stitch across that line. Repeat for the other corner. When you turn the bag right-side out, this creates a flat, rectangular base. The measurement (2 inches, 3 inches) equals half the finished width of the bag’s base.
Step 5: Make and Attach the Lining
Cut two lining pieces from your lining fabric using the same final panel dimensions. Sew them together along the sides and bottom with a 1/2 inch seam, but leave a 4-inch gap unsewn in the middle of the bottom seam. Do not box the corners. This gap is your turning hole. Slip this lining bag over the exterior bag, right sides together. Align the top raw edges and side seams perfectly. Pin or clip all around.
Step 6: Stitch, Turn, and Close
Sew around the entire top edge with a 1/2 inch seam allowance. Reach through the gap in the lining, grab the exterior bag, and pull everything right-side-out through that hole. Push the lining down into the exterior bag. The right sides are now facing out, and the raw top edge is hidden between the layers. Hand-stitch the gap in the lining closed using a ladder stitch.
Step 7: Press and Topstitch for Good
This is the difference between homemade and professional. Press the top edge of the bag meticulously. Then, sew a line of topstitching 1/8 inch from the edge all the way around. This secures the lining in place, reinforces the opening, and gives a crisp finish. For extra durability, add a second row of topstitching 1/4 inch from the first.
Handle Choices: Comfort vs. Speed
Handles are the load-bearing component. Get this wrong, and the bag fails functionally, no matter how pretty it is. You have two real paths: fabric straps or webbing.
Fabric straps look seamless. Cut strips four times your desired finished width plus 1 inch for seam allowances. Fold them in half lengthwise, right sides together, sew along the long edge, turn right-side-out, press, and topstitch. They’re comfortable but time-consuming. The turning process for long, narrow tubes is its own special hell without a loop turner.
I made a bag for my son to carry library books using quilted fabric handles. They looked great for two weeks. Then the constant stress on the attachment points started fraying the inner layers of the strap. I now interface every fabric handle with a layer of mid-weight fusible interfacing like Pellon SF101 before I even fold it. That was five years ago; that bag is still in use.
Nylon or cotton webbing is the pragmatic choice. It’s consistently strong, comes in multiple widths and colors, and you just cut it to length. To attach, tuck the ends between the exterior and lining layers before you sew the top seam in Step 6. Reinforce by sewing a box with an X over the webbing ends after the bag is turned. It’s boring, but it works forever.
| Handle Type | Best For | Critical Step Most Skip |
|---|---|---|
| Fabric Straps (Self-Made) | Light to medium loads, aesthetic cohesion with bag fabric. | Fuse interfacing to the strap fabric before folding and sewing. Without it, the inner layers fray under stress. |
| 1″ Cotton or Nylon Webbing | Heavy loads (books, groceries), quick construction, maximum durability. | Trim the webbing ends at a 45-degree angle before tucking between layers to reduce bulk in the seam. |
| Leather Handles | Premium finish, structured bags. | Punch sewing holes in the leather before assembly; trying to sew through leather with a universal needle will skip stitches and break thread. |
Lining, Pockets, and Professional Touches
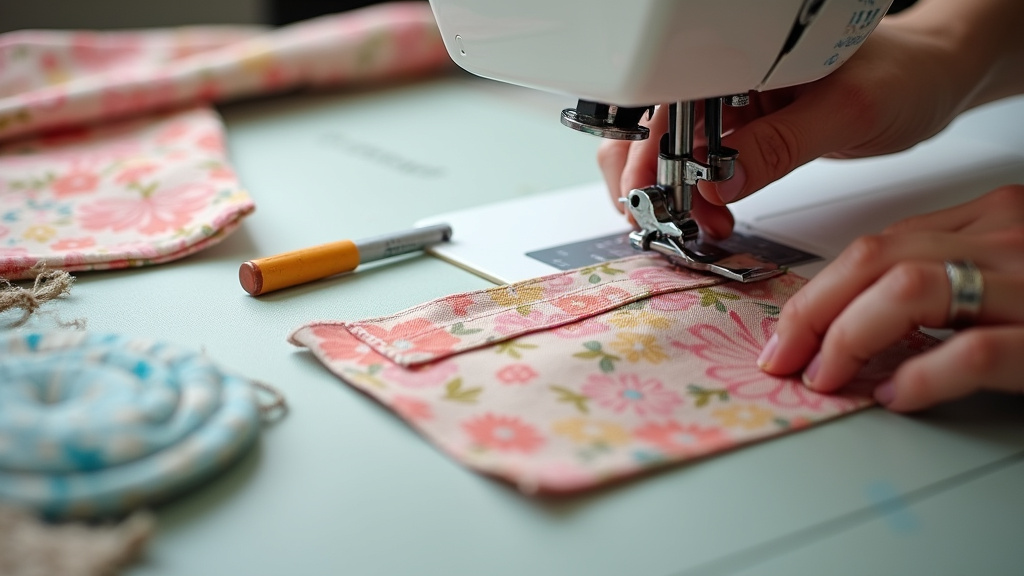
A lining isn’t just for hiding seams. It protects the batting from interior abrasion and gives you a place to add organization. A bag without a lining feels unfinished inside, and the batting will pill and wear where keys or pens rub against it.
Sewing a pocket into the lining is easier than it looks. Cut a rectangle of lining fabric. Fold and press the top edge down twice for a clean hem, then topstitch. Place it right-side-up on the right side of one lining panel, raw edges aligned at the sides and bottom. Sew the pocket onto the lining panel with a 1/4 inch seam around the three sides before you sew the lining panels together. This “flat” method is foolproof.
For a truly clean interior, consider a bag turner or bodkin. These cheap tools help pull straps and corners right-side-out without stretching the seams. A chopstick works in a pinch, but it can poke through fabric if you’re not careful.
TL;DR: Attach pockets to the lining panels before assembly. Use a bag turner for crisp corners. Always line a quilted bag to protect the batting.
Quilting Pattern and Density: The Structure Dial
How you quilt the panels is your main control over the bag’s final stiffness. The more stitching lines, the stiffer the panel.
Straight-line quilting, spaced 1 to 2 inches apart, is the standard. It’s fast and adds good structure. Use your walking foot and the guide bar if you have one. A diagonal grid (cross-hatch) is stronger and looks more professional, but it takes twice as long. For a very soft, drapey bag, like a knitting project bag, you can quilt as little as a 4-inch grid. Just know it will have less shape over time.
Common mistake: Quilting with the decorative stitches on your machine (stars, flowers) on a bag that will see real use, the dense, complex stitching perforates the fabric, creating weak points that tear along the stitch lines after a few months of carrying weight.
Free-motion quilting is beautiful but advanced. It can cause significant fabric draw-up (shrinkage). If you go this route, cut your initial panels at least 2 inches oversized to account for it. No matter the pattern, always start quilting from the center and work your way out to push excess fabric toward the edges, not trap it in the middle.
Sizing Your Tote for Its Actual Job
The beauty of a handmade bag is custom sizing. The math is simple. Decide on your finished height, width, and depth.
- Finished Height: This is your front/back panel height.
- Finished Width: This is your front/back panel width.
- Finished Depth: This is the width of the bag’s sides and bottom after boxing the corners. It’s determined by the boxed corner measurement.
Here’s the formula: Your cut panel height = Finished Height + 1 inch (for top seam allowance). Your cut panel width = (Finished Width x 2) + Finished Depth + 1 inch. For a bag that’s 12″ tall, 15″ wide, and 5″ deep, you’d cut panels 13″ tall by (15+15+5+1=) 36″ wide. Then you’d sew the side/bottom seam to make a tube, and box the corners using a 2.5-inch measurement (half of your 5-inch desired depth).
Want a tall, narrow grocery bag? A short, wide beach tote? A deep, structured weekender bag? Plug your numbers into that formula. It always works.
Troubleshooting the Three Classic Failures
Your first bag might have a quirk. Here’s how to fix the common ones.
The Lining is Too Tight or Bunchy
You trimmed the quilted exterior panels but cut the lining to the same initial oversized dimensions. The lining didn’t shrink from quilting, so it’s now larger than the exterior. Fix: Always cut the lining fabric to the final, trimmed dimensions of your quilted exterior panels. The lining should be a hair smaller than the exterior so it tucks inside neatly without pulling.
The Handles Are Twisted
You attached them before ensuring the bag body was perfectly aligned. Fix: Before final attachment, mark the exact center front and back of your bag with a pin. Mark the exact center of each handle. Match these centers and pin outward. Sew slowly, keeping the handle flat.
The Top Edge is Wavy After Topstitching
You skipped the pressing step or didn’t use enough clips to hold the layers together. The lining crept during sewing. Fix: Press the top edge aggressively. Use 20-30 wonder clips (not pins) to hold all three layers, exterior, lining, and handle ends, perfectly aligned before you sew the final topstitching. Go slow.
Frequently Asked Questions
What is the best batting for a quilted tote bag?
For a structured bag that holds its shape, use fusible fleece (like Pellon 987F). For a softer, more traditional quilted feel with some drape, use a thin 80/20 cotton/polyester batting. Avoid high-loft polyester batting, it’s too puffy and makes sewing difficult.
Can I use a regular sewing machine foot instead of a walking foot?
You can, but you’ll likely fight puckering. A walking foot feeds the top and bottom layers of the quilt sandwich at the same rate. Without it, the batting creates drag, and the top fabric can creep, creating permanent tucks. If you must use a regular foot, increase your presser foot pressure slightly and hold the fabric taut in front and behind the needle.
How much fabric do I need for a basic tote bag?
For a medium tote (about 14″ tall x 16″ wide x 5″ deep), you need 1/2 yard (18 inches) of 44-inch wide fabric for the exterior, the same for the lining, and 1/2 yard of batting. This allows for cutting two panels with a bit left over for handles or a pocket.
How do I prevent the batting from beardng through the fabric?
Bearding happens when fibers from the batting work through the weave of the fabric. To prevent it, use a higher-quality batting with a denser fiber web (like 80/20 cotton/poly) and ensure your outer fabric has a tight weave (like canvas, not loose linen). Pre-washing your outer fabric can also tighten the weave slightly.
My bag is inside out after turning it through the lining gap. What did I do wrong?
You sewed the lining to the exterior with right sides together, which is correct. The most common mistake is forgetting to pull the exterior bag completely through the lining hole, so it remains trapped inside. Reach deep into the lining gap, grab the exterior fabric, and pull it all the way out. Then push the lining down into the exterior.
Before You Go
Making a quilted tote bag is about sequence. Quilt first, then cut. Use a walking foot. Press every seam. Choose handles based on the load, not just the look. The difference between a bag that lasts a season and one that lasts for years is in those details, the fusible interfacing in the straps, the 1/2 inch seam allowance, the careful trimming after quilting.
Start with a simple design in cotton canvas and fusible fleece. Get the process in your hands. Then experiment with patchwork panels, different quilting patterns, or adding a zipper closure. The basic construction steps you follow here are the foundation for every quilted bag, from a small clutch to a large travel backpack. Once you own the method, you own the project.