How to Make a Bag: The 7-Step Tote Bag Build That Lasts
This post contains affiliate links. As an Amazon Associate, we earn from qualifying purchases.
Making a durable bag requires matching three things: the right fabric weight, a consistent 1/2″ seam allowance, and a reinforced strap attachment. Get those wrong and your bag will rip at the seams, sag, or tear the handles off within a month.
Most tutorials tell you to sew a cute tote. They don’t tell you why the first one you make will probably fail at the grocery store checkout line. The difference isn’t the pattern. It’s the 15 minutes you spend reinforcing stress points that a store-bought bag gets from industrial machines.
This guide builds a tote that carries 30 pounds without complaining. We’ll use cotton duck canvas, a walking foot, and a box-and-X stitch that locks the straps in place for good.
Key Takeaways
- Skip quilting cotton for anything heavier than a library book. A 10-ounce cotton duck canvas is the minimum for a bag that won’t stretch out of shape after two uses.
- A consistent 1/2″ seam allowance is non-negotiable. A 3/8″ allowance frays apart under load; a 5/8″ allowance bunches up and makes turning the corners impossible.
- Reinforce strap attachments with a box-and-X stitch. A single straight line pulls out. The box contains the stress, and the X distributes it across the fabric weave.
- Press every seam open before you move to the next step. An unpressed seam adds bulk, and that bulk throws your corners off by a quarter-inch. Your bag ends up lopsided.
- Leave a 4-inch gap in the lining’s bottom seam for turning. A 2-inch gap is a fight you’ll lose with thicker fabrics. You’ll stretch the hole and fray the edges.
The Fabric That Doesn’t Quit
Start with the wrong material and nothing else matters. Quilting cotton is for quilts. Lightweight canvas bags look good for a week. You need a fabric that has both body and a tight weave.
Cotton duck canvas around 10 ounces per square yard is the sweet spot. It’s stiff enough to hold its shape but still folds cleanly under a home iron. Denim works, but its diagonal twill weave can twist if your cutting isn’t perfect. Upholstery fabric is often too thick for a domestic machine needle to punch through eight layers at the strap attachment point.
A 10-ounce cotton duck canvas has a thread count around 60×60. That tight plain weave resists stretching under a 20-pound load where a looser 50×50 weave bag will sag an inch after one trip.
The lining is not just for looks. A smooth cotton poplin or broadcloth lets your keys slide in and out without snagging. It also hides the raw seams and interfacing on the inside. Some people use a contrasting print here. That’s fine. Just make sure it’s a light- to mid-weight woven, not a knit.
Fusible interfacing is the secret skeleton. Pellon SF101 is a featherweight knit that adds just enough stability without making the canvas board-stiff. Fuse it to the wrong side of your outer canvas pieces before you cut anything. If you skip this step, the bag will flop over when empty. The interfacing also minimizes fraying during construction.
TL;DR: Use 10-oz cotton duck canvas for the outside, cotton poplin for the lining, and fuse Pellon SF101 to the canvas before you cut. Everything else is decoration.
The 7-Step Tote Bag Build That Lasts
This isn’t a craft project. It’s light carpentry with fabric. Measure twice, cut once. Press after every single seam. Rushing here guarantees a bag that looks homemade in the worst way.
Before you start: Unplug your iron when you’re not actively using it. A hot iron left face-down on a polyester lining fabric melts a hole straight through in under 30 seconds. And always test your fusible interfacing on a scrap first — a mis-set iron can glue the paper backing to your canvas, and you’ll spend an hour picking it off.
Step 1: Cut Everything at Once
Cut two 15″ x 18″ rectangles from your canvas. Cut two identical rectangles from your lining fabric. Cut two more from the fusible interfacing. For the straps, cut two pieces of 1″ cotton webbing to 22″ each.
Common mistake: Cutting straps to a standard 20″ length — that’s fine for hand-carry, but if you want to sling the bag over your shoulder, 22″ gives you the extra two inches to clear a winter coat without digging in.
The canvas rectangles are your outer bag panels. The lining rectangles are, obviously, the lining. The webbing is your handle material. Mark the wrong side of each canvas piece with a chalk X. That’s where the interfacing goes.
Step 2: Fuse and Mark Seam Allowances
Fuse the interfacing to the wrong side of each canvas rectangle, following the manufacturer’s instructions for heat and time. Use a press cloth. Direct heat on fusible web can gum up your iron plate.
Once fused, take a fabric marker or chalk and draw your seam allowance lines. Mark 1/2″ in from every edge on the wrong side of both the canvas and lining pieces. This line is your guide. Sewing “about” a half-inch gets you an uneven bag. Your side seams won’t match your bottom seams, and the boxed corner won’t square up.
Step 3: Sew the Outer Bag and Lining
Place two canvas pieces right sides together. Pin along one long side. Sew from top to bottom along your marked 1/2″ line. Backstitch at the start and end. Repeat for the other side and the bottom. You should now have a canvas tube, open at the top.
Do the exact same thing with the two lining pieces, with one critical difference: when you sew the bottom seam, stop sewing about 4″ from the end, backstitch, and leave the needle down. Lift the presser foot, shift the fabric, and start sewing again 4″ later, leaving a 4″ gap in the middle of the seam. Backstitch again. This gap is your escape hatch for turning the whole bag right-side out later. Forget it, and you’re hand-stitching the top closed.
Press all these seams open. Not flat — open. Use the point of your iron to work the seam allowance apart.
Step 4: The Boxed Corner That Adds Volume
This is where most people get a lopsided bag. Flatten your canvas tube so the side seam lies directly on top of the bottom seam, matching them perfectly. You’ll have a point at one corner. Push that point out to form a triangle.
Measure 2″ from the tip of that triangle along the fold. Draw a line perpendicular to the fold. Pin. Sew across that line. Cut off the excess triangle, leaving about a 1/2″ seam allowance. Repeat for the other bottom corner of the canvas tube. Do the same for both corners on the lining tube, remembering to avoid the 4″ gap.
I tried eyeballing the 2″ measurement on my first bag. The left corner came out at 1 3/4″, the right at 2 1/4″. The finished bag sat crooked on the table. Now I use a quilting ruler every time.
TL;DR: Match side and bottom seams perfectly before pinning the corner. Measure the 2″ from the point exactly. Sew, trim, repeat. The bag’s stability lives here.
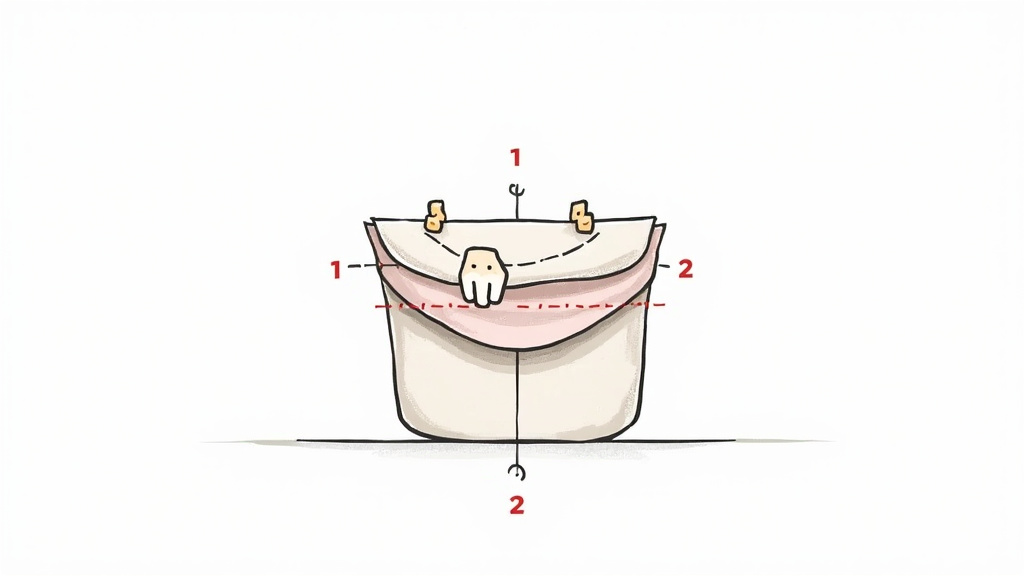
Step 5: Attach Straps So They Never Come Off
Pin one end of a webbing strap to the top edge of the outer bag, aligning the raw edges. Place it 3″ in from the side seam. Do the same for the other end of that strap on the opposite side. Repeat for the second strap on the other two quadrants.
This is where you reinforce. Don’t just sew a straight line back and forth. You need a box with an X inside it. Stitch a 1″ square, pivot at the corners. Then stitch an X from corner to corner inside that square. This distributes the pulling force across the entire patch of canvas. A single line concentrates all the stress on a few threads.
Use a walking foot if you have one. The standard presser foot will struggle to feed the webbing and multiple layers of canvas evenly. If you don’t have one, lengthen your stitch slightly and go slow.
| Strap Attachment Method | Best For | Failure Point |
|---|---|---|
| Single straight stitch | Decorative bags, light loads | Pulls out after 5-10 heavy uses |
| Triple straight stitch | Medium-duty bags | Fraying along stitch line after 20-30 uses |
| Box-and-X stitch | Heavy-duty, grocery, tool bags | Fabric wears out before stitches fail |
Step 6: Assemble the Bag
Turn your outer bag right side out. Leave the lining inside out. Slide the outer bag inside the lining bag, so their right sides are now facing each other. This feels wrong. The lining will be on the outside, encasing the outer bag.
Align the top raw edges and the side seams. Pin every two inches. Sew all the way around the top with a 1/2″ seam allowance. Go slow over the strap areas — you’re sewing through two layers of canvas, two layers of lining, and the webbing. Eight layers total. Backstitch securely.
Step 7: Turn, Press, and Topstitch
Reach through the 4″ gap you left in the lining’s bottom seam. Grab the outer bag and pull everything through that gap. You’ll now have a bag with the lining hanging out. Push the lining down into the outer bag.
Use a blunt tool like a chopstick to push out the corners fully. Press the entire top edge flat. The seam allowance should want to roll toward the lining side.
Now, topstitch 1/8″ from the top edge, all the way around. This closes the turning gap in the lining seam permanently and gives a professional finish. For extra security, stitch again 1/4″ from the edge.
Which Strap Material Actually Holds Up?
Webbing looks simple. The wrong choice turns your bag into a shoulder-gouging liability.
Cotton webbing is soft and molds to your hand, but it stretches under sustained weight. Polyester webbing doesn’t stretch, but the edges can be sharp and cut into your shoulder. Nylon webbing is strong but can melt if it rubs against a rough surface repeatedly.
For a grocery or tool tote, I use 1″ wide cotton-polyester blend webbing. It’s the compromise. The cotton face is comfortable, the polyester core limits stretch. You can find it at most hardware stores sold by the yard.
Common mistake: Using ribbon or folded fabric strips as straps — they look cute but concentrate the load on a thin line. The bag will feel heavier, and the straps will cut into your shoulder within 100 feet of walking.
The length is personal. A 22″ drop lets the bag clear your hip while carrying it by hand. For a shoulder carry, you need to account for your body and clothing. A 22″ strap on a 9″ tall bag might not fit over a thick winter coat. Test it with a mock-up before you cut.
The Walking Foot vs. The Standard Foot
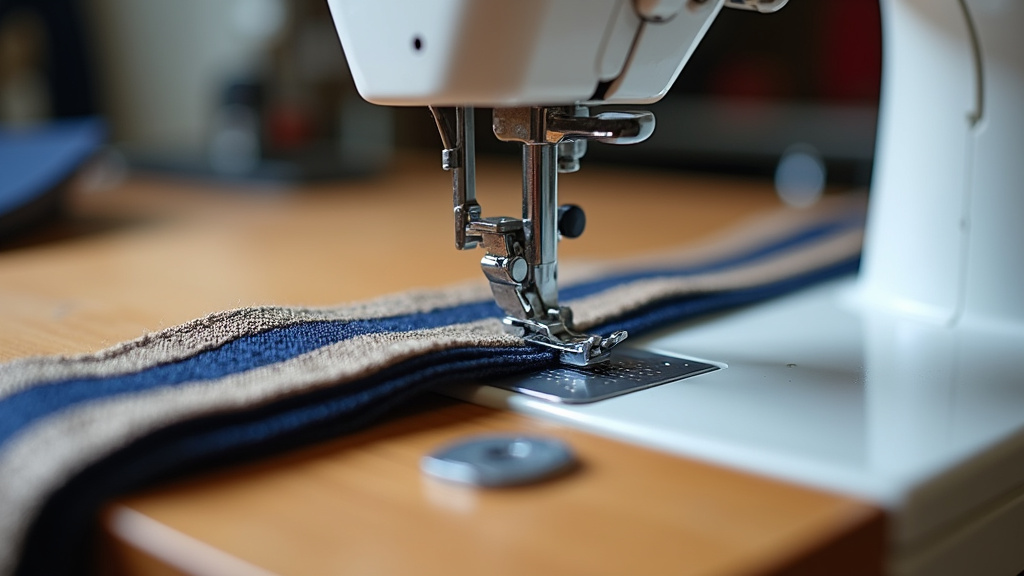
A walking foot is an attachment that feeds the top layer of fabric at the same rate as the bottom feed dogs. On slippery lining fabric or multiple thick layers, a standard foot can cause the top layer to creep forward. Your pieces end up misaligned by an eighth of an inch, and your straps sit crooked.
You can sew a bag without one. I did for years. But you’ll fight the fabric more, especially at the eight-layer strap attachment point. If you plan to make more than one bag, the $30 investment pays off in frustration saved. Set your machine to a longer stitch length (3.0 mm) and slightly higher tension when going over the thick parts.
How to Fix the Three Most Common Screw-Ups
You will make mistakes. Here’s how to salvage the project without starting over.
The straps are twisted. You attached them, assembled the bag, turned it right-side out, and one handle is a corkscrew. Unpicking topstitching through eight layers is a nightmare. Fix: Before the final topstitching, slip your hand inside the bag and feel each strap from the attachment point up. If it’s twisted, you can sometimes rotate it by reaching through the lining gap. If it’s locked in, you’ll need to carefully unpick a small section of the top seam, untwist, and re-stitch.
The lining is too tight or too loose. You sewed the lining with a different seam allowance than the outer bag. If it’s too tight, it pulls the outer bag inward and the top wrinkles. If it’s too loose, it bunches inside. Fix: For a slight case, heavily steam and press the bag while gently stretching or easing the lining. For a severe case, you may need to take apart the top seam and re-sew one layer with a corrected allowance.
The boxed corners don’t match. One is deeper than the other, so the bag rocks on a flat surface. Fix: This is almost always a cutting or marking error from step one. You can sometimes compensate by taking in the side seam on the taller corner by a few millimeters, but it’s a band-aid. For a professional finish, you’d need to recut the offending panel.
Frequently Asked Questions
What’s the best sewing machine for bag making?
Any machine that can sew a straight stitch through eight layers of canvas and webbing. A basic mechanical machine like a Janome HD3000 or a Singer Heavy Duty is more than enough. The motor matters more than the features. You need consistent power, not 200 decorative stitches.
Can I use a serger to finish the seams inside?
You can, but it adds bulk exactly where you don’t want it — in the seams that get folded into the boxed corner. For a lined bag, the raw seams are hidden inside anyway. A simpler, less bulky finish is to pink the edges with fabric shears or run a simple zigzag stitch along the raw edge before assembly.
How do I add a pocket?
Cut a rectangle of fabric about an inch larger than your desired pocket size on all sides. Fold and press the top edge down twice for a hem. Pin the pocket to the right side of a lining panel before you sew the lining together. Stitch around three sides, leaving the top hem open. Then proceed with assembling the lining as normal.
My fabric keeps fraying during sewing.
Your needle is likely too small or dull. For canvas, use a size 90/14 or 100/16 needle. A universal point can push fibers aside instead of piercing them, causing fraying. A sharp denim or topstitching needle is better. Also, apply a thin line of Fray Check along the cut edges before you start sewing if it’s a loose weave.
How do I wash a homemade canvas tote?
Turn it inside out. Wash it in cold water on a gentle cycle. Tumble dry on low heat, or better yet, hang it to dry. The heat from a dryer can soften the fusible interfacing over time, causing it to peel away from the canvas.
Before You Go
A good bag isn’t about fancy fabrics. It’s about the 1/2″ seam allowance you measure every time. It’s the box-and-X stitch you use on the straps even though a single line would be faster. It’s pressing the seams open when you’d rather skip to the next step.
Cotton duck canvas, a walking foot, and patience beat a $50 store-bought tote every time. Your first one might take three hours. Your third will take ninety minutes. After that, you stop buying bags. You just make them.