How to Make a Duffle Bag | The 7-Step Build That Lasts
This post contains affiliate links. As an Amazon Associate, we earn from qualifying purchases.
To make a duffle bag, you need seven specific steps: fabric prep, panel interfacing, zipper installation, handle attachment, side seam assembly, lining construction, and final turn-out. The bag fails not at the seams, but at the attachments, handles tear, zippers pull away, and pockets detach if built incorrectly.
The difference between a bag that survives a year and one that lasts a decade is in three mechanical joints. A single row of straight stitching on a handle gives out after 20-30 heavy lifts. Zipper tape sewn onto a single layer of canvas separates within a year. Lightweight interfacing bubbles away after the first wash, leaving the bag limp.
What follows: a walkthrough of the seven non-negotiable steps, the exact hardware that doesn’t fail, and the specific mistakes that turn a weekend project into a repair job within months.
Key Takeaways
- Pre-wash and press all cotton canvas. Skipping this causes the exterior to shrink around non-shrinking interfacing, creating permanent wrinkles after the first real-world wash.
- Use a heavy-duty, fusible fleece interfacing like Pellon 987F. Lightweight interfacing delaminates under load, and the bag loses all structure.
- Attach handles with a box-and-X stitch pattern. A single or double row of straight stitches will tear the fabric at the stitch holes within 2-3 months of regular gym use.
- Install the zipper using a facing method, sewing it between two layers of fabric. Sewing zipper tape directly onto a single exterior layer guarantees the seam will rip open under tension.
- Leave the zipper at least one-third open when sewing the final lining seam. If you sew it completely shut, the bag cannot be turned right side out without cutting the lining.
The 7-Step Build That Lasts
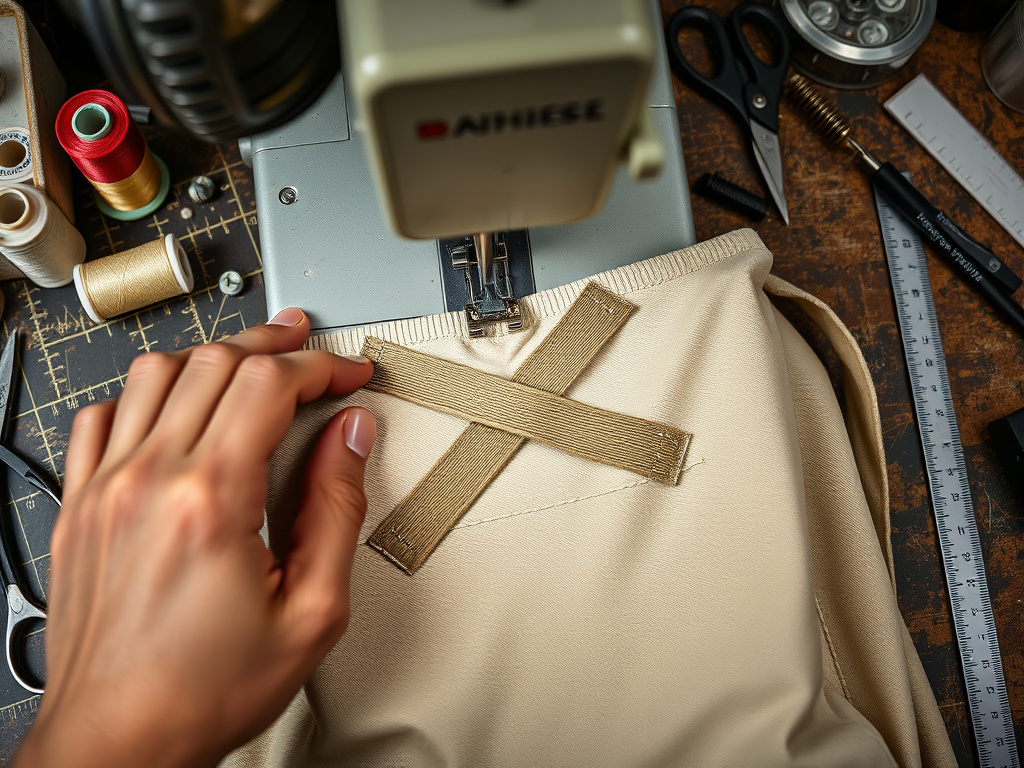
This is light carpentry with fabric, aiming for a load-bearing container rather than a decorative pouch.Each step has a physical consequence if done wrong, and the failure points are predictable.
Technical Snippet: A duffle bag’s primary stress joints are the handle-to-body attachment, the zipper tape-to-fabric seam, and the corner gussets. Industry-grade construction uses a minimum of 10 oz cotton canvas, #10 YKK coil zippers, 1-inch polypropylene webbing, and Pellon 987F fusible fleece interfacing for rigidity. Seam allowances are typically 1/2 inch (12.7mm).
Step 1: Fabric and Hardware. What Actually Holds Up
Your fabric choice decides the bag’s lifespan before you make the first cut. The wrong material feels sturdy in the store but fails in the field.
| Material | Best For | Risk If You Compromise |
|---|---|---|
| 10-15 oz Cotton Canvas | General use, gym bags, weekend travel | Under 10 oz: fabric stretches under load, seams distort, handles pull through. |
| Waxed Canvas | Outdoor, wet conditions, heritage look | Unwaxed canvas soaks through; waxed requires special sewing needle to avoid gumming. |
| Cordura Nylon | Abrasion resistance, heavy travel | Slick surface; webbing attachments need bartacking or they slip. |
| Heavyweight Duck Cloth | Cost-effective durability | Often narrower bolt width; requires more piecing for large panels. |
You need more than fabric. The hardware list is short and non-negotiable: – Zipper: A #10 coil zipper from YKK. The length should be your finished bag width plus 2 inches. A 20-inch wide bag needs a 22-inch zipper. The #5 size is for small pouches, not loaded duffles. – Webbing: 1-inch wide polypropylene webbing for straps. Cotton webbing stretches. Nylon is slippery and hard to sew. – Interfacing: Pellon Fusible Fleece 987F or Peltex 71. This is the skeleton. Press each section with a steam iron for a full 12 seconds for a permanent bond. – Thread: All-purpose polyester thread works, but topstitching thread (Tex 40) is better for visible seams and handle attachment.
Skip the “upholstery weight” fabric from a craft store unless you can verify its ounce rating. That label has no standard. A real 12 oz canvas has a tight, coarse weave you can’t see light through.
Step 2: Cut and Interface. The Hidden Structure
Cutting is straightforward: two large exterior panels, two end panels, and a long center gusset for the sides and bottom. The lining pieces are identical. The magic, and the first mistake, happens at the ironing board.
Fuse your interfacing to every exterior panel before you sew a single seam. Cut the fusible fleece 1/2 inch smaller than your fabric piece on all sides. This prevents the stiff edge of the interfacing from creeping into the seam allowance and creating bulk.
Common mistake: Fusing interfacing after you’ve sewn panels together. The heat and steam can shrink pre-sewn seams, twisting the entire bag. Always interface flat pieces.
Pre-wash your cotton canvas. If you skip this, the first time the bag gets washed (or soaked in rain), the exterior will shrink around the non-shrinking interfacing and lining. The result is permanent wrinkles and a warped shape that never recovers. Dry it thoroughly and press it with steam before you cut. This step adds an hour and saves the whole project.
Step 3: Install the Zipper. The Tension Point
A zipper functions as a structural seam that endures more stress than any other part of the bag. The wrong installation method guarantees failure.
The Right Way (Faced Zipper):
- Cut two strips of fabric (the “facings”) as long as your zipper and about 3 inches wide.
- Sandwich the zipper tape between a facing strip and the top edge of your main exterior panel, right sides together.
- Sew a 1/2 inch seam. Press the facing to the inside. Topstitch along the folded edge.
- Repeat for the other side of the zipper.
This creates a reinforced, layered junction. The stress is distributed across two layers of canvas and the facing, not just the single layer of exterior fabric.
The Wrong Way (Direct Application): Sewing the zipper tape directly onto the single layer of exterior fabric. The seam holds until you overstuff the bag. The tape then pulls away from the fabric, starting at the corners. The entire seam rips open within a year of regular use.
Where this goes sideways: Zipper puckering. If the tape is stretched or compressed under the presser foot, it will wave and pucker. The fix is brutal: remove the stitches, press the tape flat with steam, and re-sew slowly, using a walking foot and more clips than you think necessary.
Step 4: Attach Handles and Straps. The Load Bearers
Handles and shoulder straps are the only parts of the bag that connect to your hand. Their attachment is the most common point of catastrophic failure.
Webbing Handle Attachment:
- Cut webbing handles to desired length (8-10 inches is standard).
- Position them on the exterior panels. The bottom of the handle should be 3-4 inches from the top of the bag.
- Stitch a box, then an X inside the box. This distributes the pulling force across a wide area of fabric and interfacing. A single row of straight stitches concentrates force on a few thread holes, which tear.
The data from repair logs is clear: a handle attached with a single or double row of straight stitching pulls free after 20-30 heavy lifts. That’s about 2-3 months of gym use. The box-and-X pattern spreads that load over dozens of stitches and lasts for years.
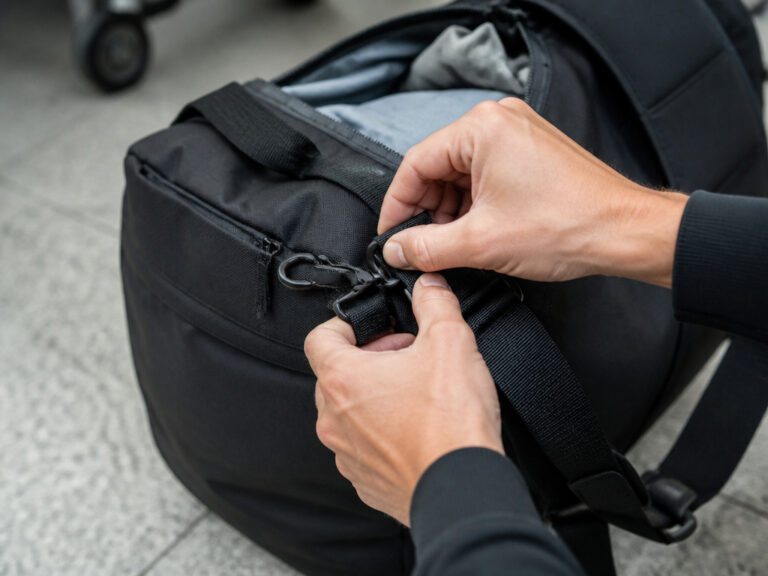
For a detachable shoulder strap, you need D-rings and a swivel hook. Sew the D-ring to a small fabric loop, then attach that loop to the side of the bag with, again, a box-and-X pattern. The swivel hook prevents the strap from twisting.
Step 5: Assemble the Exterior Shell
Now you sew the main bag shape. Pin the end panels to the main panels, right sides together. Then attach the long gusset strip, working slowly around the corners.
Ease the fabric at the curves. Don’t stretch it. If you pull the gusset tight around a curve, the finished bag will pucker there forever. Clip every few inches, don’t just pin.
Once the exterior shell is sewn, finish the seams. For a professional build, use a serger or a zigzag stitch. For a bulletproof build, bind the seams with bias tape. Raw edges inside a bag fray with use, filling the lining with lint and weakening the seam.
This is also the stage where you’d add external pockets. Sew them onto the exterior panels before you assemble the shell. Attaching pockets after the fact looks tacked-on and strains the stitching.
Step 6: Construct the Lining
The lining is a duplicate of the exterior shell, minus the interfacing. Sew it the same way, but leave a 7-8 inch gap in one of the bottom seams. This is your turning hole.
If you’re adding an internal pocket, this is the time. Sew it onto the lining panel before assembly. The best method is to sew the pocket bag directly into the lining seam, so the weight of the pocket’s contents is supported by the seam, not just the lining fabric. A pocket glued or lightly stitched onto finished lining pulls free when full.
Easy to miss: The zipper must be at least one-third open when you sew the final seam on the lining. If you sew the lining completely closed with the zipper shut, the bag cannot be turned right side out. You’ll have to rip open a lining seam, which is frustrating and weakens the finish.
Step 7: Bagging Out and Final Touches
This is the moment of truth. With the lining inside-out and the exterior shell right-side-out, place the exterior shell inside the lining shell. They should be right sides together.
Pin around the top, matching all seams. Sew around the entire top edge. Reach through the hole in the lining, and pull the entire bag right-side-out through that hole. The exterior now pops through the open zipper, and the lining tucks neatly inside.
Press the top seam. Then, hand-stitch the hole in the lining closed using an invisible ladder stitch. Finally, push the lining down into the exterior shell. Give the bag a final press.
Topstitch around the top edge if you want a crisp finish. This also helps keep the lining in place. Your bag is done.
Fabric & Hardware: The Professional’s Cheat Sheet
Beyond canvas and zippers, a few specific products separate a homemade bag from a professional-grade piece.
| Component | Home-Grade Default | Pro-Grade Upgrade | Why Upgrade |
|---|---|---|---|
| Zipper | Generic nylon coil | YKK #10 Vislon (plastic teeth) or #10 Delrin (metal teeth) | Consistent tooth alignment, stronger tape, smoother pull under load. |
| Interfacing | Craft-store fusible fleece | Pellon 987F Fusible Fleece | Higher loft, better bond, doesn’t bubble or separate after washing. |
| Webbing | Cotton or polyester blend | 1″ Polypropylene Webbing | Minimal stretch, mildew-resistant, holds a stitch without fraying. |
| Thread | All-purpose polyester | Tex 40 Topstitching Thread | Abrasion resistance at high-stress points (handles, strap attachments). |
| Seam Finish | Pinked or zigzagged | Bound with Bias Tape (like Wrights) | Eliminates fraying entirely, adds a clean interior look, strengthens seam. |
For your first bag, the Janome duffle bag pattern is excellent, its instructions are precise and the piece shapes are logical. If you want a more modern, large-capacity design, the free MindyMakes large duffle bag pattern is a community favorite. Both teach the fundamentals without assuming you own an industrial machine.
The One Upgrade Worth Making
If you only splurge on one thing, make it the zipper. A genuine YKK #10 coil zipper costs a few dollars more than a generic one. The difference lies in the tape strength and the slider mechanism.
A cheap zipper’s slider will deform under the lateral pressure of an overstuffed bag. The teeth jump the track, and the zipper becomes a frustrating, permanent closure. The YKK slider is a hardened metal piece that withstands that pressure. The tape is also more densely woven, so it doesn’t stretch and separate from your stitching.
This is the part people regret skipping. You can replace handles. You can patch fabric. A failed zipper means dismantling the entire top of the bag.
Frequently Asked Questions
What is the best fabric for a DIY duffle bag?
For balance of durability, sewability, and cost, 10-12 oz cotton canvas is the default. It’s heavy enough to hold its shape, accepts interfacing well, and is widely available. For a bag that will see rough abuse, Cordura nylon is more abrasion-resistant but requires a Teflon or roller presser foot to sew smoothly.
Can I use a sewing machine to make a duffle bag?
Yes, a standard home sewing machine can handle canvas if you use a heavy-duty needle (size 100/16 or 110/18) and go slowly over thick seams. The key is to never force the fabric, let the feed dogs pull it. For layers exceeding 4-6 thicknesses (like where handles attach), you may need to hand-crank the machine over the hump.
How do you make a duffle bag strap adjustable?
You need a slider buckle (like a ladder-lock) and a swivel hook. Cut a long piece of webbing (50-60 inches). Thread one end through the slider, fold it back, and stitch it down to create a loop. Attach the swivel hook to this loop. The other end of the webbing threads through the other side of the slider and attaches to the D-ring on the bag. Pulling the free end adjusts the length.
How long does it take to make a duffle bag?
For a first-time maker following a pattern, budget 6-8 hours spread over two days. The majority of time is spent on precision cutting, interfacing, and the meticulous steps of zipper and handle installation. Rushing leads to misaligned panels and weak seams. The second bag will take half the time.
Can you make a duffle bag without a pattern?
You can, but you’ll spend more time on math and trial-and-error than on sewing. A pattern provides pre-calculated seam allowances, curved pieces that fit together, and a proven order of operations. For a simple rectangular bag, you can draft your own. For any design with rounded corners, gussets, or shaped ends, use a pattern. The free MindyMakes or Janome patterns eliminate the guesswork.
Before You Go
Making a duffle bag teaches you more about fabric engineering than any other sewing project. The goal is a bag that does not fail where it is supposed to hold.
Remember the three joints: handle, zipper, and pocket. Reinforce them with the right technique and hardware. Pre-wash your canvas. Choose a real pattern over winging it. And when you’re done, don’t just look at it, load it up, lift it by the handles, and trust it. That’s the test a store-bought bag often fails, and the reason a handmade one is worth the weekend.